
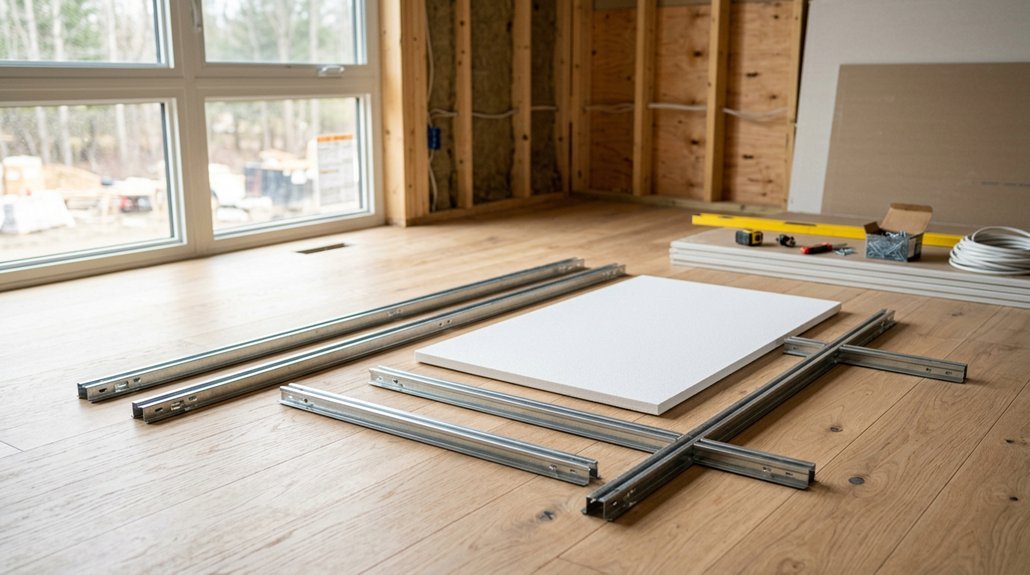


You’re about to transform a raw ceiling into a clean, functional surface, and the right materials make all the difference between a frustrating weekend project and a smooth installation. You’ll need to decide between 2×2 or 2×4 foot mineral fiber tiles, which typically contain 70-80% recycled content and offer noise reduction coefficients (NRC, a measure of sound absorption) ranging from 0.50 to 0.70, or vinyl-faced fiberglass options that resist humidity in basements. The grid system matters too: 15/16-inch wide face mains and cross tees, made from hot-dipped galvanized steel with 25-gauge thickness, provide standard support, while 9/16-inch narrow face systems create a more streamlined look. Before you commit to any product, though, there’s one critical measurement that determines whether your entire grid hangs level or fails.
Plan Your Drop Ceiling Layout, Locate Joists, and Install Wall Molding
Why start with careful measurements? You’ll avoid costly mistakes by measuring wall lengths precisely and marking a chalk line 4 to 6 inches down from the ceiling, leaving matching clearance for fixtures and tiles. Cut wall angles to fit, butt corners for long spans, and extend outer corners 1/8 inch for juts. Secure wall molding to wall studs with 1-inch screws, checking each section with a level to maintain straight alignment throughout the room. If you spot bowing, insert wooden shims and caulk gaps later. These installation steps establish your foundation for the grid system. Mark joist locations now, since your main runners will hang perpendicular to wall lines, preparing you for the structural phase ahead.
Recommended Products

Superior Acoustic Performance: Our 2x2 drop ceiling tiles offer excellent sound absorption and noise reduction, creating a quieter environment. Ideal for use in suspended ceiling systems, these ceiling tiles 24x24 are perfect for offices and studios.

High-grade Ceiling Tiles :Fasarxiu waterproof ceiling tiles are made from virgin-grade PVC vinyl for superior fire and heat resistance that is not susceptible to health hazards resulting from water and moisture. It’s also lightweight,making cutting and installing the tiles less of a hassle and much easier for the do-it-yourselfer.

2x2 Ceiling Tiles: Our uDecor Arena 2x2 Acoustical Ceiling Tiles are designed for seamless integration into any space, offering excellent sound absorption. These mineral fiber tiles are perfect for creating a quiet, comfortable environment.
Hang the Main Beams, Add Cross Tees, and Level the Grid
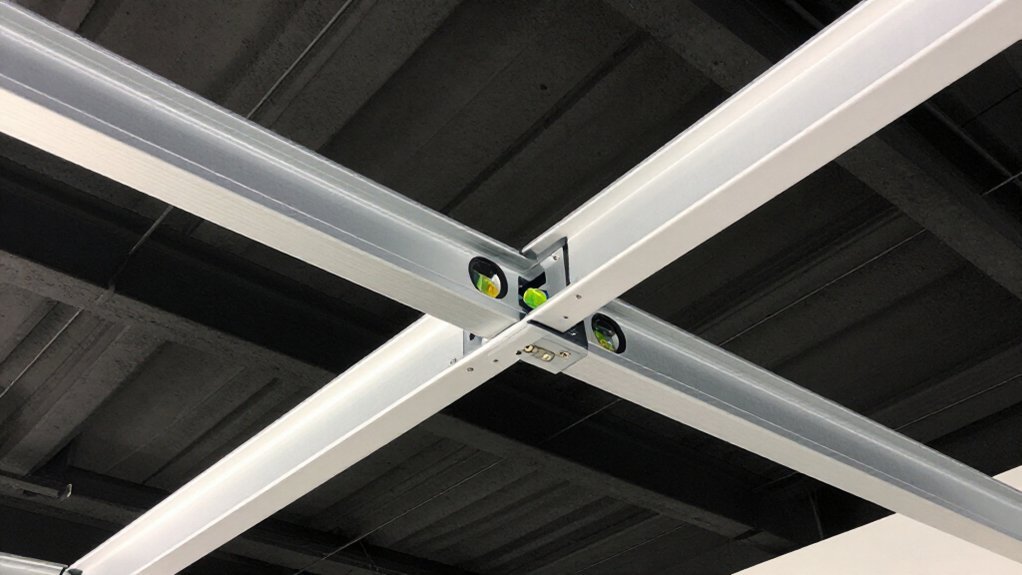
Once you’ve established your wall molding and joist locations, you’re ready to suspend the structural framework that’ll carry your ceiling tiles, and this phase demands precision since the entire grid’s stability depends on properly hung main runners, which are the primary support channels, typically 12 feet in length and constructed from 24-gauge painted steel, that you’ll position perpendicular to your ceiling joists at 4-foot intervals using 16-gauge galvanized wire loops anchored every 4 feet to wall angles and every third joist, creating a level plane that follows your chalk line guides drawn across the room at the height you’ve selected for fixture clearance.
You’ll hang the beams by threading 16-gauge wire through eyelets on every third joist, bending ends downward to secure main runners. Snap chalk lines every 4 feet to ensure grid alignment, then install cross tees perpendicular to main runners at 2-foot intervals, completing your ceiling grid. Verify level grid conditions with a laser or spirit level before proceeding. Proper wall angles and precise joist anchoring prevent sagging. This solid framework ensures accurate tile placement later.
Recommended Products

【Premium Waterproof PVC】The Sunnyglade ceiling tile constructed using superior PVC, this product offers superior resistance to moisture, oil, rust, warping, and discoloration, ensuring long-lasting performance. The 5mm panels in thickness also with superior fire and heat resistance, enhancing safety while reducing space noise

Premium Virgin PVC Material:Made of high-grade virgin PVC vinyl, these ceiling tiles deliver excellent waterproof, oil-resistant and anti-corrosion performance. With reliable Class A fire and heat resistance, the durable material stays stable in humid environments. Lightweight structure allows easy cutting and DIY installation.

Premium Virgin PVC Material Made of high-grade virgin PVC vinyl, these ceiling tiles deliver excellent waterproof, oil-resistant and anti-corrosion performance. With reliable Class A fire and heat resistance, the durable material stays stable in humid environments. Lightweight structure allows easy cutting and DIY installation.
Choose Your Tiles, Cut to Fit, and Drop Into Place
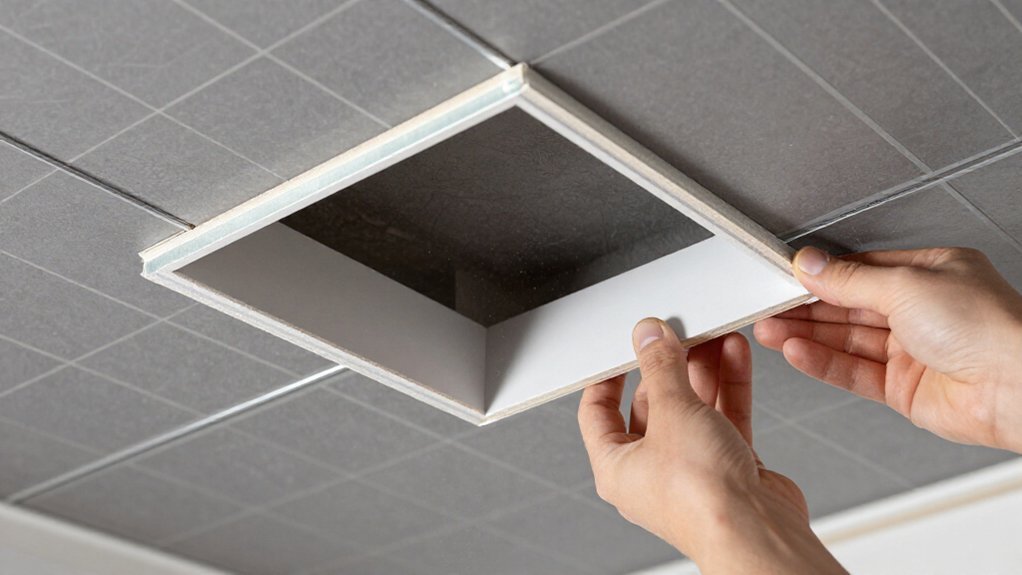
With your grid locked in and level, you’re ready to select the ceiling tiles that’ll define your ceiling’s finished look and performance, and this decision carries real weight since you’re balancing upfront material costs against long-term durability, acoustic performance, and aesthetic flexibility in a space you’ll see every day.
- 2×4 tile options save you money by using 25% less material than 2×2 alternatives while covering equivalent square footage
- You’ll avoid power tools entirely, cutting to fit with a utility knife that produces minimal dust for cleaner installation
- Measuring carefully, you’ll draw cut lines 0.95 cm from edges, then score halfway through before snapping clean edges
- You can install tiles by angling them through the grid, lifting until flanges rest level on runners as you drop into place
To complete your drop ceiling, you’ll prepare cut edges by adding a 0.95 cm flange so modified ceiling tiles seat properly on the grid runners, maintaining consistent tile dimension across the full ceiling plane.
Recommended Products

Safe and Light: The package includes 30 Pack Cross Tees. Our galvanized steel drop ceiling keels are less prone to collapse and fire hazards, ensuring the safety of your family

Complete Set: We offer a complete set of Drop Ceiling Grid Systems include 6pcs main beams TT00, 16pcs cross tee TT10, 6pcs wall molding TT20, 14pcs Installation Kit TA00. Tip: The package does not include PVC panels. If you need, we recommend purchasing it with our Muzata PVC ceiling tiles TBP0

Complete Set: This all-in-one drop ceiling grid system covers 168 sq. ft. and comes with 7 × 12 ft main beams, 40 × 2 ft cross tees, 5 × 12 ft wall moldings trim, 50 lag screws, 50 drywall screws, 40 iron wires, and a lag screw driver.
