
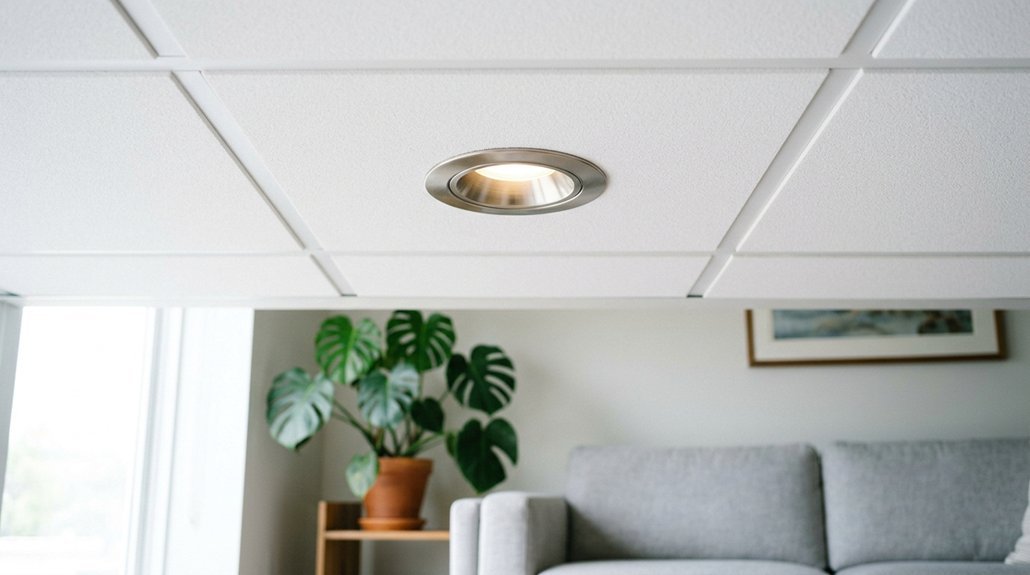


The ceiling grid is your canvas, and the right fixture is the brushstroke that transforms shadow into light. You’re standing at the threshold of a project where precision matters: 2×2 or 2×4 tile dimensions, 15–25 pound load ratings, and canless LED downlights with steel mounting arms that clamp directly to T-bars without additional support. You’ll need to verify your drop ceiling’s structural capacity, map a layout that aligns with grid lines, and install hanger wires with support bars before cutting openings that center perfectly over each housing. The wiring demands a licensed electrician, but the payoff—flush-mounted trims, code-compliant inspection, and even illumination—awaits those who follow the steps.
Pick Recessed LED Fixtures With Ceiling Tile Mounting Plates
Why settle for fixtures that sag or stick out when you can select recessed LED units built specifically for ceiling tile integration? When you’re dropping ceiling tiles into place, you’ll want canless LED downlights paired with ceiling tile mounting plates that distribute weight evenly across the grid. Look for adjustable mounting arms or heavy-duty clips, typically rated for 15 to 25 pounds, which attach securely to support wires or bars above the ceiling. T-grid mounting plates, measuring approximately 23.75 by 23.75 inches for standard 2×2 tiles or 23.75 by 47.75 inches for 2×4 configurations, ensure your recessed lighting sits flush with the tile face. These plates reduce fire hazards by anchoring fixtures firmly and eliminating gaps where heat escapes. Plan your layout so each unit centers over individual tiles, aligning precisely with grid lines for a clean, professional appearance that maximizes both safety and aesthetic consistency.
Recommended Products

5 CCT-in-1: 5 color temperature(2700K, 3000K, 3500K, 4000K, 5000K) is selectable to you, which successfully eliminates the hassle of returning or exchange products due to inappropriate color temperature. Just slide the switch on the side of the J-box and you will get the most-desired color that best fit in your room type.

SELECT COLOR WITH THE FLIP OF A LIGHT SWITCH – Easily adjust the white light temperature with a simple flip of a light switch or by using the preset settings on the fixture. Choose from five color temperature options (2700K, 3000K, 3500K, 4000K, and 5000K) to create the perfect ambiance for any room in your home or office.

💡【5 CCT-in-1】5 color temperature options (2700K/3000K/3500K/4000K/5000K) for different application scenarios, eliminates the hassle of returning or exchange products due to inappropriate color temperature. Just slide the switch on the side of junction box for your desired color temperature.
Verify Your Drop Ceiling Can Support the Weight, Then Map Layout
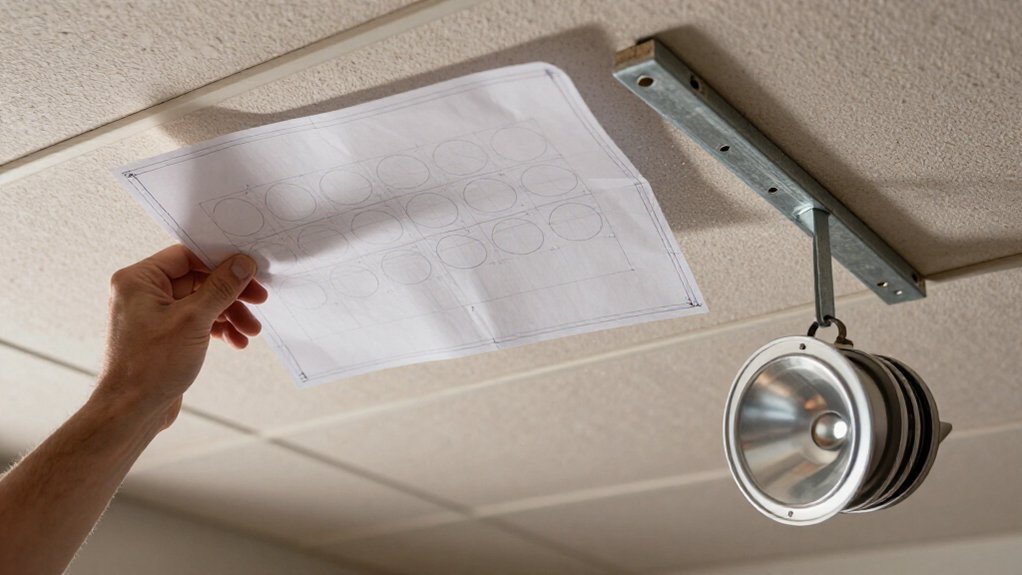
How much weight can your drop ceiling actually handle before you’re risking a costly collapse? You’ll need to verify your drop ceiling can bear the light weight before proceeding with any fixture installation, since standard ceiling tiles and grid systems weren’t designed for heavy loads. Install extra wire supports over each tile corner to distribute the load evenly across the grid. Consider using support bars or blocks with a frame resting on the ceiling grid to provide essential under-structure support that prevents sagging. For canless LED downlight fixtures, T-grid mounting plates offer an effective solution to achieve flush mounting. Mount these plates so the light sits flush with the tile face, ensuring a clean, even appearance that integrates seamlessly with your ceiling tiles. Map your layout carefully, marking each fixture location while accounting for these structural requirements.
Recommended Products

Universal Design: the new construction flat mounting plate with symmetric round hole by LETRY is engineered to provide a reliable and adaptable solution for various ceiling configurations

Universal New Construction Mounting Plate: Amico new construction flat mounting plate features a symmetric round hole design that supports 3", 4", and 6" LED recessed light fixtures. The 26-inch length metal plate is ideal for new construction with 16"–24" joist spacing.

[Ceiling Protection] Compared to directly installing LED recessed lighting, our New Construction Mounting Plate protects the ceiling and eliminates maintenance problems during future renovations
Add Hanger Wires and Support Bars at Each Fixture Location
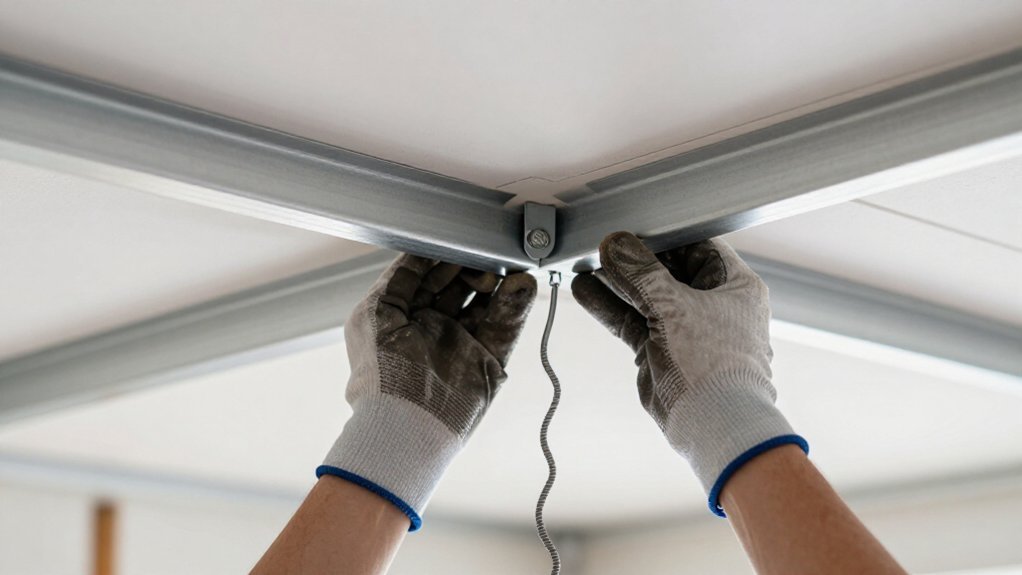
Where exactly should you anchor your support system so the fixture doesn’t sag or shift after installation? You’ll attach hanger wires to each corner of your 2 x 4 drop-in fixture, securing them to the structural ceiling above your suspended ceiling for full, four-point support that eliminates wobble and maintains precise alignment. If you’re installing heavier units, add extra hanger wires near the fixture’s center of gravity to distribute load across multiple attachment points, preventing stress concentration that could deform grid components. For especially heavy recessed lights, you’ll want independent support that bypasses the grid entirely, using a dedicated subframe that transfers weight directly to building structure. Install support bars that rest on the grid edges, creating a stable platform where your fixture sits level and flush with the tile face, ensuring professional results that last.
Recommended Products

Installation: After inserting adjacent tiles, slide the clip over the T-bar until the base of the clip makes contact with the tile.
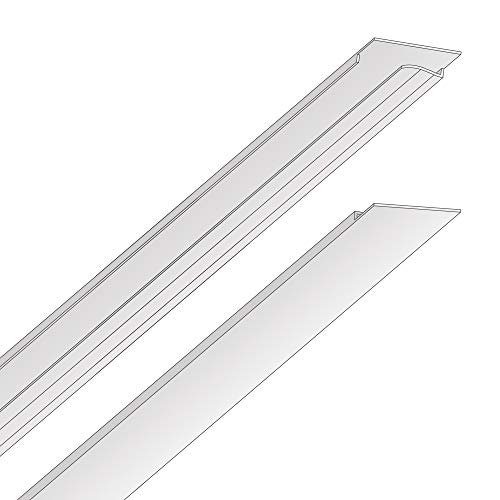

Universal Compatibility: The hold-down clip ensures seamless compatibility with most T-bar grid systems and ceiling tiles that the wind blows
Cut Tile Openings and Test Fit Before Final Positioning
Once you’ve secured your support system overhead, you’ll turn your attention to the ceiling tiles themselves, beginning with precise marking at the exact center point where each fixture will sit. You’ll trace the light outline on each ceiling tile, ensuring proper alignment with the fixture before cutting hole openings. Use a keyhole saw or utility knife, matching the opening size to your installation instructions exactly. Dust off loose particles after cutting to prevent debris interference.
Mark center points precisely, trace outlines carefully, then cut openings with keyhole saws or utility knives—matching specifications exactly for proper fixture alignment.
- Mark center points precisely on each ceiling tile for accurate fixture alignment.
- Cut openings carefully with keyhole saws or utility knives per manufacturer specifications.
- Clean cut edges thoroughly before you test fit each component.
- Use extended goof rings if openings exceed specifications to maintain flush with face appearance.
After cutting, position the fixture over the cut panel, centered over the hole, before final securing.
Recommended Products

4 Inch New Construction Can Recessed Light Housing

VERSATILE CAN LIGHT HOUSING: The Juno 4" recessed light housing is ideal for new construction recessed lighting applications; It fits ceilings up to 1-3/4" thick and includes push-in electrical connectors for fast installation

VERSATILE CAN LIGHT HOUSING: The Juno 6" recessed light housing is ideal for new construction recessed lighting applications; It fits ceilings up to 1" thick and includes push-in electrical connectors for fast installation
Hire an Electrician for Wiring, Then Snap On Trims and Test
With your tiles cut and fixtures positioned, you’re ready to bring in a certified electrician who’ll handle the wiring connections to your main electrical box and secure the required circuit inspection, ensuring safe integration with your existing ceiling system while meeting all local code requirements. Don’t attempt this wiring yourself; improper connections create fire hazards and code violations that compromise your ceiling tiles’ structural integrity and safety. Once your electrician completes the wiring and passes inspection, you’ll snap each trim ring onto its housing, securing the finished look while protecting the fixture edges. Finally, you’ll test every light by flipping the switch, confirming proper operation across all installed units before considering your project complete.
Recommended Products

5 CCT & 5 Wattage Selectable: This 2x4 LED flat panel light features 5 adjustable CCT (3000K/4000K/5000K/5700K/6500K) and 5 power levels (30W/40W/50W/60W/70W) via toggle switch form the back of panel. Customize perfect lighting for offices, homes or shops before installation. The 2x4FT LED panel light offers 5-in-1 flexibility in one sleek fixture.

Top Rated LED 2x4 Selectable CCT Ceiling Panel

Adjustable Color Temperature (3000K-3500K-4000K-5000K-6500K) Before Installation! -> Say goodbye to worrying about ordering the incorrect color temperature! Each of our 2x2 LED Light Drop Ceilings features a Color Temperature Switch on the Driver Box that allows you to easily adjust to 5 different CCT settings before installing, ensuring you get the perfect color temperature for your space!
