
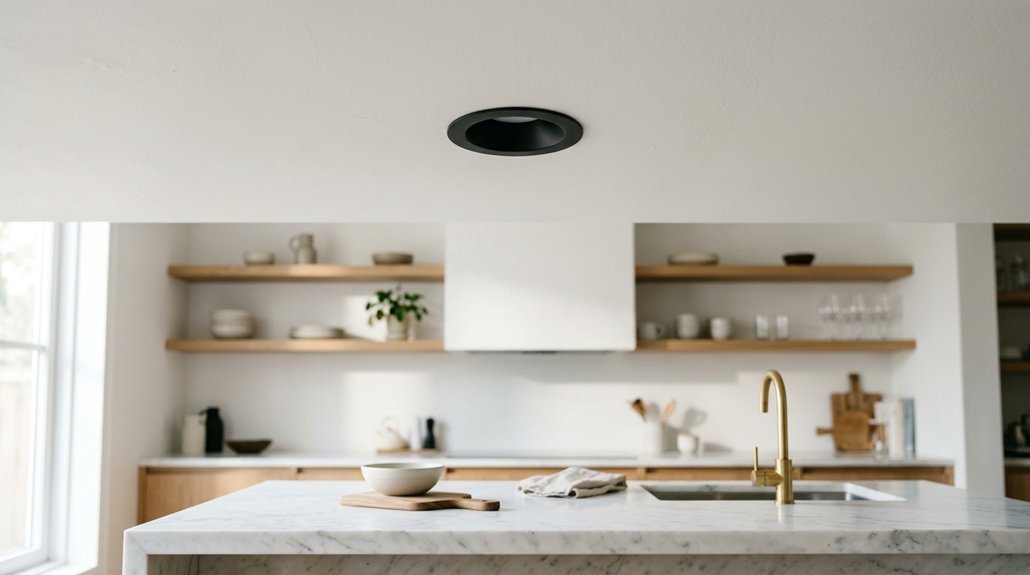


You want kitchen lighting that actually works for cooking, not just looks good from the doorway. The placement of your recessed can lights determines whether you chop vegetables in shadow or see clearly, yet most homeowners get this wrong by spacing fixtures evenly across the ceiling or centering them over walkways. You’ll need specific measurements: 12 to 18 inches from walls, spacing at half your ceiling height, approximately 4 feet apart for standard 8-foot ceilings, with precise distances from cabinet fronts to eliminate wall shadows. The real question isn’t whether to install can lights, but whether you’re positioning them where your countertop work actually happens.
Place Can Lights Over Counter Edges, Not the Aisle
Where should you position your can lights if you want to eliminate shadows while you’re chopping vegetables or reading recipes? You’ll place them along the countertop edges, about 12–18 inches from the wall, which delivers direct counter illumination across your work surface and achieves meaningful shadow reduction where you need it most. For effective edge lighting on an 8-foot ceiling, you’ll space fixtures roughly every 4 feet, ensuring coverage stretches from one counter edge to the other without wasting light on the aisle. You’ll keep fixtures at least 12 inches from cabinet fronts and 14–18 inches from the wall, preventing wall shadows while maintaining brightness underneath cabinets. Avoid mounting directly above the aisle or room center, because edge placement better reduces shadows during prep. You’ll also allow room for under-cabinet lighting, so your edge-lit cans work in tandem with task lighting along the counters.
Recommended Products
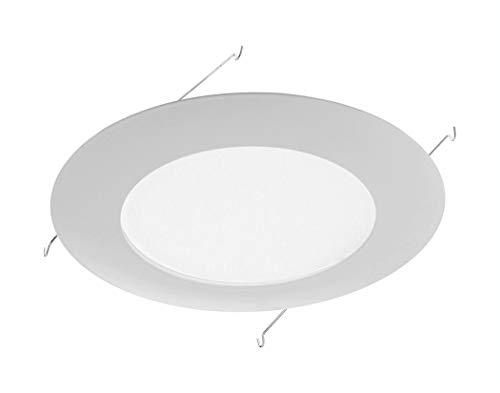
Requires one A19 bulb rated up to 60-Watts Max. (not included)
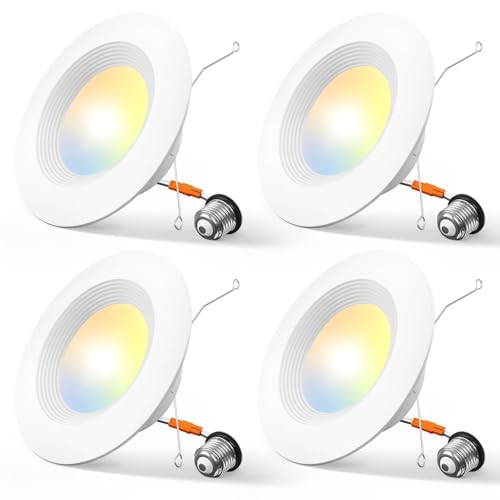
Eye protection: The brightness of the can lights can be smoothly adjusted from 10% to 100%, so you can choose the most comfortable brightness for your eyes. Note: This light is compatible with most dimmers on the market, except for the smart dimmer.

Increased diameter: The enlarged 7.2-inch diameter, fits 5/6-inch cans and perfect to covering rough drywall or hide oversized holes.
Keep Lights 8–12 Inches From Wall to Avoid Shadows
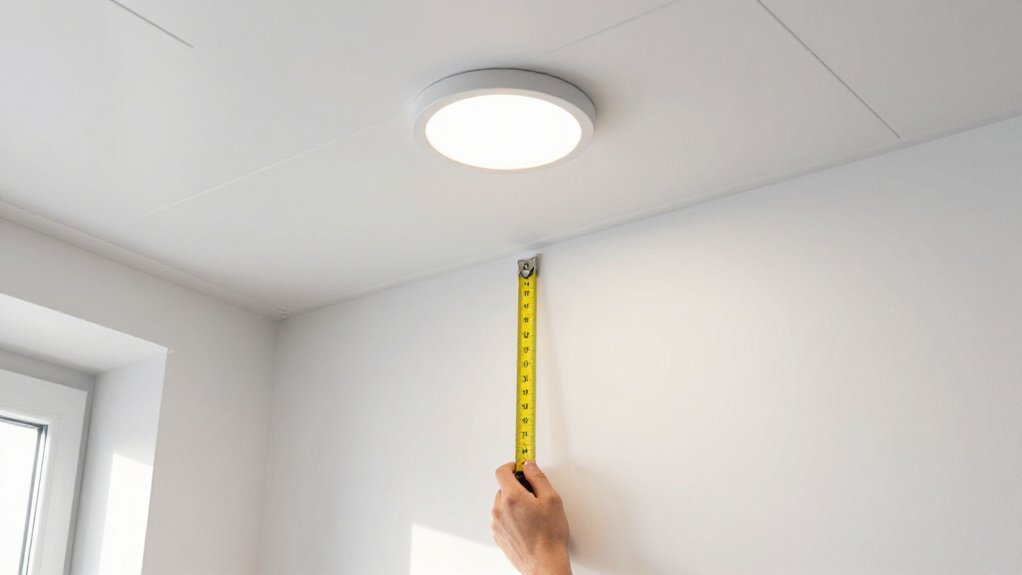
How close to the wall should you position your recessed fixtures if you want to eliminate harsh shadows and achieve uniform brightness across your countertops? You’ll want to maintain an 8–12 inch wall offset, a distance that delivers optimal light distribution across backsplashes and work surfaces while preventing harsh, distracting lines on vertical planes. This recessed lighting placement strategy, which aligns with the half-ceiling-height guideline for 8-foot installations, ensures your countertops receive direct illumination without interference from cabinet shadows or body obstruction during food preparation. Before finalizing your layout, verify this wall offset coordinates with existing crown molding profiles and under-cabinet lighting specifications to prevent conflicts that create uneven illumination or dark corners. Proper positioning eliminates problematic shadows that compromise task visibility and detract from your kitchen’s functional, polished appearance.
Recommended Products

5-in-1 CCT: Eliminate the Guesswork. Because this recessed ceiling light features a 5-color switch on the J-box, you can physically toggle between 2700K Warm White and 5000K Daylight before installation. This means no more return hassles for buying the wrong color, ensuring the perfect ambiance for any room. Versatility is proven by the built-in dip switch supporting 2700K, 3000K, 3500K, 4000K, and 5000K.

Trustworthiness: This 4in canless LED recessed light is IC rated, ETL & FCC certified. It is permitted to be in contact with insulations in ceilings, meaning the junction box is thermally protected. Our customer support team will also response your cases within 24 hours.

Amico 4 inch can light, applicable for can diameters of 3.94-4.17 inches
Space Can Lights at Half Your Ceiling Height
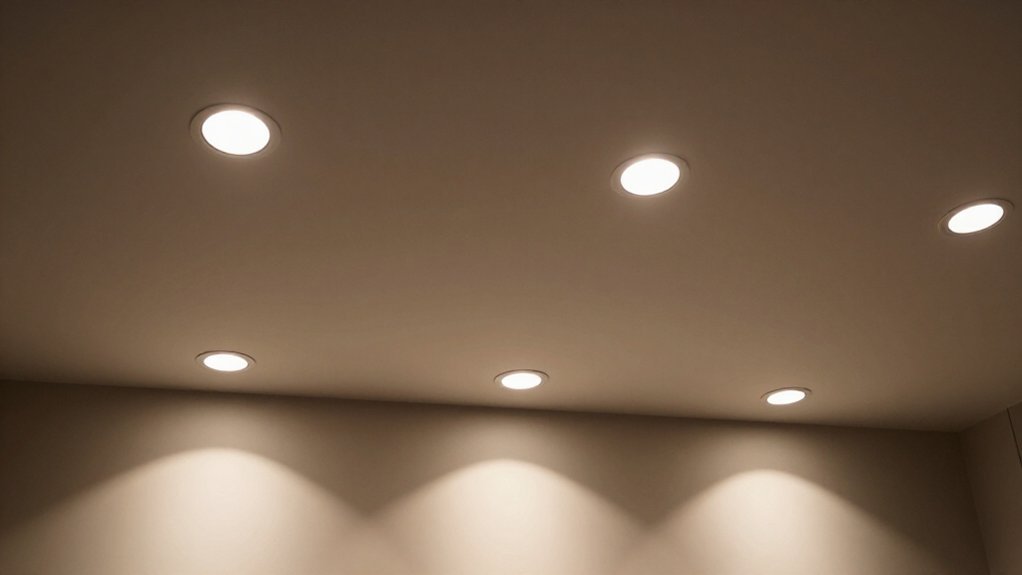
Once you’ve locked in your wall offset, you’ll turn your attention to the spacing between fixtures, which determines whether your kitchen enjoys seamless, overlapping light pools or suffers from patchy, inadequate coverage that forces you to work in dim pockets between bright hot spots. For your recessed lighting layout, you’ll calculate spacing at half your ceiling height, meaning an 8-foot ceiling demands roughly 4 feet, or 48 inches, between each fixture. You’ll start with a rough grid spanning the room, placing fixtures along that spacing to prevent clustering or gaps. You’ll measure your ceiling height, apply the half-height rule, and mark exact locations with a ruler rather than eyeballing. You’ll tape small targets on the ceiling at spacing intervals to preview light distribution before making any installation cuts.
Recommended Products

5 CCT-in-1: 5 color temperature(2700K, 3000K, 3500K, 4000K, 5000K) is selectable to you, which successfully eliminates the hassle of returning or exchange products due to inappropriate color temperature. Just slide the switch on the side of the J-box and you will get the most-desired color that best fit in your room type.

💗More Brightness:The 8 in Slim Lights Brightness up to 1800 Lumens use the new generation of LED chips with higher lumens and lower power. saving you up to 90% in energy costs. CRI 80+, bring your home or living room the best lighting possible. The round lighting LED recessed downlight comes with cutting-edge flicker-free technology for maximizing eye comfort.

5 CCT Select of 2700K/3000K/3500K/4000K/5000K allows you to choose whatever light color you prefer by easily utilizing the switch on the side of the J-Box that comes with this slim recessed light
Add Under-Cabinet Lights to Fill Remaining Shadows
Even after you’ve spaced your can lights at half your ceiling height, you’ll still notice stubborn shadows pooling beneath your upper cabinets, darkening the very countertops where you chop vegetables, roll dough, and read recipes, which is precisely why under-cabinet lighting isn’t merely an upgrade but an essential second layer that transforms your kitchen from adequately lit to genuinely functional.
You’ll install linear LED strips or modular fixtures approximately 12 inches from the wall above your counters, a placement that illuminates cabinet fronts while eliminating glare on reflective surfaces. Select damp-rated, dimmable options with color temperatures between 2700K and 3500K to maintain consistent warmth with your overhead lighting. Align this task lighting with your recessed can spacing to prevent dark bands and ensure seamless shadow reduction across every work surface.
Recommended Products

Contemporary style; teal blue with green undertones; smooth composite finish

Contemporary style; pastel olive green; smooth composite finish

Contemporary style; light pastel blue; smooth composite finish
Drill Holes After Cabinets Are Installed
With your under-cabinet lighting plan mapped and your cabinet boxes secured to the walls, you’re finally ready to commit to exact can light positions, a timing decision that protects you from the costly misalignment errors that plague premature drilling. You’ll drill holes after cabinet installation, which lets you fine-tune recessed can lights so they align precisely with cabinetry edges and crown molding. Leave ceiling rough-in wire whips and extra ceiling space so you can shift can locations without reopening drywall. Start with generous 8–12 inch offsets from walls to prevent shadowing on counter edges, then revisit these positions once cabinets anchor your spatial reference. Confirm final drilled holes accommodate under-cabinet lighting plans and avoid conflicts with crown molding and cabinet fronts, ensuring your kitchen achieves balanced, shadow-free illumination.
Recommended Products

Odor-Blocking & Fruit Fly Free: Say goodbye to the smelly decomposing waste. Our compost bin countertop comes with a precisely-fit lid, you can let the scraps build up for several days without worrying about attracting fruit flies or terrible smells into your kitchen.

Wall Mount/Under Sink/Countertop Trash Can: The trash can with lid can be easily hung on kitchen cabinet doors, pantry doors. (The thickness of the door should be less than 0.86 inch) Moreover, this small waste basket can also be wall-mounted to under sinks, cupboard, kitchen wall or bathroom wall with adhesive pad or screws.

Sturdy Construction. Made of high quality metal, this 2 Tier bathroom counter organizer can support heavy objects without breaking. Perfect way to declutter a small counter
