
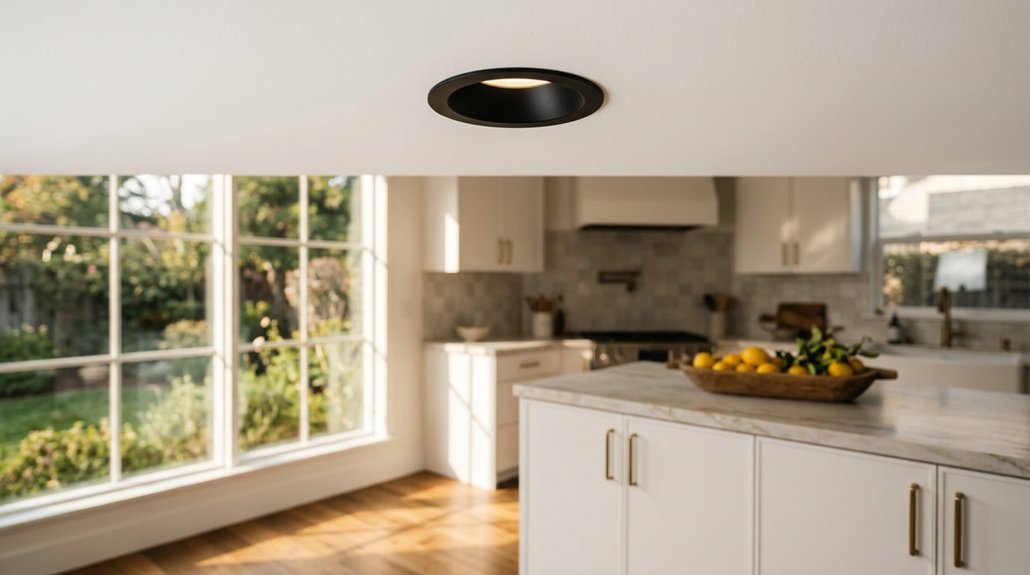


You’re standing in your kitchen, tape measure in hand, wondering if six 6-inch, 1,100-lumen LED downlights will banish the shadows above your prep station or leave you squinting at diced onions. The answer hinges on variables you can calculate: your ceiling height, which dictates whether you space those housings 4 feet apart on 8-foot drywall or push to 6 feet for 12-foot vaulted ceilings; your square footage, where the 4–6 square foot rule suggests a 200-square-foot galley demands roughly 10–14 fixtures; and your existing layers, because 3,000K under-cabinet LED strips at 450 lumens per foot already handle task loads, reducing your can count. Get the math wrong, and you’ll either overpay for redundant wattage or chop vegetables in dim, uneven pools of light that strain your eyes and devalue your remodel. The specifics of spacing, beam angle, and color temperature aren’t just technical details; they’re the difference between a kitchen that functions and one that frustrates.
Why Recessed Lighting Works in Modern Kitchens
Why do so many homeowners choose recessed lighting when renovating their kitchens? You’ll find that recessed lighting delivers unobstructed, task-focused illumination supporting cooking, cleaning, and food prep while maintaining an open, uncluttered ceiling line that maximizes your vertical space. When you’re layering lighting throughout your kitchen, these versatile fixtures serve as general ambient light positioned correctly alongside pendants or under-cabinet options, creating a comprehensive, adjustable system. Your task lighting needs are met through energy-efficient LED fixtures, dimmable from 100% to near-zero brightness, balancing aesthetics with functionality across daily activities. The flush-with-ceiling design minimizes visual bulk and glare, making recessed lighting ideal for small to medium kitchens where space and sightlines directly impact your comfort. A well-planned arrangement reduces shadows on work surfaces and walls, contributing to a balanced, evenly lit environment you’ll appreciate.
Recommended Products

5 CCT-in-1: 5 color temperature(2700K, 3000K, 3500K, 4000K, 5000K) is selectable to you, which successfully eliminates the hassle of returning or exchange products due to inappropriate color temperature. Just slide the switch on the side of the J-box and you will get the most-desired color that best fit in your room type.

Increased diameter: The enlarged 7.2-inch diameter, fits 5/6-inch cans and perfect to covering rough drywall or hide oversized holes.

Selectable Colors:Our LED can lights have 5 color temperature selectable, 2700K, 3000K, 4000K, 5000K, 6000K. Don't worry about what color temperature to buy, eliminates the hassle of returning or exchanging these due to inappropriate color temperature.
How Many Recessed Lights for Your Kitchen Size?
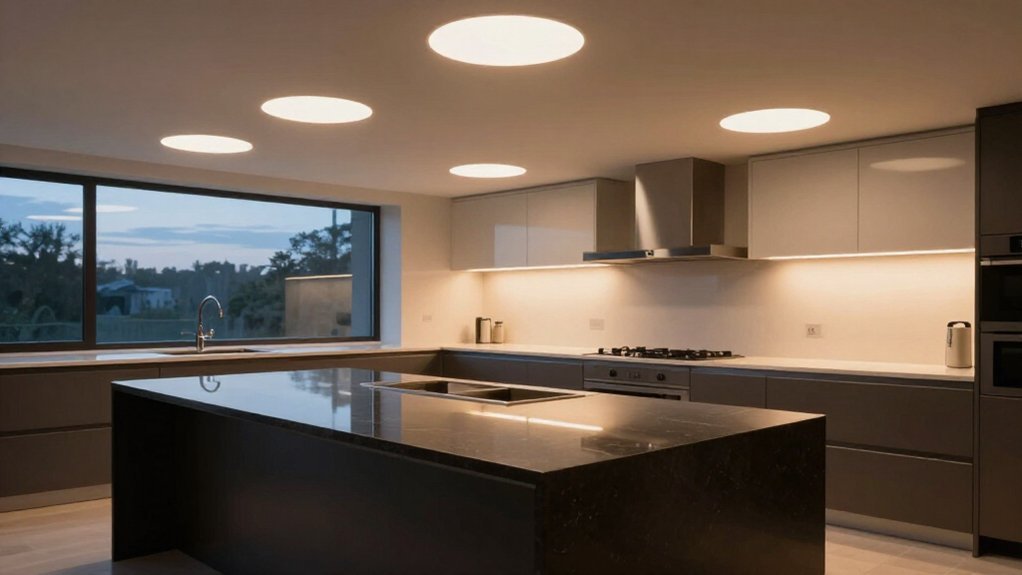
How exactly do you calculate the right number of recessed lights for your specific kitchen dimensions? You start by matching your kitchen size to proven fixture counts that deliver balanced illumination without dark spots or harsh glare. For compact cooking spaces, you’ll typically install 4–6 recessed lights, then supplement with under-cabinet LED strips that provide 300–500 lumens per linear foot for precise task visibility. When your kitchen expands to 160–220 square feet, your lighting plan should incorporate 10–14 recessed lights, scaling upward to 12–16+ fixtures for extra-large or open-concept layouts where walls don’t contain the light. Ceiling height directly dictates your spacing strategy: position lights 4 feet apart with standard 8-foot ceilings, extend to 4.5 feet for 9-foot heights, or stretch to 5 feet with 10-foot ceilings to maintain proper beam overlap and uniform brightness distribution throughout your workspace.
Recommended Products
5 CCT Select of 2700K/3000K/3500K/4000K/5000K allows you to choose from soft white, warm white, bright white, neutral white and daylight by easily utilizing the switch on the provided j-box.

Night light Feature: 6 inch led recessed light in night light mode emits 2000K amber for very soft illumination and added ambiance. It also can provide no-glare lighting when you wake up at night which is very convenient.

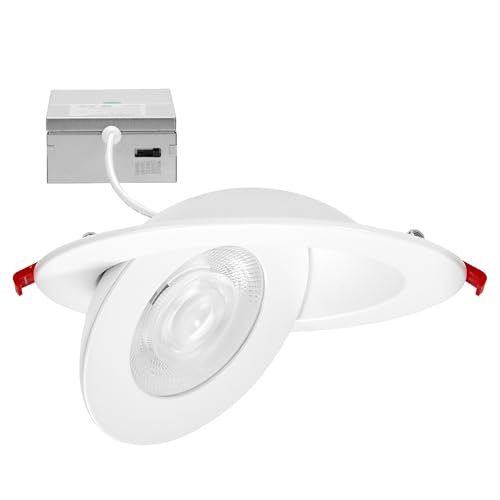
1100 Lumens - Equivalent to a 75 watt incandescent bulb, this pot light only uses 11 watts. It has 1100 lumens and a rotatable head to allow you to direct the light to your need within a 45° angle. Featuring a CRI of 90 for accurate color rendering
Start With the 4-6 Square Foot Rule
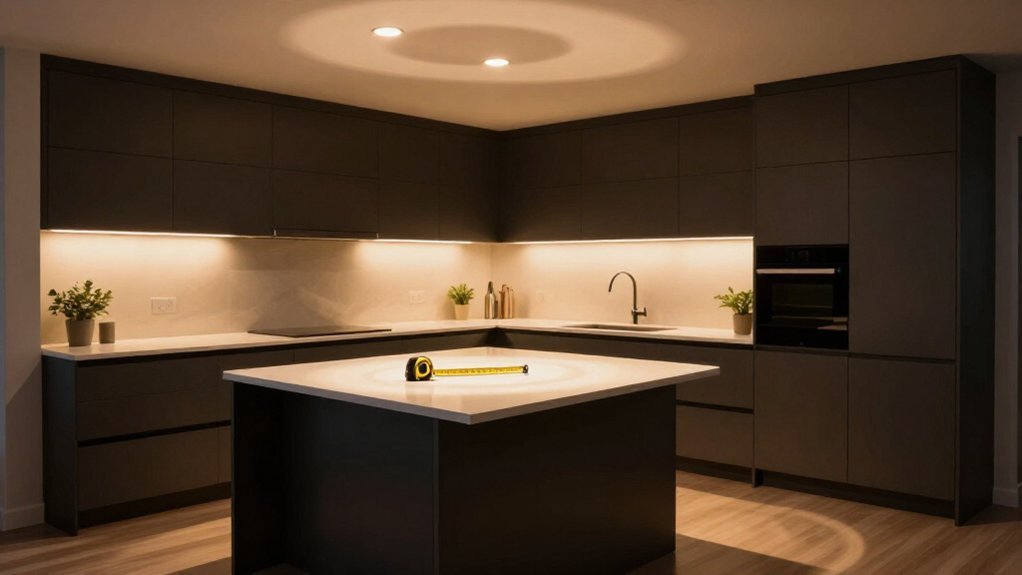
Where exactly should you begin when mapping out your kitchen’s recessed lighting layout? You start with the 4-6 square foot rule, a foundational guideline that uses spacing to evenly distribute light across your ceiling and determine how many recessed fixtures you need per area. For a typical 8-foot ceiling, you’ll space your cans about 4 feet apart to achieve uniform illumination. Your kitchen’s square footage directly drives fixture count: a small kitchen needs fewer recessed lights, while a larger open kitchen requires more to maintain balanced brightness. This rule prevents over-lighting or under-lighting by tying fixture count precisely to your space’s dimensions. In practice, you combine this guideline with natural light and existing sources to finalize your recessed lights.
Recommended Products
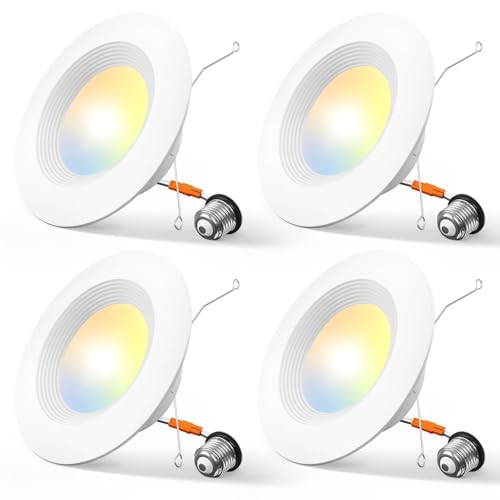
Eye protection: The brightness of the can lights can be smoothly adjusted from 10% to 100%, so you can choose the most comfortable brightness for your eyes. Note: This light is compatible with most dimmers on the market, except for the smart dimmer.

Color Selection Feature - Choose your preferred light color from 2700K/3000K/3500K/4000K/5000K using the switch on the side of the J-Box of this slim LED light.

BAFFLE RETROFIT DOWNLIGHT FOR 5/6 INCH RECESSED CANS. Replace aging can lights with a 13W, 965-lumen LED baffle downlight that brings 3000K Warm White warmth to kitchens and task areas. The screw-in TP24-to-E26 adapter threads directly into existing 5- and 6-inch recessed sockets, turning a can light replacement into a straightforward upgrade.
How Ceiling Height Changes Your Spacing
Once you’ve applied the basic 4-6 square foot rule, your ceiling height becomes the critical variable that’ll reshape your entire spacing strategy, because taller ceilings demand wider gaps between fixtures to maintain that same wash of uniform, shadow-free illumination you’re after. For 8-foot ceilings, you’ll space your recessed lights about 4 feet apart to achieve even illumination across your kitchen work surfaces. With 9-foot ceilings, push that distance to roughly 4.5 feet between fixtures so brightness remains consistent without dark patches forming overhead. At 10 feet, expand your recessed lights spacing to approximately 5 feet, which lets each fixture cast a broader pool of light downward. For 12-foot ceilings, stretch to 6 feet apart, ensuring consistent light distribution reaches your countertops despite the increased vertical distance. These ceiling height adjustments preserve your even illumination while preventing over-lighting or wasted energy.
Recommended Products

⚠️[WARNING] 12V MR16 ONLY. Never connect to 120V. Not for MR11 (pin spacing differs: MR11 0.157“, MR16 0.21”).

Color range: 2700K, 3000K, 3500K, 4000K, and 5000K
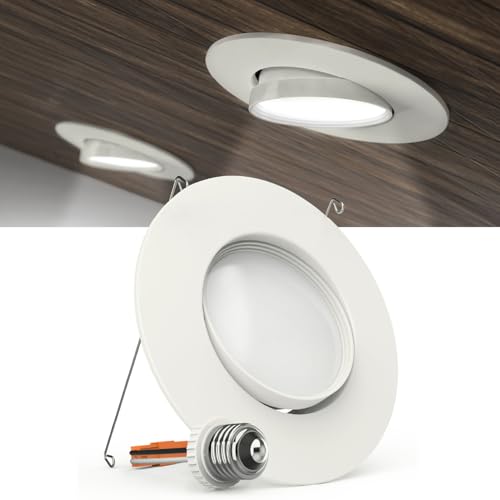
⭐ 6 INCH GIMBAL LED RECESSED LIGHTS FOR KITCHEN AND DINING ROOM CEILING LIGHTING: The Sunco 5/6 Inch LED Gimbal Recessed Lights deliver 800 lumens of 3000K Warm White kitchen recessed lighting through a head that tilts to 45° and rotates a full 360°. These adjustable eyeball downlights screw into any standard 5 or 6 inch recessed can via the included TP24 to E26 adapter. With the gimbal set to the right angle, the warm white beam lands on a kitchen counter, dining table, backsplash, or display wall from a single ceiling mounting position.
Task vs. Ambient Recessed Lighting: Where Each Works Best
Why should you care about the difference between task and ambient recessed lighting? You’ll design a more efficient kitchen when you understand how each type functions. Recessed lighting serves dual purposes, and choosing correctly saves you money while improving visibility.
Task lighting delivers focused, brighter illumination directly over work zones like countertops and your sink, with fixtures spaced 4–6 feet apart on standard 8-foot ceilings to eliminate shadows where you prep food. Ambient lighting provides general, overall illumination that fills the entire kitchen evenly.
You should layer both systems for optimal results. Position task lighting 12–18 inches from cabinet fronts, and complement your recessed ambient light with under-cabinet strips or pendant fixtures to reduce glare on surfaces. This strategic layering improves usability and means you’ll need fewer total fixtures overall.
Recommended Products

5 CCT Select of 2700K/3000K/3500K/4000K/5000K allows you to choose whatever light color you prefer by easily utilizing the switch on the side of the J-Box that comes with this slim recessed light

5 CCT Select of 2700K/3000K/3500K/4000K/5000K allows you to choose whatever light color you prefer by easily utilizing the switch on the side of the J-Box that comes with this slim recessed light

Wide Application: The LED recessed ceiling light widely used on kitchen, living room, bedroom, bathroom, workplace, common areas in your home or office.
Where to Place Recessed Lights Near Cabinets and Countertops
Task and ambient lighting each play their own role, but the real payoff comes when you know exactly where to position your fixtures relative to cabinets and countertops. For proper recessed lighting placement, install cans 12–18 inches from the wall above countertops; this prevents shadows and ensures even countertop illumination across your prep surfaces. With 8-foot ceilings, space your fixtures about 4 feet apart, though higher ceilings call for 4.5–6 foot spacing to maintain brightness across cabinet faces. Position that first row roughly 24–30 inches from wall or cabinet fronts to eliminate glare and dark corners. You’ll want to start with a base layer of recessed lighting across the room, then add under-cabinet lighting strips to boost task lighting where you chop, slice, and cook. Choose dimmable LED fixtures, which let you adjust brightness for detailed food prep while preserving softer ambient light throughout your kitchen.
Recommended Products

5-in-1 CCT: Eliminate the Guesswork. Because this recessed ceiling light features a 5-color switch on the J-box, you can physically toggle between 2700K Warm White and 5000K Daylight before installation. This means no more return hassles for buying the wrong color, ensuring the perfect ambiance for any room from a cozy bedroom to a bright, functional kitchen. Versatility is proven by the built-in dip switch supporting 2700K, 3000K, 3500K, 4000K, and 5000K.

Night light Feature: 6 inch led recessed light in night light mode emits 2000K amber for very soft illumination and added ambiance. It also can provide no-glare lighting when you wake up at night which is very convenient.

💡【5 CCT-in-1】5 color temperature options (2700K/3000K/3500K/4000K/5000K) for different application scenarios, eliminates the hassle of returning or exchange products due to inappropriate color temperature. Just slide the switch on the side of junction box for your desired color temperature.
Recessed LED Temperature: Warm or Cool Light?
You’ll need to weigh color temperature selection carefully, since warm LEDs at 2700K–3000K create a cozy atmosphere that complements natural wood or stone surfaces, while cool LEDs at 4000K–4500K deliver brighter, more focused illumination suited to modern interiors with sleek lines. For optimal task ambiance balance, consider installing cooler 3500K–4000K temperatures directly above countertops where enhanced contrast reduces eye strain during food preparation, then layer warmer ambient lighting elsewhere to maintain visual comfort. Mixing these color temperatures across zones lets you customize each area’s function without sacrificing the cohesive, energy-efficient performance that quality dimmable LEDs provide through their 25,000–50,000 hour lifespans.
Recommended Products

1110 lumen light output using only 13W ensuring ample illumination for any space. The edge lit optical system with diffuse polycarbonate lens produces uniform even light distribution
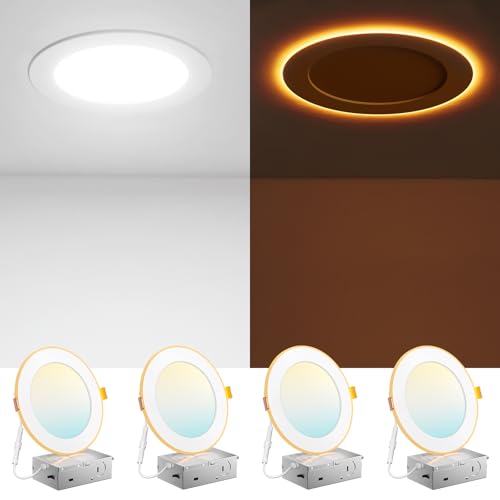
Night light Feature: Amico 6 inch led recessed light with night light emits 2000K amber for very soft illumination and added ambiance. It also can provide no-glare lighting when you wake up at night which is very convenient.

COLOR SELECTABLE - These dimmable downlights put out a bright 1100 lumens depending on the wattage you choose and allows you to select the color temperature at the time of installation. Pick 2700K, 3000K, 3500K, 4000K or even 5000K depending on your preference using a switch located on the back of the fixture.
Color Temperature Selection
When you’re standing at your kitchen counter, squinting at a recipe or slicing vegetables under fixtures that cast everything in a sickly yellow or harsh blue glow, the problem usually isn’t brightness, it’s color temperature, measured in Kelvin (K), which determines whether your recessed LEDs emit warm, yellowish light around 2700K–3000K or cool, bluish-white light in the 4000K–4500K range, and choosing between these options means weighing your kitchen’s materials, your daily tasks, and the atmosphere you want to create, since warm lighting enhances natural wood cabinets, stone countertops, and traditional designs with a cozy, inviting feel that makes evening gatherings comfortable, while cool lighting delivers the sharp, alert clarity that stainless steel appliances, quartz surfaces, and contemporary layouts demand for precise food prep and a modern aesthetic.
You’ll want dimmable LEDs regardless of your color temperature choice, as these fixtures let you adjust output from 100% brightness down to 10% or lower, extending LED lifespan beyond 25,000 hours while reducing energy consumption by up to 75% compared to incandescent alternatives.
Task Ambiance Balance
How do you keep a kitchen from feeling like a sterile lab while still chopping onions without slicing your thumb? You balance your recessed lighting by mixing warm 2700K-3000K ambient lighting for cozy dining areas with cooler 4000K-4500K task lighting over countertops and sinks.
LEDs give you dimmable, energy-efficient flexibility without frequent bulb changes, so you control mood and function simultaneously. You avoid abrupt temperature mixing that creates visual discord and uneven color rendering across your space.
Follow these steps:
- Install warm recessed lighting (2700K-3000K) near islands and tables where you gather.
- Position cooler task lighting (4000K-4500K) directly above prep zones and appliances.
- Match wood or stone finishes with warmer tones, sleek modern designs with cooler outputs.
Recessed Lighting Mistakes That Waste Money and Light
You’ll waste money and create harsh, uneven illumination if you cram too many 6-inch cans into your kitchen without adjusting for your ceiling height, since 4–6 foot spacing that works on 8-foot ceilings will leave dark pockets and force costly retrofits when applied blindly to 9–10 foot heights. Ignoring this relationship between fixture count and vertical dimension, measured from floor to ceiling in feet, leads to overlighting that burns excess electricity while still failing to deliver adequate lumens where you actually prep food. Match your spacing to your specific ceiling height, and you’ll avoid the warehouse glare of excessive fixtures while ensuring even, useful brightness across every work surface.
Recommended Products

Energy Efficient Downlight - 9W LED equivalent to 40W, consumes less power for energy efficiency and cost savings.
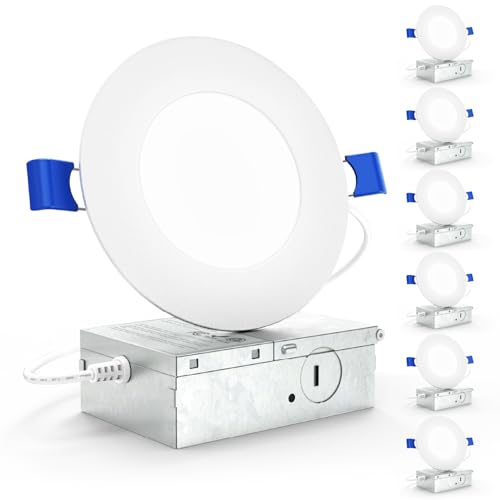
1 case of 6 Packs, 6 Count Total

15W equivalent to 90W. This thin downlight consumes less power than a traditional light would consume, allowing you to be more energy efficient and save money.
Over-Lighting Kitchen Spaces
Why does your kitchen feel more like a fluorescent-lit warehouse than a welcoming workspace? You’re likely over-lighting with too much recessed lighting, which wastes energy and destroys comfort. A solid kitchen lighting plan uses about one fixture per 4–6 square feet, adjusted for natural light and room layout, so you’re not burning money on redundant cans that create harsh glare and uneven pools of brightness.
Here is how you avoid over-lighting mistakes:
- Space your fixtures properly, keeping them away from walls and cabinets where glare and shadows ruin task accuracy.
- Layer your lighting with pendants or under-cabinet strips, so recessed cans aren’t your only source.
- Install dimmers on every circuit, giving you flexible control from bright prep work to softer evening ambience.
Ignoring Ceiling Height
Where exactly does your kitchen lighting plan start falling apart? You ignore ceiling height, and your spacing collapses into costly mistakes. On an 8-foot ceiling, you need lights about 4 feet apart; push them farther and you’ll create dark patches near walls and cabinets. With a 9-foot ceiling, you must stretch that spacing to 4.5 feet, or you’ll over-light or under-light your countertop zones. The standard guideline of one light per 4–6 square feet only works when you adapt it to your ceiling height; otherwise, you’ll waste fixtures or starve your workspace of task lighting. Your task lighting over counters becomes misaligned, creating visibility issues while you cook. Measure your ceiling height first, adjust your spacing precisely, and you’ll build layers that actually illuminate your kitchen.
Recessed Lighting Alternatives: Pendants, Disc Lights, and Layered Options
- Pendant lighting: You suspend these fixtures, typically 30–36 inches above islands or dining surfaces, to create focal emphasis while contributing 75–150 watts of directional task illumination.
- Disc lights: You install these low-profile, 4–6 inch diameter fixtures for broader dispersion, achieving equivalent lumen output with minimal ceiling intrusion.
- Puck lights and under-cabinet strips: You position these 2–3 inch diameter units beneath cabinetry, eliminating countertop shadows that overhead cans cast.
You optimize function and aesthetics when you pair recessed bases with complementary fixtures, building a cohesive plan that addresses ambient, task, and accent requirements simultaneously.
Recommended Products
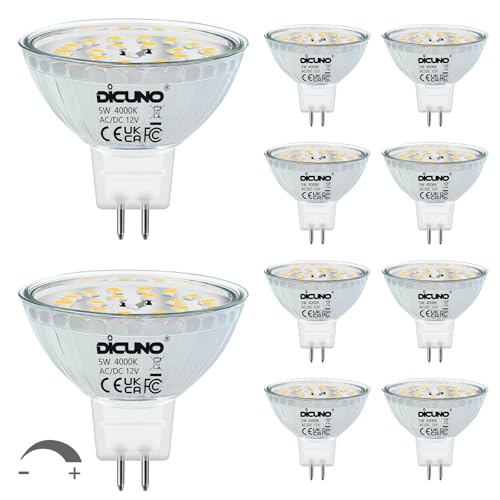
【Energy Efficiency】 DiCUNO MR16 LED bulb dimmable produces much less heat than traditional halogen bulbs, consuming only 5W while emitting a higher-quality light output of 670Lumens. Thus, it is an excellent replacement for 50-watt halogen bulbs, greatly saving your electricity bill.

Air-Tight & Directional: This gimbal light can be rotated 360° and tilted up to 38°, which is perfectly suitable for sloping ceilings and directional lighting. Meanwhile, Air-Tight light body can also eliminate the risks of falling dust and dirt from the ceiling.

Superior Light Quality: Features 90+ CRI (Color Rendering Index) rating that delivers exceptional color accuracy and vibrancy, making colors appear more natural and true-to-life compared to standard LED bulbs for highlighting artwork, retail displays, or any space where color fidelity matters
Recessed Lighting Controls: Dimmers and Smart Switches
How do you transform a static grid of ceiling cans into a responsive lighting system that adapts from precision food prep to relaxed evening dining? You install dimmers and smart switches that unlock the full potential of your LED lighting.
Start with dimmable LED recessed lights, which let you dial up 4000–4500K brightness for chopping and cooking, then dim to a softer glow for family meals or late-night cleanup while preserving energy efficiency. Choose trailing-edge dimmers, a type specifically engineered for smoother, flicker-free performance with LED fixtures, and verify compatibility with your specific lamps before purchasing.
Add neutral smart switches to automate these transitions: program scenes for general, ambient, and accent lighting, then command them by voice through home assistants. With multi-scene controls, you switch entire room moods instantly, never adjusting fixtures one by one.
Recommended Products

5 CCT Select of 2700K/3000K/3500K/4000K/5000K allows you to choose whatever light color you prefer by easily utilizing the switch on the side of the J-Box that comes with this slim recessed light

Customizable Light Color - Utilize the switch on the back of the fixture to choose your preferred light color from 5 CCT options: 2700K, 3000K, 3500K, 4000K, 5000K.

💡【Square Cut】 HONZIN 8 inch square LED recessed lighting features a true square cut-off for a clean, modern look and precise fit in square openings. Designed for easy installation and a polished finish, it adds a touch of contemporary elegance to any space.
