
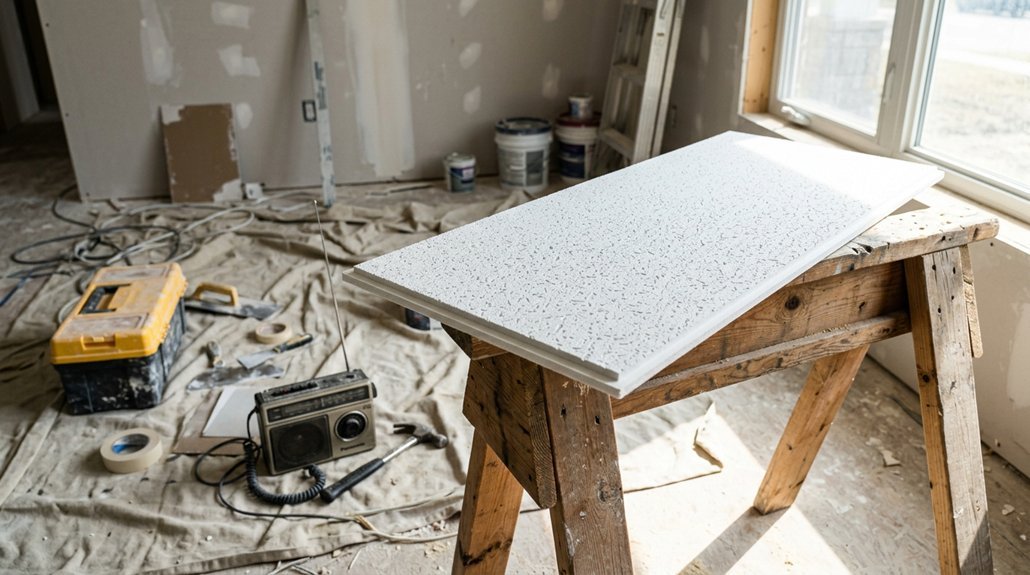


Cutting ceiling tiles perfectly is the difference between a professional-looking installation and a disaster you’ll stare at for years. You’ll need to master ten precise steps, starting with identifying whether your tiles have square, lay-in, or tegular edges, which determines your entire cutting approach. The right tools, a sharp utility knife with a 25mm snap-off blade and a 48-inch aluminum straightedge, make all the difference when you’re measuring grid-to-wall irregularities at multiple points and marking cut lines that align with grid intersections. Tegular tiles demand extra attention; you’ll mark the shadow line first, score lightly, deepen passes, and snap, while square tiles cut cleaner with a simple score-and-snap technique that takes practice to perfect. What most DIYers miss is the test-fit stage, where you’ll discover whether your cuts account for real-world wall imperfections that no single measurement captures.
Identify Your Ceiling Tile Edge Type
Before you make a single cut, you’ll need to determine exactly which edge type your ceiling tile features, since this single specification dictates every subsequent step in your installation process. You’ll examine whether your tile has a square/lay-in edge, which rests directly on the visible metal grid with its surface flush to the suspension system, or a tegular edge, which extends downward below the grid to create a recessed shadow line. When you’ve identified a square/lay-in edge, you’ll follow the standard scoring and cutting sequence until the tile separates completely without additional finishing work. Correct edge identification ensures you’ll apply the appropriate set of steps for accurate alignment and appearance, preventing misaligned installations that compromise both structural integrity and visual consistency across your ceiling plane.
Recommended Products

Waterproof and Easy to Clean:Drop ceiling tiles are made of good quality PVC vinyl with a waterproof and oil-resistant substrate. They can be cleaned with standard cleaners...
Gather Tools for Cutting Ceiling Tiles

What tools will you need to achieve clean, professional cuts on your ceiling tiles? You’ll require a tile cutter with a sharp, carbide-tipped scoring wheel for precision scoring, a T-square or heavy-duty straight edge made of aircraft-grade aluminum for guiding your cuts, a 25-foot steel measuring tape accurate to 1/32 inch for capturing space and tile dimensions, and a graphite pencil for marking visible lines. Set up a flat, clean workspace away from ceiling holes, and wear ANSI-rated safety goggles and cut-resistant gloves for protection. Maintain your scoring wheel regularly; a dull blade causes fractures. Keep 10-15% extra tiles on hand for practice cuts and adjustments, ensuring you’ve got backup material when imperfections occur.
Recommended Products

Premium PVC Material: Durable, waterproof PVC tiles ideal for humid areas like bathrooms and kitchens.
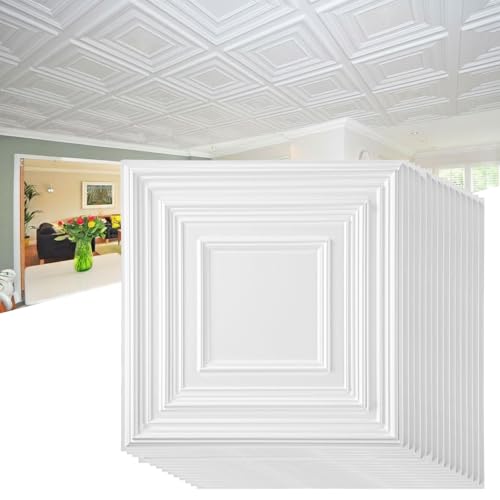
Packaging Details: you will receive 60 pieces of white ceiling tiles, each measuring approximately 12 x 12 inches/ 30 x 30 cm, covering a total area of about 58 square feet; The 3D pattern and raised design make our ceiling panels more visually appealing

For DIY Enthusiasts - Ultra-easy installation fits standard ceiling grids, so you can install 12 tiles (48 sq.ft) in minutes without tools or glue.
Measure and Mark Cut Lines From Grid to Wall
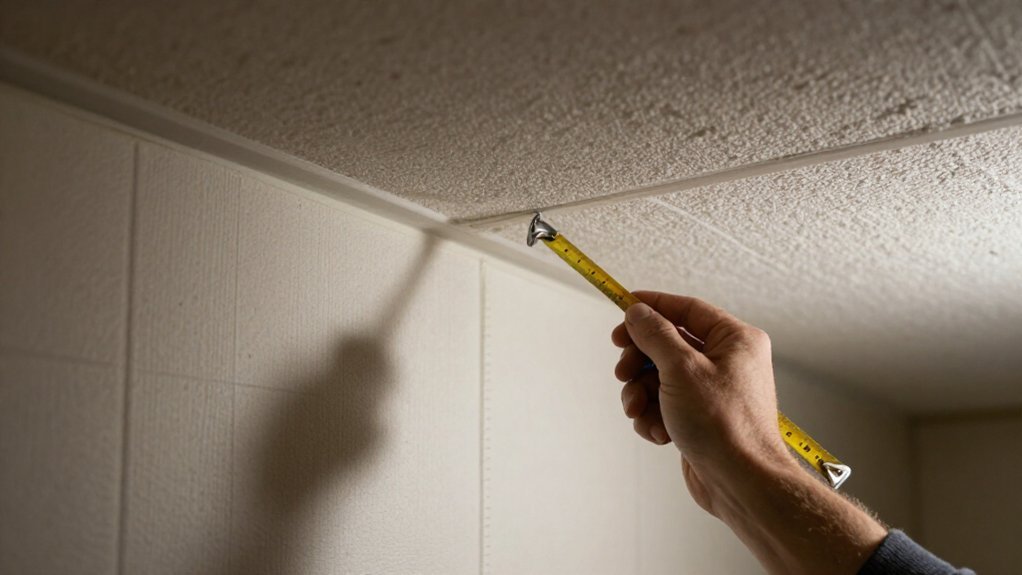
You’ll start by taking precise grid-to-wall measurements, which determine the exact width your border tiles must be trimmed to, and you’ll transfer those dimensions onto each tile using a straightedge and sharp pencil so your cut lines align perfectly with the grid’s edge. When you’re working with tegular tiles, those with the recessed lip that creates a shadow line, you’ll mark that groove location as well so the finished edge sits flush against the wall and maintains the ceiling’s clean, professional appearance. Before you score or cut anything, you’ll double-check every measurement against both the wall surface and the adjacent installed tiles, especially at corners where even a 1/4-inch error compounds into visible misalignment, because careful marking at this stage prevents costly material waste and ensures your border tiles fit like precision-manufactured components.
Recommended Products

This precision tool is ideal for cutting rabbets in ceiling tile to achieve crisp, professional-looking shadow lines
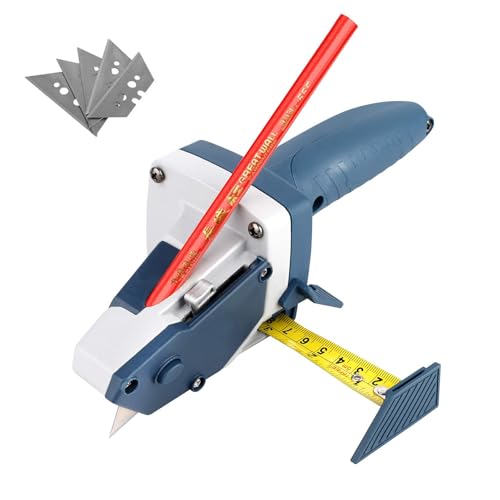
All-in-One Cutting & Measuring Solution: This drywall cutter tool combines measuring, marking, and cutting functions. The built-in 5m measuring tape and pencil holder streamline sheetrock cutting projects for professionals and DIYers

【Product Application】Tile tool V-grooves for pencil tile trim, linear grooves for tile trim profiles, three features slots for holding, ensure perfect 45-degree miter cuts and a consistent cut every time you use it.
Grid-to-Wall Measurements
With the grid fully installed and your tiles ready to fit, you’ll now focus on the precise measurements that bridge the gap between the ceiling’s structural framework and the room’s perimeter walls, a step that demands accuracy since even a 1/8-inch deviation can leave unsightly gaps or force tiles that won’t seat properly. You’ll perform grid-to-wall measurements by extending your tape measure from the grid face to the wall surface along each tile edge, recording dimensions at corners and center points to catch inconsistencies in wall plumb. When obstructions or perimeter edges require clearance, you’ll add 1/4-inch to accommodate finishing lips or sequenced fills. You’ll transfer these figures directly to tiles using a T-square, keeping lines true and parallel to grid edges. You’ll double-check every mark against multiple grid points before proceeding.
Marking Cut Lines
How do you ensure every border tile fits flush against the wall without gaps or forced edges? Start by measuring from the grid to the wall to determine exact tile widths for each border tile, then double-check measurements at multiple points along the wall to account for any grid misalignment or out-of-square walls. Use a straightedge and pencil to mark cutting lines along the tile’s edge, aligning with the grid intersection points so your cuts follow the ceiling’s actual geometry rather than assuming perfect squareness. For tegular edges, which step down below the grid for a recessed appearance, mark the shadow line where the tile edge will sit relative to the grid before cutting. Score the tile lightly first to establish a guide, then deepen the line with subsequent passes for clean, professional results.
Border Tile Planning
Where exactly should you begin when sizing border tiles that must bridge the gap between your ceiling grid and an uneven wall? You’ll start by measuring from the grid to the wall with a tape measure, capturing the precise width your ceiling tiles require at multiple points since walls rarely run perfectly straight. Next, you’ll mark cut lines on each border tile using a pencil and straight edge, aligning your marks to both the grid midpoint and wall contour for a seamless fit. Then you’ll score deeply along these lines with a tile cutter, stopping short of cutting through completely. Snap the tile gently along this score, repeating if necessary for cleanliness. Finally, you’ll position each cut edge against the wall, keeping that factory-finished edge visible for consistent appearance.
Set Up Your Cutting Workspace
Why start with a sloppy setup when your ceiling tile results depend entirely on what happens before the blade touches the surface? You need a flat, clean workspace with no ceiling holes, because any debris or uneven surface will damage your ceiling tile during cutting. Gather your essential tools now: a tile cutter for scoring, a straightedge or T-square, measuring tape, pencil, and safety gear including goggles and gloves. Measure your space and tile dimensions accurately, then mark cut lines with a pencil along your straightedge. Leave extra space for grout lines and border fittings to ensure accurate final fits. Secure the tile properly, oriented correctly, so it won’t shift during scoring and snapping. Your preparation determines your precision.
Recommended Products

EXTRA DURABLE KNIFE - Designed for a large amount of cutting work and staying durable even if it s dropped, stepped on or crushed, the sturdy knife satisfies your smooth cutting of thicker materials with a necessary weight. Thickened stainless steel channel provides a strong support for the blade to cut. With its sturdy handle, you are free from worries caused by accidental dropping and pounding

Heavy-duty aluminum body: Rigid yet lightweight snap knife with metal housing resists drops, solvents, and daily wear, giving pros a heavy duty utility knife for harsh jobsite and workshop conditions

RAZOR SHARP 25mm BLADE - Preloaded with HB Extra Heavy-Duty Snap-Off Blade from Japanese tool steel for unmatched sharpness and edge retention. The 25mm blade has 7 razor-sharp snap-off segments, great for industrial or construction applications.
Cut Square/Lay-In Tiles With a Utility Knife
Your workspace is ready, your tile is marked, and now you’re going to put that utility knife to work on square and lay-in tiles, which are the most common types you’ll encounter in residential and commercial drop ceilings. Position a straightedge or T-square along your pencil line, which you’ve drawn 0.125 inches shorter than your final measurement to account for grid clearance. With your sharp utility knife, make a light first pass to score the surface; don’t expect full penetration on this initial cut. Apply slightly more pressure on your second pass, deepening the groove until the tile begins to separate. If it hasn’t snapped cleanly, continue with additional passes, maintaining steady pressure and straightedge guidance until you achieve a clean, accurate edge for your border installation.
Recommended Products


For cutting wall and floor tiles with score and snap tile cutters

FOR WHAT? For cutting tile/glass scoring and manual tile cutter replacement wheel.
Cut Tegular Tiles and Keep the Lip Intact
How do you preserve that distinctive stepped edge when cutting tegular tiles, which feature a 1/4-inch to 3/8-inch reveal that drops below the grid system to create a more refined, shadowed appearance than standard lay-in panels? You’ll start with the same initial cut process you used for square lay-in tiles, then proceed with tegular-specific steps to maintain the lip. Place the tile against the grid to mark the shadow line, which is the groove around the tile edge that fits the grid, before cutting. After marking, remove the tile and cut halfway through along the marked line, then cut the side to remove the top half of the edge to form the lip. Repeat these tegular-specific cuts on each side requiring a tegular edge, ensuring the lip remains intact for proper fit and appearance.
Recommended Products

Commercial standard - Class A fire-rated,low-emission, waterproof, washable, flexible and durable. No sag, rot, rust and breakage

High-grade UV-Printed Ceiling Tiles:Noooza ceiling tiles are made from virgin-grade PVC vinyl ,which is Class A fire-resistant. They have a high-definition UV-printed finish. Their smooth surface is easy to clean and is resistant to oil, water, fading, and wear and tear

Sample is a random 6"x6" portion of a full panel and does not have the lay in installation capability of a full panel
Cut and Fold FoldScapes Cardboard Tiles
Moving from rigid mineral fiber tiles to FoldScapes introduces an entirely different material and installation approach, as these origami-like ceiling panels arrive as flat sheets of E Flute corrugated cardboard, a lightweight, recyclable paperboard with a fluted inner layer that provides structural rigidity without significant weight, and you’ll transform these two-dimensional shipments into dimensional ceiling features through a systematic folding process. You’ll fold along back score lines, excluding perimeter scores, ensuring sides touch or nearly touch without tearing the 100% recyclable material. Crease stress along score lines and engage rear tab locks to secure your folded tile into its final three-dimensional form. Bend perimeter tabs slightly so tiles rest properly on grid edges while blocking light leaks. Preview your pattern by laying folded tiles on the floor, rotating groups to select a cohesive layout before lifting them into place.
Recommended Products

INSTALLATION-Easily lay into a standard 15/16" T-bar drop ceiling grid system or glued over any flat substrates

✅INSTALLATION – Simply place into a standard 15/16" T-bar drop ceiling grid or adhere to any flat surface.

✅Wide Range of Uses: Ideal for diverse settings such as offices, schools, medical facilities, retail stores, industrial plants, and homes. Art3d ceiling tiles effortlessly elevate the look and function of any space.
Cut Openings for Lights, Vents, and Speakers
Where exactly should that recessed light or vent opening land so it doesn’t fight the grid pattern you’ve worked hard to establish? You’ll measure from the grid midpoint to walls or fixtures, then mark cut lines on the tile with a straightedge and pencil. For square or lay-in edge profiles, you’ll follow straight guidelines; for tegular edges that interact with the grid, you’ll use stepped guidelines so the cut aligns with the tile’s edge profile. You’ll create cardboard templates or use manufacturer trim rings as references for recessed lighting, vents, or speakers, which ensures accurate, clean openings every time. You’ll score and cut openings with a tile cutter first, and if you’re using a sharp utility knife, you’ll apply multiple shallow passes to prevent tearing the tile’s mineral fiber composition. After cutting, you’ll test-fit the tile before final installation, then trim as needed to maintain seamless edges against the grid.
Recommended Products

INSTALLATION: Easily lay into a standard 15/16" drop ceiling grid system ONLY, not for gluing up

Commercial standard - Class A fire-rated,low-emission, waterproof, washable, flexible and durable. No sag, rot, rust and breakage

【Product Application】Tile tool V-grooves for pencil tile trim, linear grooves for tile trim profiles, three features slots for holding, ensure perfect 45-degree miter cuts and a consistent cut every time you use it.
Test Fit Your Cut Ceiling Tiles Before Installing
A proper test fit saves you from discovering misaligned edges or ill-fitting corners after adhesive, staples, or grid pressure have already locked your ceiling tile into place, so you’ll want to dry-place every cut tile into its intended opening before committing to permanent installation. You’ll position each piece to verify alignment with walls, fixtures, and grid members, checking that your measured cut line accounts for any bowing or edge interactions with tegular versus square lay-in profiles. Use a pencil-marked line and straight edge to trace exact cuts on scrap or actual tiles, ensuring accurate sizing for your specific 2×2-foot or 2×4-foot mineral fiber or fiberglass composition. After scoring and cutting, temporarily remove the tile to confirm clean separation, then reinsert for final fitting. Document any needed adjustments, such as shave depth, corner relief, or border trimming, directly on the tile to streamline remaining cuts.
Recommended Products

RAZOR SHARP 25mm BLADE - Preloaded with HB Extra Heavy-Duty Snap-Off Blade from Japanese tool steel for unmatched sharpness and edge retention. The 25mm blade has 7 razor-sharp snap-off segments, great for industrial or construction applications.

◆ 1. Quantity: 3 X 25mm knives,10 * SK5 blade, 0.7mmThick

This 25mm cutter/knife is crafted with durable ABS material and thick stainless-steel support channel built to offer comfortable,non-slip grip and withstand extended use.
Fix Cracks in Cut Ceiling Tiles and Smooth Edges
You’ll need to address any hairline fractures or rough edges before installation, since even minor imperfections become glaringly obvious once tiles are mounted overhead. Clean the damaged area thoroughly, then apply a thin bead of matte finish caulk or lightweight spackle, feathering the edges so repairs blend seamlessly with the tile’s original surface texture and finish. Once the filler cures completely, sand lightly with fine-grit sandpaper, typically 220-grit, until you achieve a flush, smooth edge that matches the surrounding material and accepts paint uniformly.
Recommended Products

INCLUDE: (1) 22x6x6mm scoring wheel with 114 degree wide cut angle. Comes complete with (1) locking nut, (1) flat head hexagon socket screw, and (1) 4mm hex wrench for quick and easy installation.

For Wall tiles, Floor tiles and Porcelain tiles.

For cutting tile/glass scoring and manual tile cutter replacement wheel.
Repairing Minor Cracks
Even when you’ve measured twice and cut once with a premium 12-inch titanium-coated utility blade, hairline fractures can still develop along the scored edge of your mineral fiber tile, which typically contains 70-80% recycled content and measures either 2’x2′ or 2’x4′ in standard commercial configurations. For effective crack repair, you’ll smooth out minor cracks by making light, controlled passes with a sharp utility knife along the crack until it’s flush with the tile surface. Place a straightedge along the crack and re-score lightly to blend the seam with the surrounding tile. Apply a thin layer of matching-colored sealant or edge filler along cracks to reduce visibility and prevent further propagation. Allow any filler or sealant to dry fully per manufacturer instructions before reinstalling the tile to ensure stability.
Sanding Rough Edges
Why settle for jagged edges when you can achieve a factory-smooth finish? Sanding transforms rough cuts into professional-grade edges that install cleanly and resist future cracking. You’ll start sanding with coarse 80 to 120 grit abrasive paper, which rapidly knocks down burrs and raised fibers, then progress to 220 or 320 grit for a polished, uniform surface that matches factory edges. Clamp or hold your tile steady, then work a sanding block or compact palm sander along the cut edge with steady, even pressure; this maintains flatness and prevents dips that would compromise the seam. Always complete your sanding after scoring and cutting but before you lift the tile into position, since this sequence mitigates crack propagation and ensures consistent edge thickness. Wipe accumulated dust with a damp cloth between grit changes, because embedded particles would grind into the soft tile face and scar the finish. For brittle mineral fiber or fiberglass tiles, apply light, controlled strokes and monitor your progress closely, since aggressive sanding thins the edge and invites chipping.
