
10 Steps for Perfect Results When You Cut Ceiling Tiles
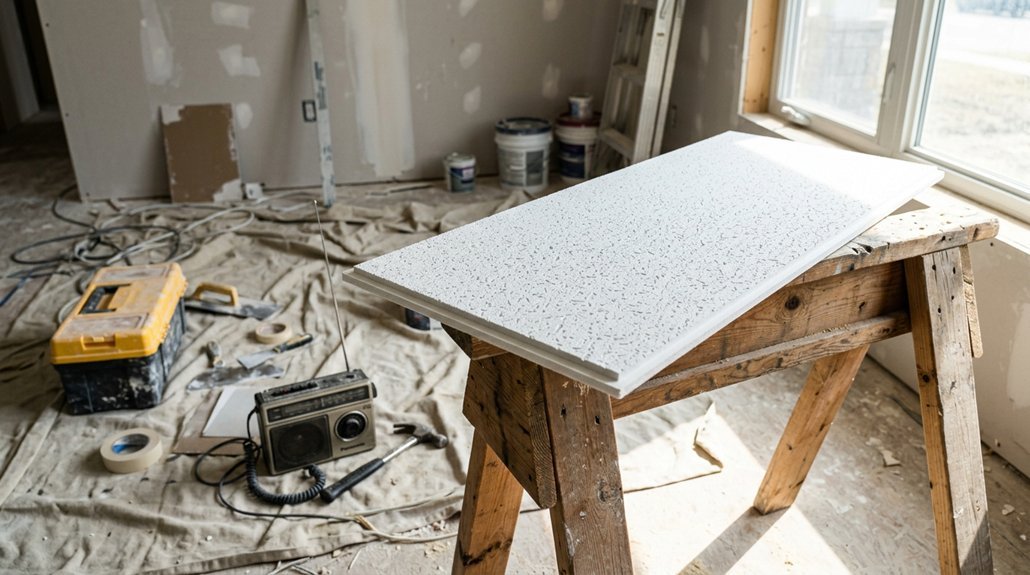
Cutting ceiling tiles perfectly is the difference between a professional-looking installation and a disaster you’ll stare at for years. You’ll need to master ten precise steps, starting with identifying whether your tiles have square, lay-in, or tegular edges, which determines your entire cutting approach.
The right tools, a sharp utility knife with a 25mm snap-off blade and a 48-inch aluminum straightedge, make all the difference when you’re measuring grid-to-wall irregularities at multiple points and marking cut lines that align with grid intersections. Tegular tiles demand extra attention; you’ll mark the shadow line first, score lightly, deepen passes, and snap, while square tiles cut cleaner with a simple score-and-snap technique that takes practice to perfect.
What most DIYers miss is the test-fit stage, where you’ll discover whether your cuts account for real-world wall imperfections that no single measurement captures.