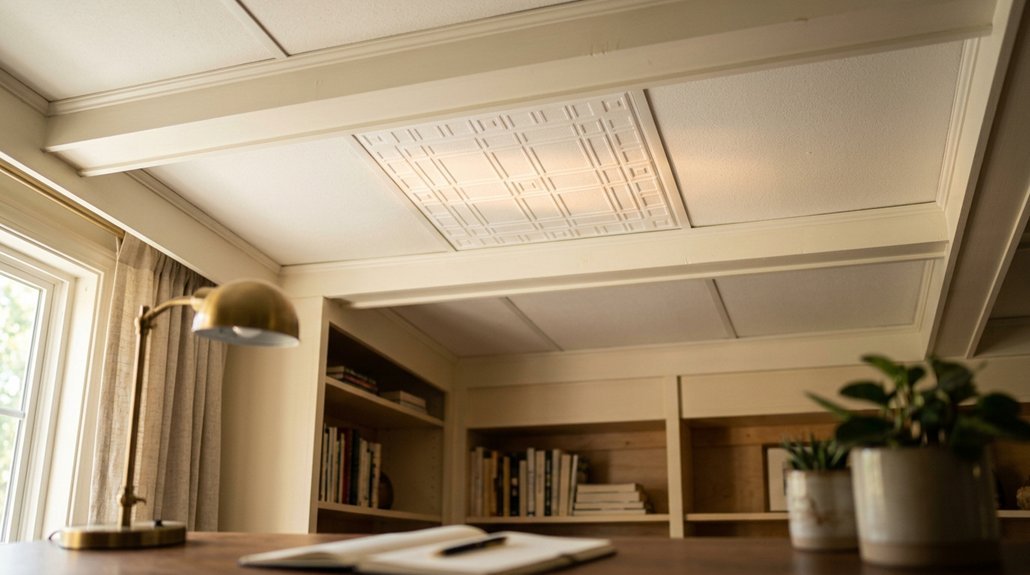
10 Steps for Perfect Results When You Cut Ceiling Tiles
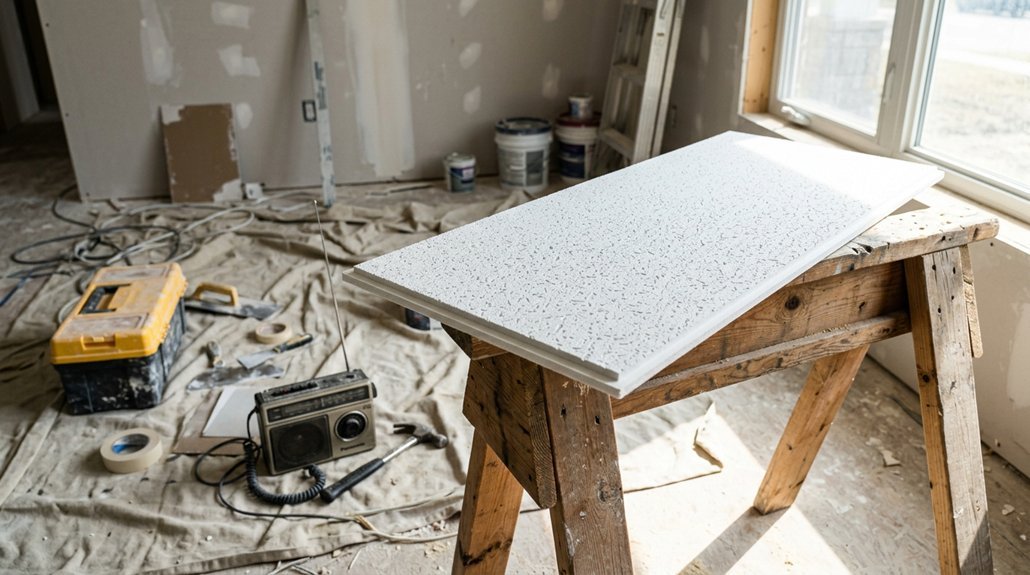
ten step guide for ceiling tile cuts

Cutting ceiling tiles perfectly is the difference between a professional-looking installation and a disaster you’ll stare at for years. You’ll need to master ten precise steps, starting with identifying whether your tiles have square, lay-in, or tegular edges, which determines your entire cutting approach.

The right tools, a sharp utility knife with a 25mm snap-off blade and a 48-inch aluminum straightedge, make all the difference when you’re measuring grid-to-wall irregularities at multiple points and marking cut lines that align with grid intersections. Tegular tiles demand extra attention; you’ll mark the shadow line first, score lightly, deepen passes, and snap, while square tiles cut cleaner with a simple score-and-snap technique that takes practice to perfect.

What most DIYers miss is the test-fit stage, where you’ll discover whether your cuts account for real-world wall imperfections that no single measurement captures.

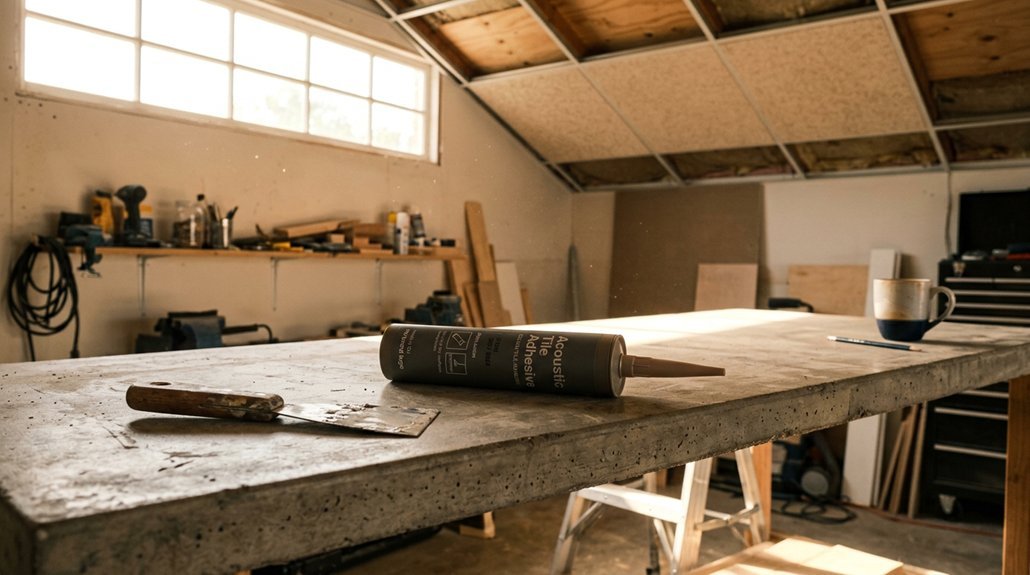
How to Install Ceiling Tiles in 8 Simple Steps

installing ceiling tiles in eight steps

You’re about to update your ceiling, but first you need to know which 2′ x 2′ or 2′ x 4′ mineral fiber tile, rated at 35-70% recycled content and 0.55 to 1.0 NRC for sound absorption, matches your 8-step installation method. Whether you choose adhesive-grade tiles, which bond directly to flat drywall or plaster substrates between 50-100°F, or grid-system tiles requiring 7/8″ x 1 1/2″ metal furring strips spaced 24″ on center, your surface preparation and layout planning will determine the final result.

The difference between a professional finish and a costly redo starts before you open the first box.

How to Cut Drop Ceiling Tiles in 5 Easy Steps

cutting drop ceiling tiles efficiently

Like Michelangelo releasing a figure from marble, you will discover that precise ceiling tile cutting demands the right tools and measured technique rather than force. Your project success hinges on understanding how 1/2-inch tolerances interact with grid systems, which utility knife blade angles prevent crumbling, and why that tapered reveal edge matters for professional results.

The method reveals itself in five deliberate steps that change raw mineral fiber, typically 3/4-inch thick with 2-by-4-foot or 2-by-2-foot standard dimensions, into seamless ceiling components. You will need specific guidance on scoring depth, cross-T alignment, and test-fit adjustments that separate amateur gaps from contractor-grade installations. The complete process awaits your attention, delivering measurable outcomes with tools you likely already own.

hometrendstudio.com
Privacy Overview

This website uses cookies so that we can provide you with the best user experience possible. Cookie information is stored in your browser and performs functions such as recognising you when you return to our website and helping our team to understand which sections of the website you find most interesting and useful.