
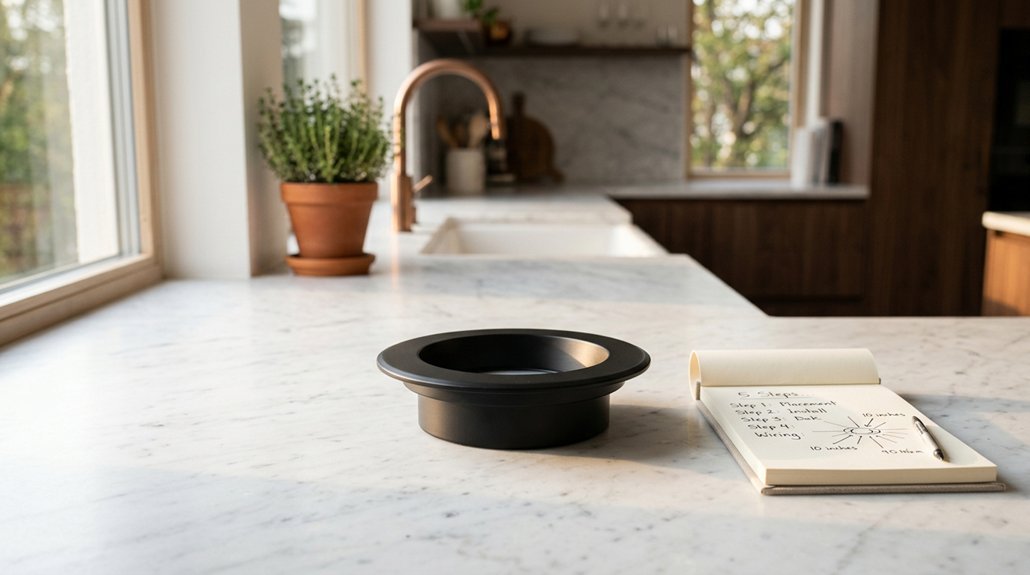


You want kitchen lighting that actually works, not just fixtures that fill holes in your ceiling, which means understanding whether aisle lighting or counter-edge lighting suits your layout, since aisle placement centers fixtures in walkways for general illumination while counter-edge positioning, typically 12 to 18 inches from cabinetry, directs light where you prep food and reduces shadowing by 40 to 60 percent compared to basic center-of-room designs. Before you mark a single ceiling spot, map your task zones: sinks, stoves, and primary countertops each require targeted lumens, specifically 300 to 500 lux for food preparation surfaces, and spacing cans at half your ceiling height, so 4-foot intervals for 8-foot ceilings, ensures even distribution without dark spots. Leave rough-in wiring adjustable before cabinets arrive; this 10 to 15 percent upfront flexibility saves costly drywall repair later when fine-tuning reveals your initial calculations missed a beam or soffit. Under-cabinet LED strips, preferably 90+ CRI dimmable fixtures in 2700K to 3000K color temperatures, complete the system by eliminating the shadows your overhead cans cannot reach. The right sequence matters more than any single product specification, and skipping even one step leaves you with the uneven, glare-prone kitchens that dominate renovation complaint forums.
Choose Your Placement Philosophy: Aisle Lighting or Counter Edge Lighting?
Where exactly should you position your can lights to get the most functional, shadow-free illumination in your kitchen? You must first choose between two competing philosophies for your recessed lighting layout. Electricians typically favor aisle lighting, which positions fixtures down the center of your L-shaped kitchen’s walkway to illuminate pathways and reduce shadows along counters. Architects, however, recommend balancing aisle and counter edge lighting to prevent back-of-head shadows while keeping countertop edges evenly lit. Counter edge lighting places fixtures closer to cabinets, preventing shadows on work surfaces and supporting clearer prep spaces. Aisle lighting delivers strong general coverage, though you’ll likely need additional task lighting near counters to eliminate dark gaps. Real-world installations often require post-installation adjustments, with many homeowners adding fixtures later to achieve even edge illumination and task-focused brightness.
Recommended Products
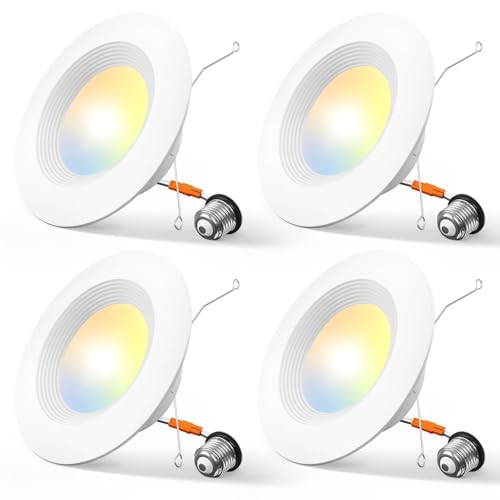
Eye protection: The brightness of the can lights can be smoothly adjusted from 10% to 100%, so you can choose the most comfortable brightness for your eyes. Note: This light is compatible with most dimmers on the market, except for the smart dimmer.

Night light Feature: 6 inch led recessed light in night light mode emits 2000K amber for very soft illumination and added ambiance. It also can provide no-glare lighting when you wake up at night which is very convenient.

5 CCT-in-1: 5 color temperature(2700K, 3000K, 3500K, 4000K, 5000K) is selectable to you, which successfully eliminates the hassle of returning or exchange products due to inappropriate color temperature. Just slide the switch on the side of the J-box and you will get the most-desired color that best fit in your room type.
Map Task Zones Before Marking Any Ceiling Spots
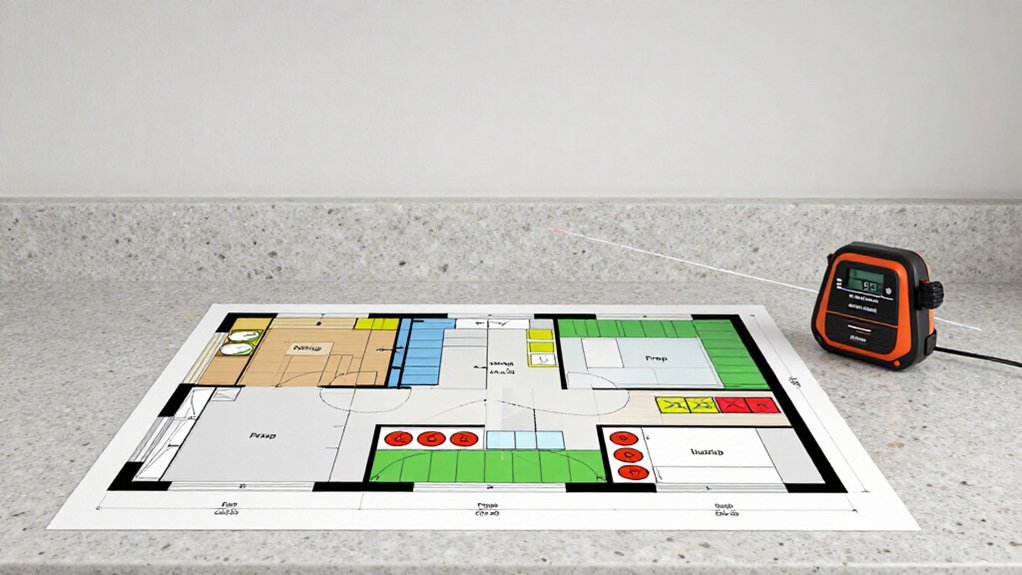
How do you guarantee your can lights actually illuminate the work surfaces where you’ll prep meals, wash dishes, and cook daily? You map your task zones first. Identify countertop edges, sink, and stove areas that require direct lighting before marking any ceiling spots. This critical step ensures your lighting plan addresses real work areas, not just empty floor space. Mark zones where lighting is essential, such as along the countertop edge and above the sink, to minimize shadows on work surfaces. Avoid placing lights directly over your head; plan fixtures on the aisle or periphery to prevent glare and shading. Use a mid-room layout approach, beginning in the center and extending outward to ensure even coverage. Pre-measure distances, positioning lights 12–18 inches from walls above countertops, reducing wall shadowing and aligning with under-cabinet lighting plans.
Recommended Products

Ultra Bright No Dark Spot: Wefomey 16.4ft COB Lights built-in 3100 LEDs (620 LEDs/m) can delivers more brightness and continuous linear light. CRI>90 colors are rich and the restoration is strong. Compared with traditional SMD LED strips, more brighter, softer, spotless, and more uniform light.

Ultra Bright No Dark Spot: Wefomey 32.8ft COB Lights built-in 6080 LEDs (608 LEDs/m) can delivers more brightness and continuous linear light. CRI>90 colors are rich and the restoration is strong. Compared with traditional SMD LED strips, more brighter, softer, spotless, and more uniform light.

【Material】Aluminum alloy & Plastic lamp body. 36inch, 22watt, 1426lm, 120 Volts.
Space Can Lights at Half Ceiling Height: Then Adjust for Edge Coverage
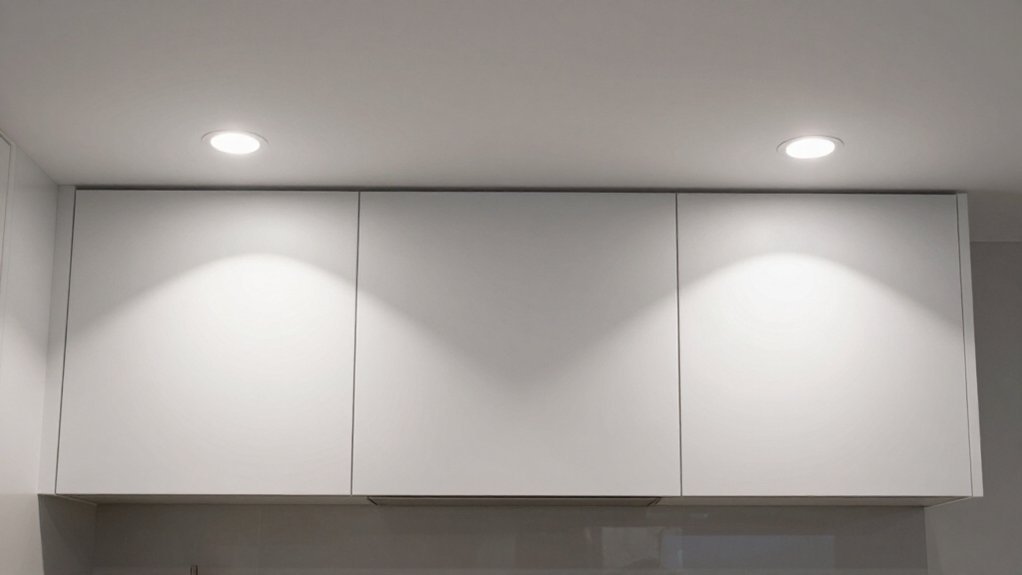
Why settle for uneven kitchen lighting when a simple spacing rule delivers professional results? You space your recessed lighting at about half the ceiling height, so an 8-foot ceiling means placing fixtures roughly 4 feet apart. You keep lights 2–3 feet from walls to prevent edge shadows and ensure countertop illumination reaches the edges. You start from the center, working outward with a straight layout plan, testing spacing before cutting any holes. For long runs, you maintain consistent spacing near 4 feet on an 8-foot ceiling, balancing general and task lighting across counter areas. After initial placement, you verify edge coverage reaches counter edges, avoiding fixtures directly overhead where they cast shadows on your work surface.
Recommended Products

Sunco 12 Pack BR30 LED Bulb Flood Light, E26, 11W=65W, 5000K Daylight

Selectable Colors:Our LED can lights have 5 color temperature selectable, 2700K, 3000K, 4000K, 5000K, 6000K. Don't worry about what color temperature to buy, eliminates the hassle of returning or exchanging these due to inappropriate color temperature.

ADJUSTABLE AMBIENCE: Our recessed ceiling lights feature 5 selectable color temperatures (2700K, 3000K, 3500K, 4000K, 5000K), and can easily switch from warm to daylight, feature long-lasting integrated LEDs, and a high CRI of 90 for accurate color rendering
Pre-Install Adjustable Wiring for Post-Cabinet Fine-Tuning
When you’re mapping out your kitchen’s electrical rough-in, you’ll want to wire for flexibility first and fixtures second, because cabinets, islands, and countertops rarely land exactly where your initial measurements suggest. You’ll pre-install adjustable wiring by roughing in wire whips and drywalling the ceiling before cabinet installation, which maximizes future flexibility for post-cabinet tuning. Leave accessible, soft bends in the wiring, and run separate circuits if possible to ease later relocation of can lights. You’ll create enough slack in the ceilings to allow shifting fixtures by several inches without re-running conductors, and you’ll label each wire run while documenting approximate light positions so adjustments proceed without guesswork. Plan for drill holes to tune placement after cabinet installation, enabling precise alignment with countertop edges.
Recommended Products

【Semi-Flush Design & Modern Look】FadimiKoo 3-lights black semi flush mount ceiling light featured with thick clear glass shade which emits soft 360°bright lighting. Paired with a sturdy matte black canopy and heavy-duty metal lamp body, it is an ideal indoor glass light fixtures, such as a kitchen light, spotlight, dining room light, living room light, exhibition light, hallway light, porch light, bar light, coffee shop light, adds a sense of modern farmhouse chic!


[ETL Certificates Safety Cabinet Lights]-ASOKO Under Cabinet Kitchen Lights have passed the stringent ETL safety certification, and specially reinforced cords and plugs ensure stability and safety even during frequent plugging and unplugging in daily use, suitable for kitchen/table /workbench
Complete the Plan With Under-Cabinet Task Lighting
Wherever you’re slicing vegetables or reading a recipe, you’ll need direct, shadow-free illumination that your ceiling cans alone cannot provide, which is precisely why under-cabinet task lighting completes your kitchen’s layered lighting scheme. Mount your fixtures 12 to 18 inches from the wall, positioning them to wash light evenly across countertop edges while eliminating shadows that recessed lighting placement leaves behind. Select LED under-cabinet fixtures with a CRI of 90 or higher and dimmable controls, which deliver accurate color rendering for food prep and adjustable brightness for any task. Space fixtures 2 to 4 feet apart along the full counter length, coordinating their output with your ceiling cans to prevent dark gaps. Rough in wiring early, then fine-tune alignment after cabinet installation for seamless integration with existing molding.
Recommended Products

5-in-1 CCT: Eliminate the Guesswork. Because this recessed ceiling light features a 5-color switch on the J-box, you can physically toggle between 2700K Warm White and 5000K Daylight before installation. This means no more return hassles for buying the wrong color, ensuring the perfect ambiance for any room. Versatility is proven by the built-in dip switch supporting 2700K, 3000K, 3500K, 4000K, and 5000K.

Trustworthiness: This 4in canless LED recessed light is IC rated, ETL & FCC certified. It is permitted to be in contact with insulations in ceilings, meaning the junction box is thermally protected. Our customer support team will also response your cases within 24 hours.

Amico 4 inch can light, applicable for can diameters of 3.94-4.17 inches
