
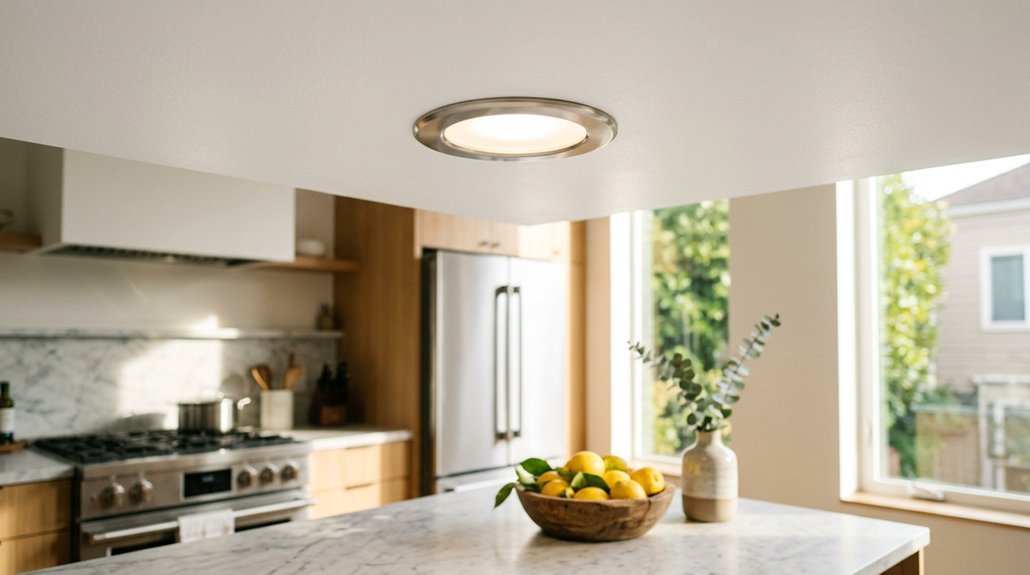


You will spend roughly 60% of your home’s lighting energy in the kitchen, yet most homeowners place recessed fixtures based on ceiling symmetry rather than actual task zones, which means you are likely illuminating your floor while leaving your countertops in shadow. To fix this, you need a 10-step system that maps your work surfaces first, spaces 4-inch or 6-inch housings at half your ceiling height (4 feet for 8-foot ceilings, 5 feet for 10-foot ceilings), and layers under-cabinet LED strips for shadow-free prep.
Space Recessed Lights Half Your Ceiling Height Apart
How do you achieve perfectly even illumination across your entire kitchen ceiling? You’ll space your recessed lighting at half your ceiling height, a proven ratio that eliminates dark spots and glare. For 8-foot ceilings, position fixtures approximately 4 feet apart; stretch that to 5 feet when you’re working with 10-foot ceilings, maintaining uniform brightness regardless of your room’s vertical dimension. You’ll want to keep lights 2 to 3 feet from walls, minimizing edge shadows and reflective glare that disrupt visual comfort. Treat this spacing calculation as your foundational starting point, then refine placement to accommodate counter edges, island perimeters, and other task lighting zones where focused brilliance matters most. Before committing to permanent ceiling cuts, you’ll test your layout by tape-marking intended positions or temporarily mounting a flashlight to evaluate beam overlap, ensuring complete, shadow-free coverage across every square foot of your kitchen workspace.
Recommended Products

5 CCT-in-1: 5 color temperature(2700K, 3000K, 3500K, 4000K, 5000K) is selectable to you, which successfully eliminates the hassle of returning or exchange products due to inappropriate color temperature. Just slide the switch on the side of the J-box and you will get the most-desired color that best fit in your room type.

5-in-1 CCT: Eliminate the Guesswork. Because this recessed ceiling light features a 5-color switch on the J-box, you can physically toggle between 2700K Warm White and 5000K Daylight before installation. This means no more return hassles for buying the wrong color, ensuring the perfect ambiance for any room. Versatility is proven by the built-in dip switch supporting 2700K, 3000K, 3500K, 4000K, and 5000K.
Count Recessed Fixtures Using the Coverage Formula
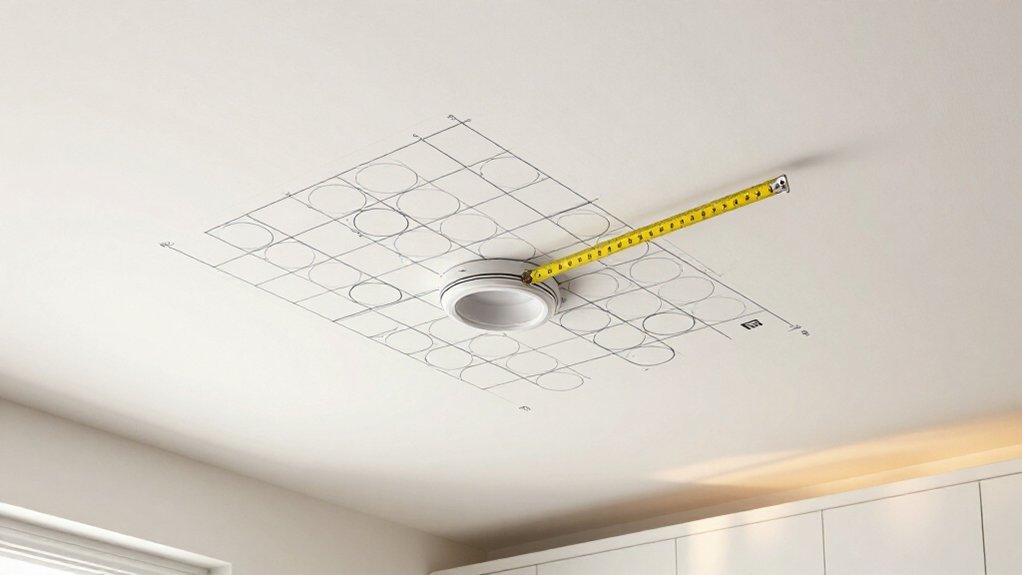
You’ll calculate your fixture count by dividing your kitchen’s total square footage by each light’s coverage area, which is approximately 25 square feet for 4-inch fixtures and 36 square feet for 6-inch fixtures, so a 120-square-foot space needs roughly four to five 6-inch units or five to six 4-inch units depending on your ceiling height and layout preferences. This Coverage Area Basics approach, where you match the fixture size to the room dimensions while accounting for the lumen output measured in lumens rather than watts, ensures you’re neither under-lighting work surfaces nor overspending on unnecessary fixtures that increase energy consumption without adding practical value. Once you’ve worked through this Fixture Count Math, you’ll have a precise baseline number that you can adjust upward for task-heavy zones like islands or downward where cabinets, soffits, or existing wiring create physical constraints.
Recommended Products

5 CCT-in-1: 5 color temperature(2700K, 3000K, 3500K, 4000K, 5000K) is selectable to you, which successfully eliminates the hassle of returning or exchange products due to inappropriate color temperature. Just slide the switch on the side of the J-box and you will get the most-desired color that best fit in your room type.
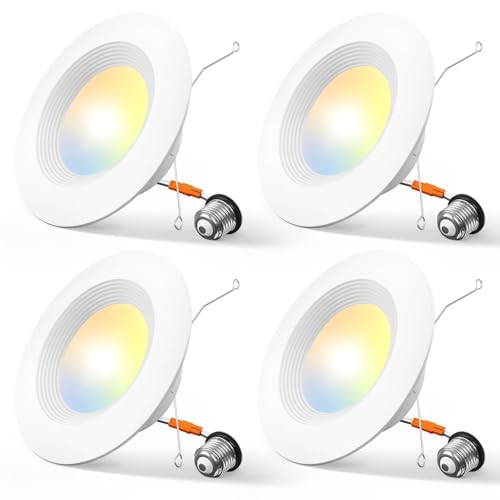
Eye protection: The brightness of the can lights can be smoothly adjusted from 10% to 100%, so you can choose the most comfortable brightness for your eyes. Note: This light is compatible with most dimmers on the market, except for the smart dimmer.

💡【5 CCT-in-1】5 color temperature options (2700K/3000K/3500K/4000K/5000K) for different application scenarios, eliminates the hassle of returning or exchange products due to inappropriate color temperature. Just slide the switch on the side of junction box for your desired color temperature.
Coverage Area Basics
Where exactly should you start when planning your kitchen’s recessed lighting layout? You begin with recessed lighting coverage fundamentals that directly shape your entire design. Light coverage area varies by fixture size: 4-inch fixtures illuminate approximately 25 square feet, while 6-inch fixtures handle about 36 square feet. Your ceiling height critically determines fixture spacing, since you’ll typically space lights at roughly half that height, meaning an 8-foot ceiling demands about 4 feet between fixtures. This spacing rule prevents dark gaps while avoiding excessive overlap.
- Measure your kitchen’s total square footage before selecting any fixtures
- Match fixture diameter to your ceiling height and desired beam spread
- Adjust placement based on whether you need general, task, or accent lighting
You calculate fixture needs by dividing room area by your chosen fixture’s coverage area, though you’ll refine this count considering room shape and specific tasks.
Fixture Count Math
Once you’ve grasped coverage fundamentals, what’s the fastest way to pin down exactly how many fixtures your kitchen needs? You’ll use a simple formula: divide your room’s total square footage by each light’s coverage area, which gives you a solid baseline for fixture count. For 4-inch recessed lighting, expect about 25 square feet of coverage per unit, while 6-inch fixtures handle roughly 36 square feet. For your kitchen lighting plan, you’ll also apply the spacing rule: position fixtures approximately half your ceiling height apart, so an 8-foot ceiling means 4 feet between units. You’ll balance this calculation by selecting 4-inch lights for task zones and 6-inch options for ambient fill. Finally, you’ll reduce your total fixture count and avoid overlighting by pairing recessed fixtures with under-cabinet task lighting.
Choose 4-Inch or 6-Inch Recessed Fixtures by Purpose
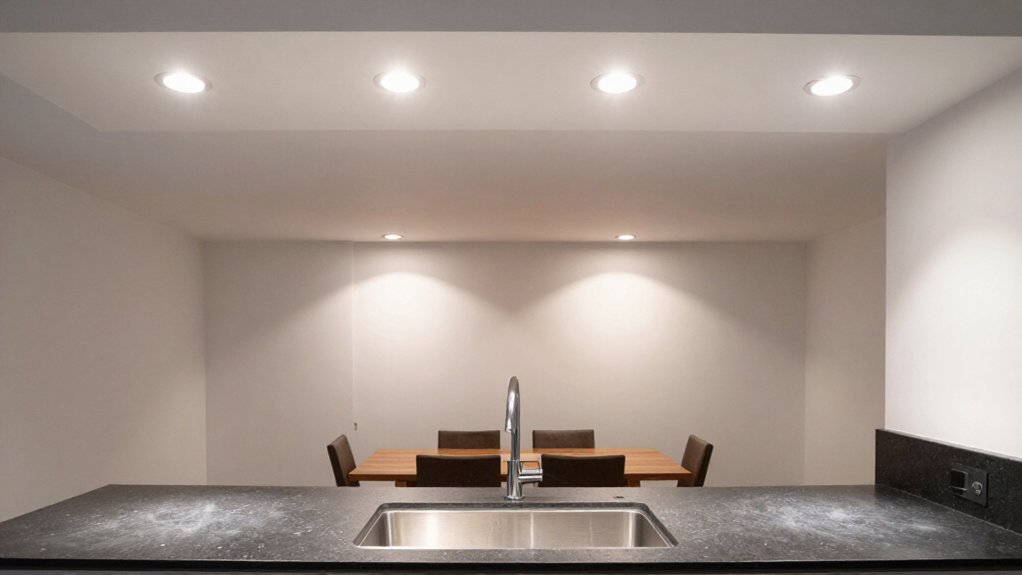
How do you decide which recessed fixture size will actually serve your kitchen’s lighting goals without wasting money on the wrong coverage? You match fixture size to purpose: 4-inch fixtures deliver precise task lighting for under-cabinet edges and tight prep zones without overwhelming small spaces with excessive brightness, while 6-inch fixtures cast wider beam spreads for general kitchen lighting across expansive islands and open floor plans. Consider your ceiling height when spacing: you’ll cluster 4-inch lights closer for detail work, or space 6-inch units farther apart to reduce fixture count while maintaining even illumination. Your recessed lighting performs best when you pair size with trim type; fixed trims suit ambient glow, adjustable and eyeball trims direct focused beams where you need them.
Match fixture size to purpose: 4-inch for precise task lighting in tight zones, 6-inch for wider beam spreads across open kitchens.
- Select 4-inch fixtures with GU5.3 bases for accent and detailed task zones
- Install 6-inch E26-compatible housings for broad, energy-efficient ambient coverage
- Specify adjustable trims when you need directional control over countertops and cooking surfaces
Recommended Products

5 CCT-in-1 Color Temperature Adjustment: LAMPHOME's LED recessed lights feature a 5-in-1 color temperature selection, ranging from 2700K to 5000K, allowing you to effortlessly customize the lighting to suit your room's ambiance. This eliminates the need for product returns or exchanges due to color temperature mismatches. Simply slide the switch on the side of the J-box to choose the most desired color temperature for your space.

INNOVATIVE LED CEILING LIGHT: Juno Wafer LED Downlights feature a switch for easy color temperature adjustment and eliminate the need for recessed housings; An innovative slim design allows for easy remodel or new construction installation from below

Trustworthiness: This 4in canless LED recessed light is IC rated, ETL & FCC certified. It is permitted to be in contact with insulations in ceilings, meaning the junction box is thermally protected. Our customer support team will also response your cases within 24 hours.
Map Every Kitchen Work Zone Before Placing Lights
Before you purchase a single recessed fixture, you’ll map every kitchen work zone by identifying your counters, sink, stove, and island, then you’ll mark these areas as primary lighting targets because precise measurements, typically within 2-inch tolerances, determine whether your 4-inch or 6-inch housings deliver adequate lumens where you actually prep food. You’ll measure each zone precisely, noting that standard 24-inch deep countertops require lights set 18 to 24 inches from the wall, while 36-inch to 48-inch islands need fixtures spaced 24 to 30 inches apart on center, ensuring your 600-lumen to 900-lumen LED trims illuminate work surfaces without casting head shadows when you’re chopping vegetables or reading recipes. You’ll mark lighting priority spots with painter’s tape, keeping fixtures at least 36 inches from walls to prevent shadowing, positioning them slightly forward of where you stand at the sink and stove to avoid glare on stainless steel or quartz composite surfaces, and you’ll note where 12-volt or 120-volt under-cabinet LED strips, measuring 8 inches to 42 inches in length with color temperatures from 2700K to 4000K, will complement your ceiling layout to eliminate dark spots between 4-inch gimbal or 6-inch baffle trims.
Recommended Products

5 CCT-in-1: 5 color temperature(2700K, 3000K, 3500K, 4000K, 5000K) is selectable to you, which successfully eliminates the hassle of returning or exchange products due to inappropriate color temperature. Just slide the switch on the side of the J-box and you will get the most-desired color that best fit in your room type.

HIGH BRIGHTNESS - Ensenior 6 inch recessed lighting enjoy up to 90% energy savings without compromising on brightness. The enhanced LED chip emits 1200LM and consumes only 12 Watts. 5%-100% smooth dimming, compatible with most dimmers.

5 CCT-in-1: 5 color temperature(2700K, 3000K, 3500K, 4000K, 5000K) is selectable to you, which successfully eliminates the hassle of returning or exchange products due to inappropriate color temperature. Just slide the switch on the side of the J-box and you will get the most-desired color that best fit in your room type.
Identify Key Work Areas
Why start with guesswork when you can map your kitchen’s actual work zones and place every recessed light with purpose? You begin by identifying where real work happens: food prep on countertops, cooking at the stove, washing at the sink, and plating at islands or dining areas. Your recessed lighting must target these work zones directly, not the floor between counters, so shadows never fall across your cutting board or cooktop. Proper task lighting demands you position fixtures above countertops, under cabinets, and near the sink, with careful spacing roughly at half your ceiling height, about 4 feet on an 8-foot ceiling, for even coverage.
- Place lights over edge countertops, not walkways, to eliminate shadows on work surfaces
- Offset fixtures from walls to prevent wall shadowing that reduces visibility
- Balance illumination over islands and peninsulas while avoiding glare on reflective surfaces
Measure Each Zone Precisely
Once you’ve pinpointed where the real work happens in your kitchen, you’re ready to get your tape measure out and map every zone with the kind of precision that separates a professional-grade lighting plan from a guessing game. Start your measurement at every countertop edge, sink basin, stove surface, and island overhang to determine exactly where task lighting proves essential. Identify the primary cabinet and counter boundaries so your layout places fixtures roughly 8 to 12 inches off the wall, delivering clean countertop-edge illumination without gaps. Assign distinct zones for direct work-surface lighting, covering prep areas and cooking surfaces, while creating separate zones for ambient distribution; this separation prevents overlapping shadows that degrade visibility. Plan your layout so lights align with work-zone edges, not the room’s center, minimizing head-shadow interference. Apply a midpoint-first approach: position initial fixtures near the center of main zones, then extend outward for even, consistent coverage.
Mark Lighting Priority Spots
Where exactly does your kitchen demand light the most? You’ll map every work zone first: counter edges, sink, stove, and island, then mark where task lighting becomes essential for safe, efficient prep. Your recessed lighting must target countertops directly, not the center floor, since light aimed behind your head casts shadows that obscure cutting and cooking. Start from the room’s middle and anchor outward, aligning each fixture with major work zones for balanced, shadow-free coverage.
- Position recessed lighting above countertop edges, not open floor space, to eliminate shadows on work surfaces.
- Layer under-cabinet lighting with ceiling fixtures for consistent task lighting across all work zones.
- Mark stove and sink locations first, as these high-demand areas require the most precise illumination placement.
You’ll combine both sources for complete coverage.
Position Recessed Lights Over Countertops, Not Floor Space
How should you position recessed lights so your kitchen actually works better? You direct your recessed lighting straight over countertops, not the floor between them, because that placement turns wasted ambient glow into focused task lighting where you actually chop, mix, and prep. Follow these placement guidelines: align each fixture’s light edge with your countertop edge, which typically means positioning cans 8 to 12 inches off the wall to cut wall shadows and glare. Space your countertop-focused lights at half your ceiling height apart, so on a standard 8-foot ceiling, you install them roughly 4 feet apart for even coverage. Skip the room center; target the countertop run and sink area instead. Add under-cabinet lighting to boost countertop visibility and reduce your reliance on floor-area lighting.
Recommended Products

💡Great Brightness-- Very bright nicely diffused light, no led dots of light showing on your countertops, the light bar has 33LEDs, covering a wide range. The color is best for detailed work and kitchen cooking.
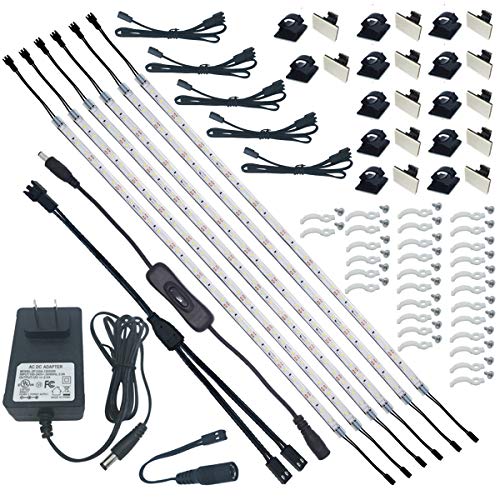
Easy Installation. The super strong self-adhesive tape on the back, mounting clips and screws, small extension cables and connectors and cable tiers will help you to install those very slim flexible LED light strip quickly. And all the parts can be well hided easily.

【Super Bright】 --16W super bright (960 lumens) daylight 5000K under cabinet lights. Nice light color. No LED dots. No light glare.
Keep Recessed Lights 2–3 Feet From Walls
Why risk uneven illumination when a simple setback solves the problem? In your recessed lighting layout, you’re going to maintain 2–3 feet of wall clearance on all sides, which eliminates harsh shadows and delivers that even illumination you need across countertops and work surfaces.
- Using a flashlight taped to your ceiling lets you preview beam spread before cutting holes, saving costly mistakes in your kitchen lighting plan.
- For standard 8-foot ceilings, pair this wall clearance with roughly 4 feet between fixtures to prevent overlapping hot spots.
- Positioning lights away from direct sightlines along cabinetry reduces glare on glossy surfaces and blends beam patterns smoothly.
This simple spacing rule, when combined with proper ceiling height calculations, transforms your recessed lighting layout into a professional-grade installation that maximizes both coverage and comfort.
Recommended Products

5-in-1 CCT: Eliminate the Guesswork. Because this recessed ceiling light features a 5-color switch on the J-box, you can physically toggle between 2700K Warm White and 5000K Daylight before installation. This means no more return hassles for buying the wrong color, ensuring the perfect ambiance for any room. Versatility is proven by the built-in dip switch supporting 2700K, 3000K, 3500K, 4000K, and 5000K.

Night light Feature: 4 inch led recessed light in night light mode emits 2000K amber for very soft illumination and added ambiance. It also can provide no-glare lighting when you wake up at night which is very convenient.

HIGH BRIGHTNESS - Ensenior 4 inch recessed lighting enjoy up to 90% energy savings without compromising on brightness. The enhanced LED chip emits 750LM and consumes only 9 Watts. 5%-100% smooth dimming, compatible with most dimmers.
Space Kitchen Island Recessed Lights 24–30 Inches Apart
You’ll want to space your kitchen island recessed lights 24–30 inches apart in a straight line, which ensures even coverage across the entire surface while positioning the first fixture roughly 24–30 inches from the island’s edge so you balance task lighting without glare on the countertop. For fixture selection, you’ll use 4-inch or 6-inch recessed lights depending on your island size, with 6-inch options providing a broader beam spread that works better for larger islands, and you’ll align these fixtures directly above work zones like prep areas, sinks, or seating edges to minimize shadows where you need visibility most. Before cutting any openings, you’ll test your layout by taping flashlights or temporary fixtures in place, confirming even brightness along the full island length while verifying that the spacing, typically 24–30 inches between centers, delivers the task lighting balance your workspace demands.
Recommended Products

Night light Feature: 6 inch led recessed light in night light mode emits 2000K amber for very soft illumination and added ambiance. It also can provide no-glare lighting when you wake up at night which is very convenient.

ADJUSTABLE WHITE COLOR TEMPERATURE WITH FLIP SWITCH CONTROL – Customize your lighting experience effortlessly with 5 selectable color temperature options ranging from Soft White (2700K) to Daylight (5000K). Adjust the color tone directly by flipping the wall switch or preselecting the desired setting on the fixture before installation. This 5/6 inch LED can lights retrofit recessed lighting solution lets you preset the switch on the fixture for the ideal mood before install.

5-in-1 CCT: Eliminate the Guesswork. Because this recessed ceiling light features a 5-color switch on the J-box, you can physically toggle between 2700K Warm White and 5000K Daylight before installation. This means no more return hassles for buying the wrong color, ensuring the perfect ambiance for any room from a cozy bedroom to a bright, functional kitchen. Versatility is proven by the built-in dip switch supporting 2700K, 3000K, 3500K, 4000K, and 5000K.
Optimal Island Spacing
When you’re planning kitchen island lighting, what spacing delivers the most even, shadow-free illumination across your entire work surface? You achieve optimal island lighting by positioning your recessed lights 24–30 inches apart in a straight line above the island, which ensures the beam spread blankets every inch of countertop without dark patches.
- Space island fixtures 24–30 inches apart to eliminate gaps along counter edges where shadows creep.
- Align multiple recessed lights in a single, evenly spaced row for uniform coverage across the full work surface.
- Treat the island as its own lighting zone, calculating spacing so combined beam spread reaches all working areas.
You avoid placing lights dead center if island depth causes shadowing; instead, offset slightly to illuminate edge work zones where you chop, prep, and cook.
Fixture Alignment Tips
How do you ensure your kitchen island recessed lights deliver professional-grade illumination without the guesswork? You start by positioning your island lighting in a straight line above the island, maintaining spacing of 24–30 inches between each fixture to create consistent, overlapping coverage. You center these lights over the countertop edges, and you avoid placing them directly above sinks or seating areas where shadows would disrupt your workspace. On an 8-foot ceiling, you align fixtures roughly 3–4 feet from the island ends, adjusting for island width to achieve even light distribution. You select recessed fixtures with narrow beam spreads, typically 25–40 degrees, or adjustable trims that direct light precisely where you need it, which creates overlapping beams eliminating dark spots along island edges. When mounting multiple lights, you begin at the island center and work outward, establishing symmetry that guarantees balanced, professional results.
Task Lighting Balance
Achieving professional-grade task lighting across your kitchen island starts with spacing your recessed fixtures 24–30 inches apart in a straight line configuration that delivers uniform, shadow-free illumination across the entire work surface. You will position your first light 24–30 inches from the island edge or adjacent cabinetry, which eliminates shadows at work zones while maintaining proper island lighting spacing throughout your recessed lighting layout. Your task lighting balance depends on placing fixtures at roughly half your countertop height, ensuring consistent coverage without glare. You should select 4-inch or 6-inch fixtures with overlapping beam spread to minimize dark spots where prep work occurs, aiming lights toward countertop edges rather than room centers to reduce shadows behind your head.
- Space fixtures 24–30 inches apart in a straight line for uniform coverage
- Position first light 24–30 inches from island edges to eliminate shadow zones
- Aim fixtures toward countertop edges, not room centers, for optimal task lighting balance
Avoid Shadows With Recessed Lights in Front, Not Behind
Why do shadows still plague your countertops even after installing recessed lights? You’ve likely positioned your fixtures directly behind where you stand, which casts your own shadow onto the front-facing workspace. In your kitchen lighting plan, place recessed lighting in front of work surfaces rather than behind your head, ensuring illumination reaches countertops without obstruction. Aim fixtures along counter and island edges instead of centering them over open floor space, which reduces shadows on prep zones. Position lights roughly halfway between the wall and countertop edge for even coverage without glare on glossy surfaces. Test shadow patterns before final installation by simulating light placement with tape and a flashlight, verifying your front-facing workspace receives full, direct illumination where you’ll chop, mix, and prepare meals.
Recommended Products

HIGH BRIGHTNESS - Ensenior 4 inch recessed lighting enjoy up to 90% energy savings without compromising on brightness. The enhanced LED chip emits 750LM and consumes only 9 Watts. 5%-100% smooth dimming, compatible with most dimmers.
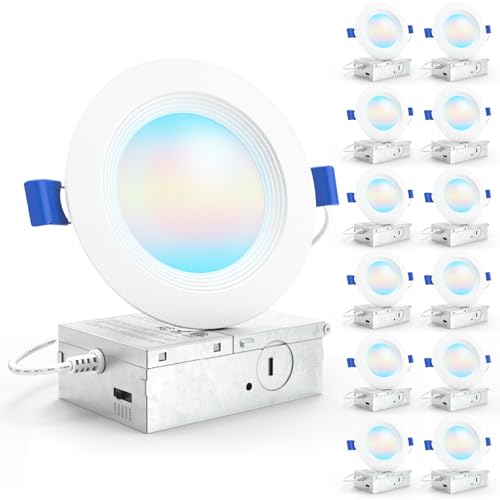
4 Inch Slim LED Downlight with Junction Box

💡【Enhanced Night Light】Our 4 inch LED recessed lighting features a built-in night light that emits a soft 2700K amber glow on the trim of the downlight. It's perfect for providing convenient, glare-free lighting during nighttime.
Layer Under-Cabinet Lights With Recessed Ceiling Lights
Even when you’ve positioned your recessed lights in front of your work surfaces, you’ll still notice a stubborn shadow line along the front edge of your countertops, that dark band where the cabinet overhang blocks the downward light. You eliminate this gap by adding under-cabinet fixtures that work as a team with your recessed lighting.
- Mount your under-cabinet strip 8–12 inches off the wall, a placement that aligns with the countertop plane and prevents backsplash glare.
- Choose dimmable LED strips rated 3500K–4000K, a cool-to-neutral range that renders true stone and laminate colors for precise task lighting.
- Wire under-cabinet lights on a separate dimmable circuit, which lets you balance ambient recessed lighting against focused countertop illumination without compromise.
Recommended Products

HIGH BRIGHTNESS - Ensenior 6 inch recessed lighting enjoy up to 90% energy savings without compromising on brightness. The enhanced LED chip emits 1200LM and consumes only 12 Watts. 5%-100% smooth dimming, compatible with most dimmers.

5 CCT-in-1: 5 color temperature(2700K, 3000K, 3500K, 4000K, 5000K) is selectable to you, which successfully eliminates the hassle of returning or exchange products due to inappropriate color temperature. Just slide the switch on the side of the J-box and you will get the most-desired color that best fit in your room type.

⭐ 6 Inch Flat Retrofit LED Downlight
Preview Your Recessed Light Layout Before Finalizing
How do you know your recessed lights will actually hit the counters, not the floor, before you’ve committed to a dozen holes in your drywall? You preview your kitchen layout using simple simulation techniques that reveal shadow patterns and beam spread without permanent installation.
Tape a flashlight to a surveying tool or stick it to your head, then walk through your planned positions to visualize exactly where light falls on work surfaces. Apply the half-ceiling-height rule, spacing your 4-inch or 6-inch recessed fixtures approximately 4 feet apart for standard 8-foot ceilings, which ensures even illumination without dark gaps. Start your layout from the room’s center, marking task zones including countertops and the sink, while keeping fixtures 2 to 3 feet from walls to prevent harsh shadows. Test multiple configurations, simulating beam overlap and avoiding placement directly above standing positions where heads block light onto work surfaces.
Recommended Products

4 Pack Remote Control Led Lights: Each LED closet lights include 40 pcs white/warm LEDs and 8 RGB LEDs, you can set your favorite color shine with the remote control or touch switch, provides enough light to make sure you can see clearly in the dark. Include OFF/ON, dimming, timing, change color mode. Also as a colorful atmosphere lamp to adds a nice little feel.

DIY RGB Under Cabinet Lights: 10 pcs 20inches pre-cut light strips, total 16.4ft, and 9 pcs 5.9inches connectors available, they can be combined freely to cross different gaps. Great way to upgrade your kitchen cabinets, closet, desk, TV back, bookshelf, bed, wardrobe, display case etc. Millions of colors, choose a color to share your mood.
Easy Installation. The super strong self-adhesive tape on the back, mounting clips and screws, small extension cables and connectors and cable tiers will help you to install those very slim flexible LED light strip quickly. And all the parts can be well hided easily.
