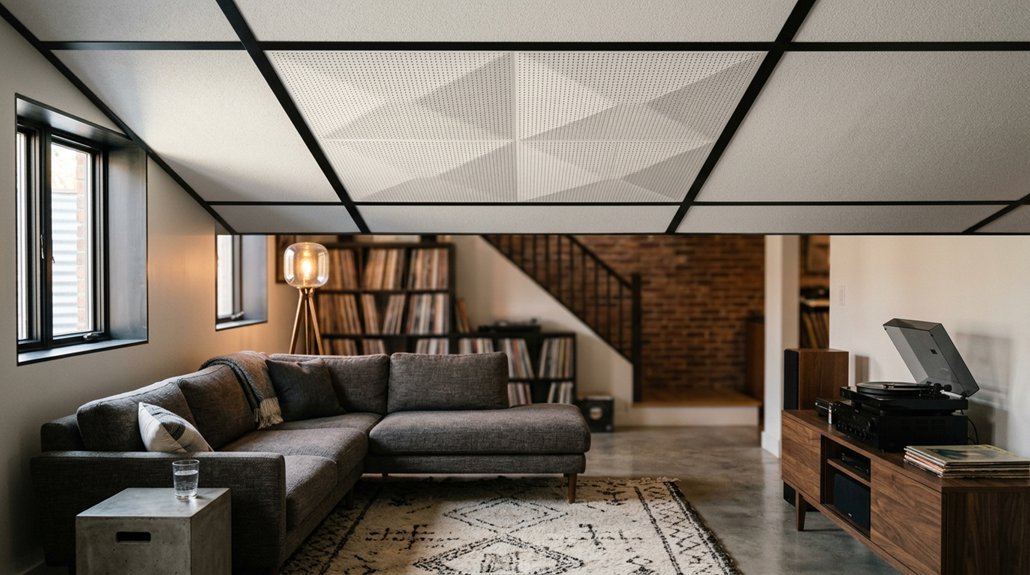
5 Steps to Perfect Can Light Placement in Your Kitchen
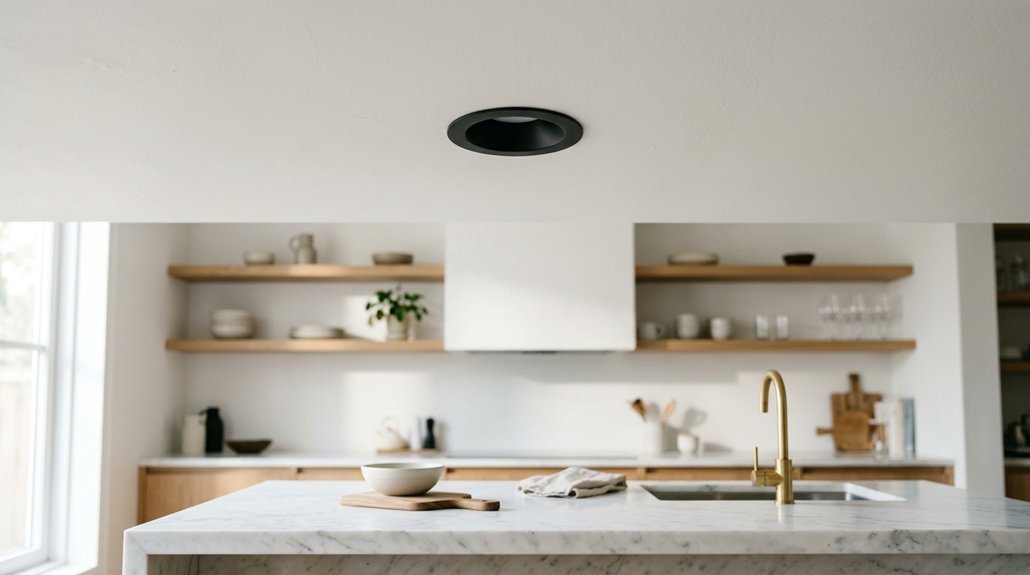
five step can light placement guide

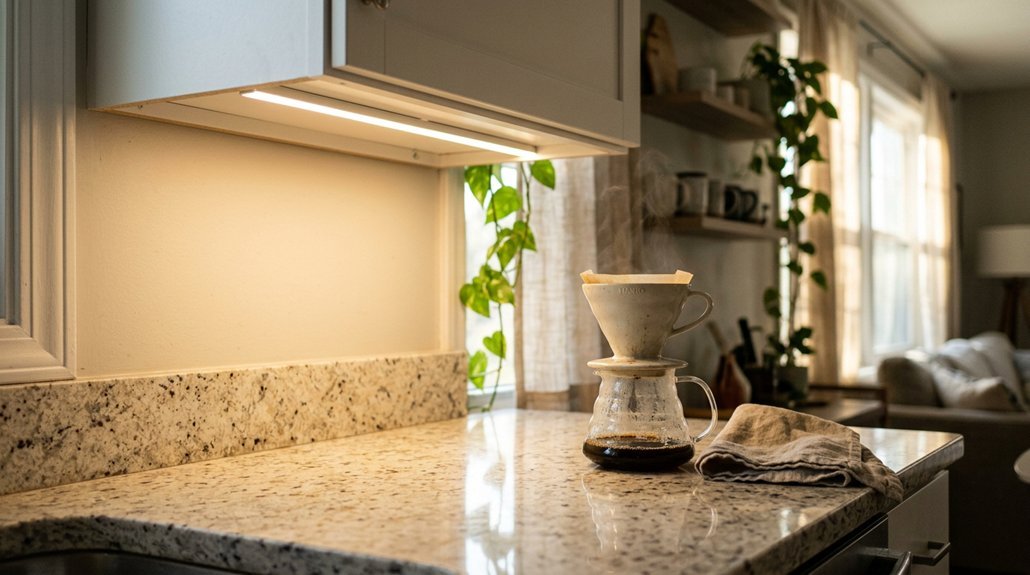
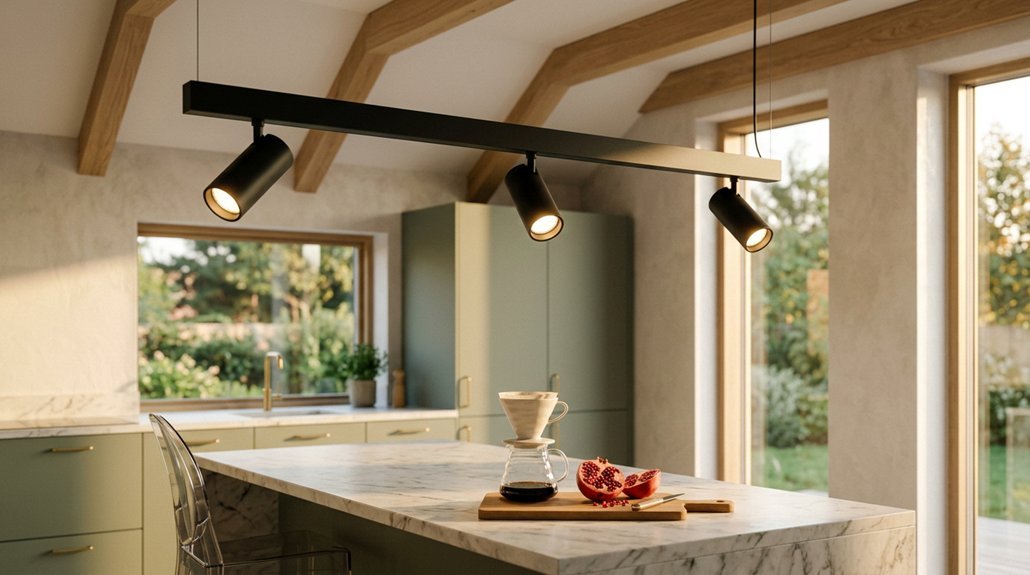
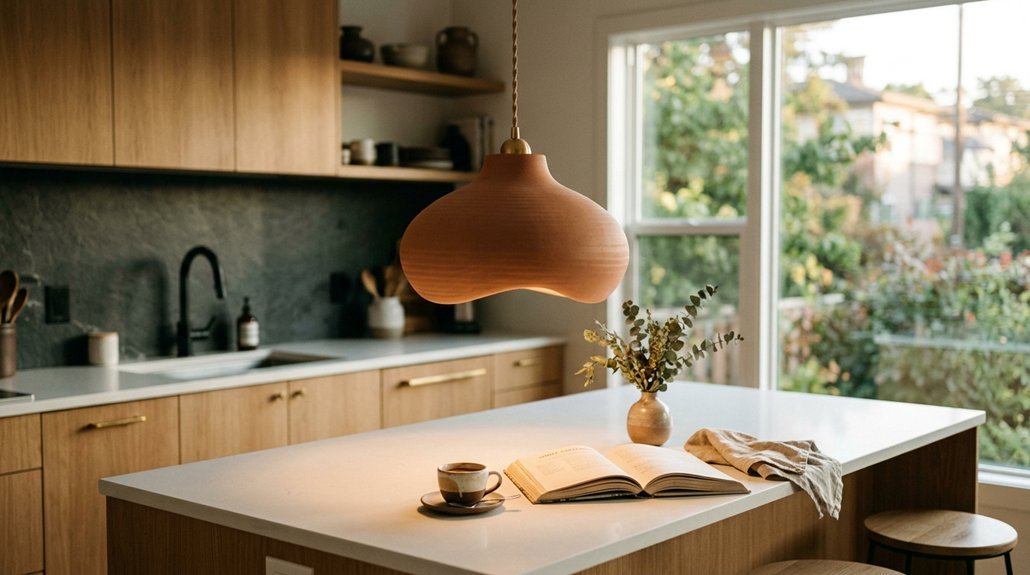
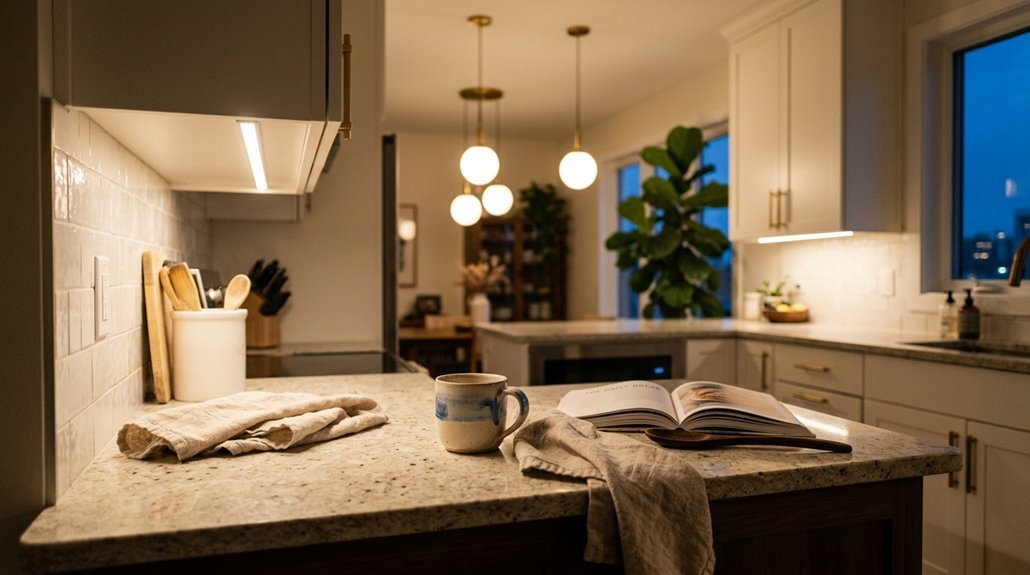
You want kitchen lighting that actually works for cooking, not just looks good from the doorway. The placement of your recessed can lights determines whether you chop vegetables in shadow or see clearly, yet most homeowners get this wrong by spacing fixtures evenly across the ceiling or centering them over walkways.

You’ll need specific measurements: 12 to 18 inches from walls, spacing at half your ceiling height, approximately 4 feet apart for standard 8-foot ceilings, with precise distances from cabinet fronts to get rid of wall shadows. The real question isn’t whether to install can lights, but whether you’re positioning them where your countertop work actually happens.
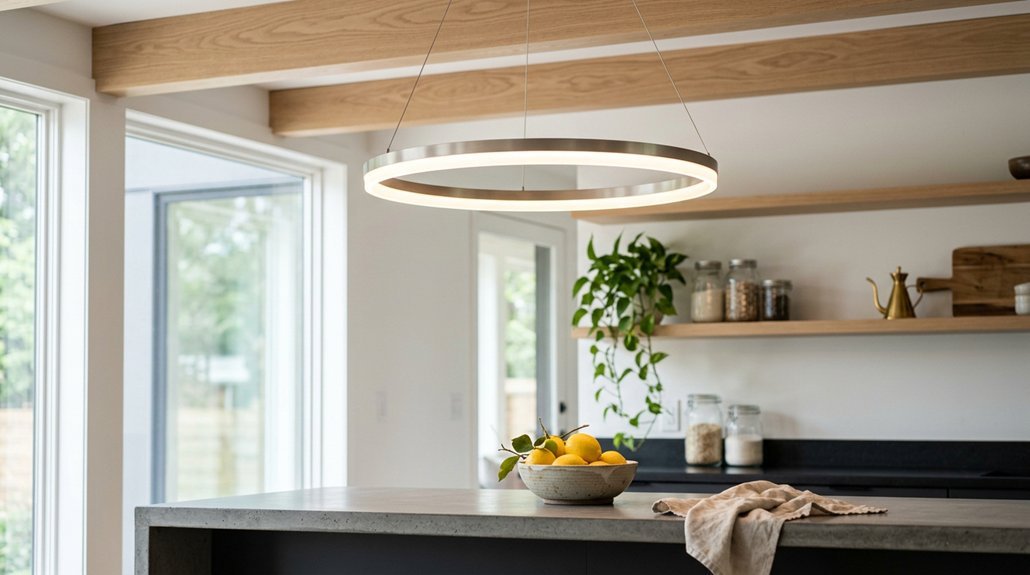
How to Install a Drop Ceiling in 3 Steps

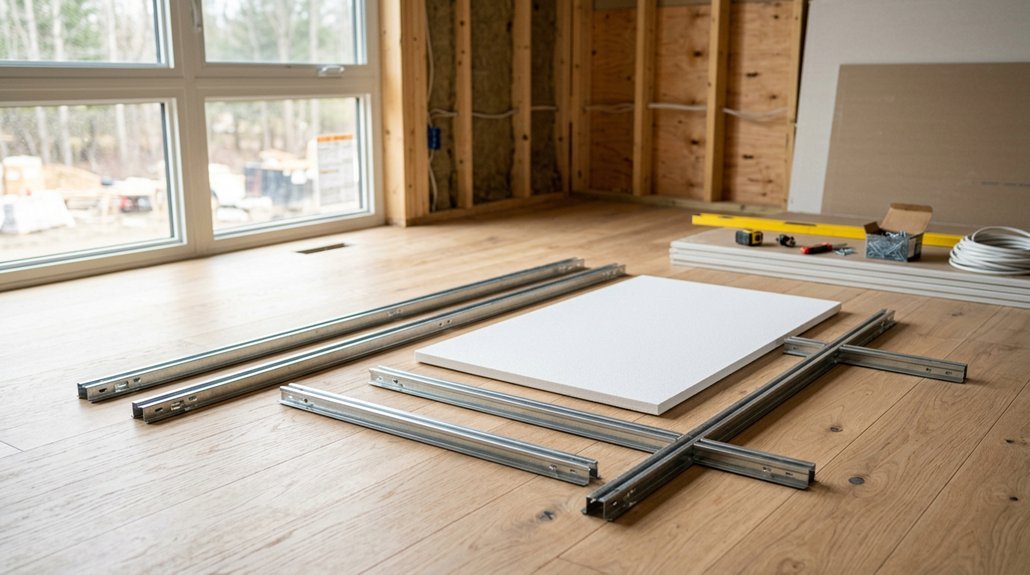
installing a drop ceiling in three steps

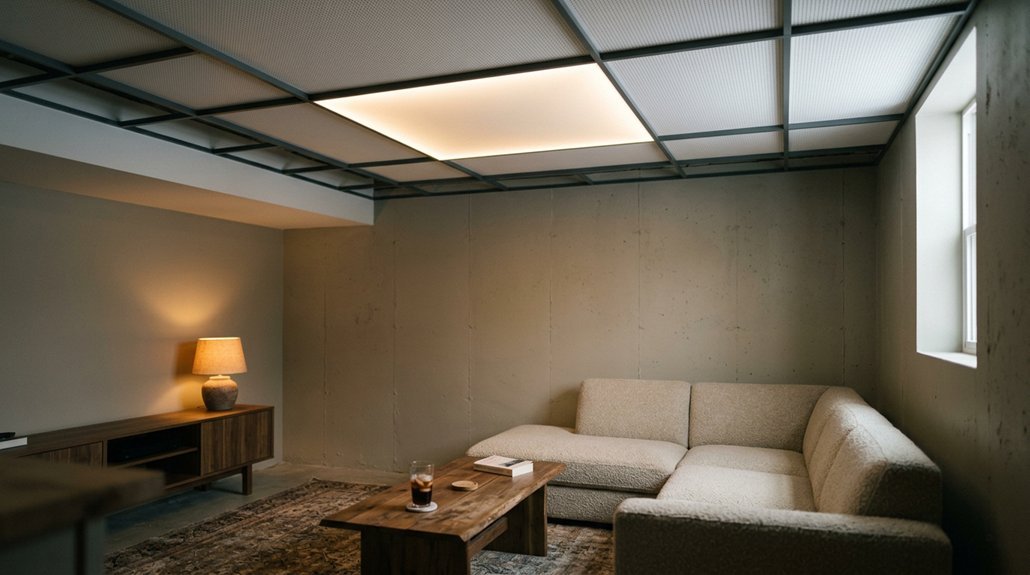
You’re about to change a raw ceiling into a clean, functional surface, and the right materials make all the difference between a frustrating weekend project and a smooth installation.

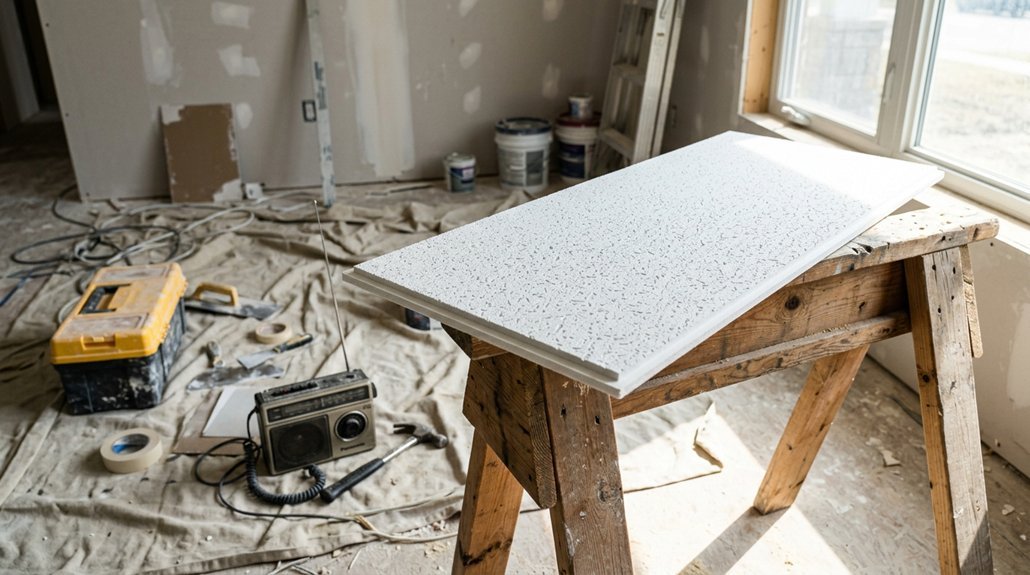
You’ll need to decide between 2×2 or 2×4 foot mineral fiber tiles, which typically contain 70-80% recycled content and offer noise reduction coefficients (NRC, a measure of sound absorption) ranging from 0.50 to 0.70, or vinyl-faced fiberglass options that resist humidity in basements. The grid system matters too: 15/16-inch wide face mains and cross tees, made from hot-dipped galvanized steel with 25-gauge thickness, provide standard support, while 9/16-inch narrow face systems create a more streamlined look.

Before you commit to any product, though, there’s one critical measurement that determines whether your entire grid hangs level or fails.

10 Steps for Perfect Results When You Cut Ceiling Tiles

ten step guide for ceiling tile cuts

Cutting ceiling tiles perfectly is the difference between a professional-looking installation and a disaster you’ll stare at for years. You’ll need to master ten precise steps, starting with identifying whether your tiles have square, lay-in, or tegular edges, which determines your entire cutting approach.

The right tools, a sharp utility knife with a 25mm snap-off blade and a 48-inch aluminum straightedge, make all the difference when you’re measuring grid-to-wall irregularities at multiple points and marking cut lines that align with grid intersections. Tegular tiles demand extra attention; you’ll mark the shadow line first, score lightly, deepen passes, and snap, while square tiles cut cleaner with a simple score-and-snap technique that takes practice to perfect.

What most DIYers miss is the test-fit stage, where you’ll discover whether your cuts account for real-world wall imperfections that no single measurement captures.

hometrendstudio.com
Privacy Overview

This website uses cookies so that we can provide you with the best user experience possible. Cookie information is stored in your browser and performs functions such as recognising you when you return to our website and helping our team to understand which sections of the website you find most interesting and useful.