
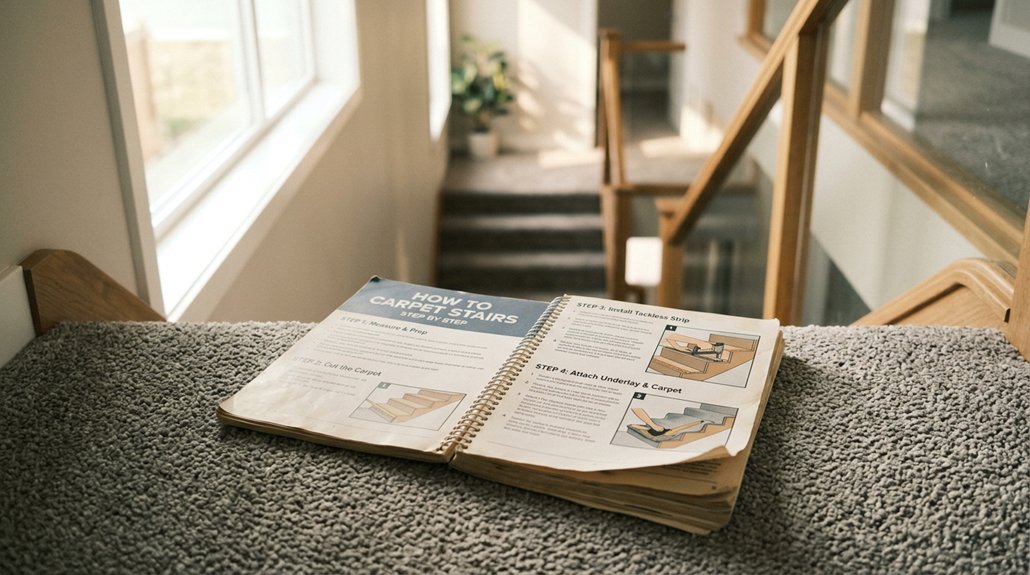


Like Theseus navigating the labyrinth, you’ll need the right thread to guide your way up those stairs. You’ll measure each tread and riser with a 25-foot tape measure, adding 3–4 inches for tucking, then select a 100% nylon or 80/20 wool-nylon blend carpet with a density of 2,000–2,500 twists per square inch for durability. Your knee kicker, 4-inch tack strips, and half-inch corrosion-resistant staples await; the real challenge begins when you discover which padding thickness, 3/8-inch or 7/16-inch rebond, transforms a slippery installation into a staircase you’ll trust for decades.
Gather Tools for Cap-and-Band Stair Carpeting
What tools do you need to install cap-and-band stair carpeting that will hold up under years of daily foot traffic? You’ll gather a precision-cutting carpet knife, tack strips, a staple gun, a knee kicker, and padding, each serving a critical function in securing your cap-and-band stairs against wear. Your carpet knife, featuring a retractable 2.5-inch blade of hardened carbon steel, delivers clean cuts through dense nylon or polyester fibers without fraying. Tack strips, typically 4 feet long with rust-resistant pins spaced every 3/8 inch, anchor at the rear of each tread and above each riser’s base, leaving a precise 1/4 inch gap for neat tucking. You’ll stretch carpet tightly using a knee kicker, its adjustable 14-inch shaft and 4-inch-wide padded kick plate centered on each tread. Your staple gun, loaded with 3/8-inch crown staples, secures padding to every riser and tread, while half-inch thick, 6-pound density rebond padding, offset at seams, eliminates weak points underfoot.
Recommended Products

NON-SLIP STAIR RUG: Multi-purpose Stair mats to use the TPE Non-Skid backing on dry floor, helping it to stay in place on your floor, it won't slip or scuff floors. Low profile design so doors won't get stuck.Perfect for homes with pets (dogs or cats) or kids.
NON-SLIP STAIR RUG: Multi-purpose Stair mats to use the TPE Non-Skid backing on dry floor, helping it to stay in place on your floor, it won't slip or scuff floors. Low profile design so doors won't get stuck.Perfect for homes with pets (dogs or cats) or kids.

ANTI-SLIP STAIR TREADS: Crafted with premium reusable TPE self-adhesive backing—no extra glue or tape needed. The textured non-slip surface delivers reliable grip to stop slips and falls. Locks firm onto stairs, won't shift, curl or slide—even with running kids, zooming pets and heavy daily traffic
Measure and Cut Carpet for Each Tread and Riser
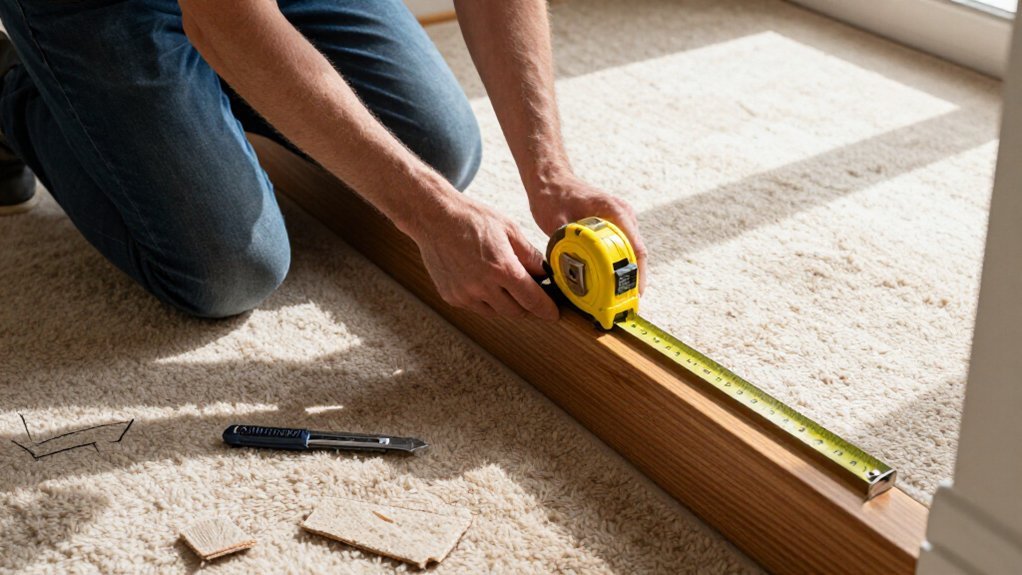
How precisely must you measure each stair before cutting carpet that’ll withstand thousands of footfalls without shifting or gapping? You’ll measure each tread, riser, and nose, adding three to four inches for tucking, and for curved stairs, you’ll measure both front and back of the tread to capture the full width variation. You’ll cut the carpet in strips wide enough to cover each stair, accounting for overhang and riser dimensions plus your padding thickness. You’ll lay the carpet flat, mark measurements on the surface, then cut along the marked lines with a sharp utility knife or carpet shears. You’ll ensure precision to prevent gaps or overlaps that affect appearance and durability. For landings, you’ll measure width and length with extra allowance for fitting, then include these measurements in your overall yardage calculation.
Recommended Products

Durable Aluminum & Steel Construction: Built from lightweight aluminum and reinforced steel, this carpet knee kicker is strong, corrosion-resistant, and designed for long-lasting DIY carpet installation projects.

Adjustable knee kicker for all carpeting installations

A knee kicker is not a stretcher to remove wrinkles in carpet – it is a positioning tool only.
Nail Tack Strips and Pad Every Stair
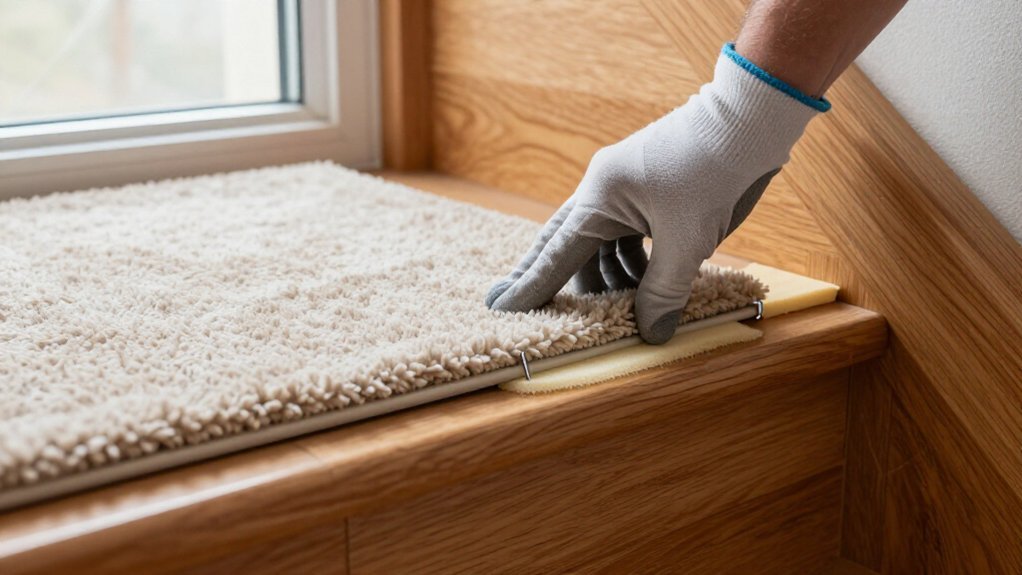
The tack strips you’ll nail down serve as the mechanical backbone of your stair installation, gripping carpet fibers with hundreds of angled pins that point inward at roughly 60 degrees toward each tread’s center, and you’ll space them ¼ inch from the rear edge of every tread and the base of every riser to create the tension zone where carpet meets padding. Next, you’ll roll out your stair padding, keeping the smooth side facing upward for optimal resilience, and you’ll secure it with adhesive or staples across each stair tread and riser, offsetting seams between pieces to eliminate weak spots that could telegraph through during carpet installation. Once your padding’s fixed, you’ll grab your knee kicker to stretch everything tight, driving carpet into those tack strips for a snug fit that holds through daily transitions up and down your stairs.
Recommended Products

Customizable Size: Measuring 16 x 3.75 inches (40 x 9.5 cm) each, these non-slip strips for outdoor stairs can be combined to cover larger or uniquely shaped staircases....
Cap and Band Each Stair With Carpet
Why settle for a sloppy stair job when you can lock down professional-grade results with the cap-and-band method, a technique that anchors your carpet to each riser first using double-sided carpet tape or high-tack adhesive, then layers in corrosion-resistant ½-inch staples spaced every 3 inches for reinforcement before you drape the material over the tread? You’ll position your carpet starting at the bottom riser, turning up 3/8 inch along the floor and trimming uneven edges for a neat joint. Grip your knee kicker, stretch the material tight over the stair installation while centering it on fastening strips aligned to chalk marks, then press and staple every carpet edge to prevent shifting. Finish with a rubber mallet for flat, secure contact. At the top riser, complete the cap-and-band by trimming excess so nothing extends onto that last vertical surface, ensuring clean termination without bulk.
Recommended Products

NON-SLIP GRIP FOR SAFETY: Durable latex rubber backing prevents slipping, sliding, bunching, and wrinkles on hardwood, tile, carpet, or any floor—superior hold compared to basic foam pads for everyday use.

STRONG GRIPPING POWER - Natural rubber backing keeps rugs anchored firmly in place. Prevents slipping, sliding, and wrinkling in high-traffic areas.

NOT FOR SLIP RESISTANCE: This felt rug pad provides cushioning only and has NO anti-slip backing. Use under rugs anchored by furniture or heavy rugs that naturally stay in place. For non-slip performance, choose our felt rug pad with silicone backing.
Trim, Tuck, and Secure the Finished Edges
Once you’ve capped and banded each stair with your carpet locked down by double-sided tape, corrosion-resistant ½-inch staples spaced every 3 inches, and a rubber mallet pressing for flat contact, you’re ready to handle the details that separate a rough installation from one that looks like you hired a seasoned pro. Start by trimming excess carpet with your carpet knife, accounting for overhang and riser dimensions to eliminate gaps. Grab your knee kicker, stretch the carpet firmly onto the tack strips, and work from the bottom riser upward. Tuck the carpet under the nosing for a snug, wrinkle-free edge, then secure it with staples or nails. Trim uneven edges, fold the bottom tuck into the 3/4-inch gap, and finish by checking each tread and riser for wrinkles, pressing edges firmly for consistent alignment.
Recommended Products

[What's in the Box] Each pack contains 1,512 counts 3/8" length galvanized T50 staples, 30 packs per case. 20 gauge 3/8" crown 3/8" length heavy duty staples for T50 staple gun. NOTE: During our packaging update, this product may arrive in a box or blister packaging. Both are new and contain the same product (T50 staples are NOT compatible with meite MT7116, MT7116S, MT7116LN, MT5016S, MT5016SLN AIR STAPLERS!)

READY FOR ACTION: These staples are used for all heavy-duty stapling applications: from installing insulation, housewraps, and roofing underlayment to upholstering fine furniture, installing window treatments, and making crafts
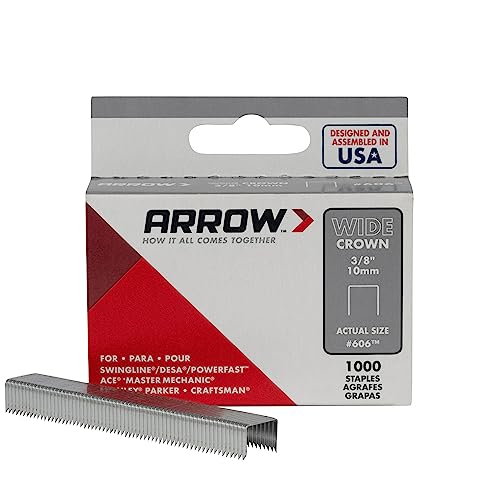
READY FOR ACTION: These wide-crown staples are used for all heavy-duty stapling applications: from installing insulation, housewraps, and roofing underlayment to upholstering fine furniture, installing window treatments, and making crafts
