



You’re about to transform your ceiling, but first you need to know which 2′ x 2′ or 2′ x 4′ mineral fiber tile, rated at 35-70% recycled content and 0.55 to 1.0 NRC for sound absorption, matches your 8-step installation method. Whether you choose adhesive-grade tiles, which bond directly to flat drywall or plaster substrates between 50-100°F, or grid-system tiles requiring 7/8″ x 1 1/2″ metal furring strips spaced 24″ on center, your surface preparation and layout planning will determine the final result. The difference between a professional finish and a costly redo starts before you open the first box.
Pick Your Ceiling Tile Type: Adhesive or Furring Strips
Before you commit to a ceiling tile system, you’ll need to decide between two installation paths: adhesive application, which bonds tiles directly to a smooth, structurally sound surface, or a furring strip framework, which creates a level grid of wooden strips, typically 1 x 3-inch seasoned softwoods such as pine, spruce, or fir, fastened perpendicular to your ceiling joists with 8-penny nails at each intersection.
When your ceiling backing proves unsound or irregular, you’ll want furring strips rather than adhesive alone. You must first locate your joists, then level and nail each strip at every joist intersection. If you select adhesive, you’ll test the painted backing for adhesion first, repainting as needed to guarantee a secure bond. Your surface condition dictates the method: smooth and solid suits adhesive; compromised surfaces demand furring strips.
Recommended Products


Superior Acoustic Performance: Our 2x2 drop ceiling tiles offer excellent sound absorption and noise reduction, creating a quieter environment. Ideal for use in suspended ceiling systems, these ceiling tiles 24x24 are perfect for offices and studios.

MINIMIZE NOISE AND HELP BLOCK SOUND BETWEEN ROOMS. Acoustic ceiling tiles help to reduce excess noise within a space and help stop sound from traveling between rooms. ASTM E84 Class A fire-resistive
Plan Your Ceiling Tile Layout and Even Out Border Widths
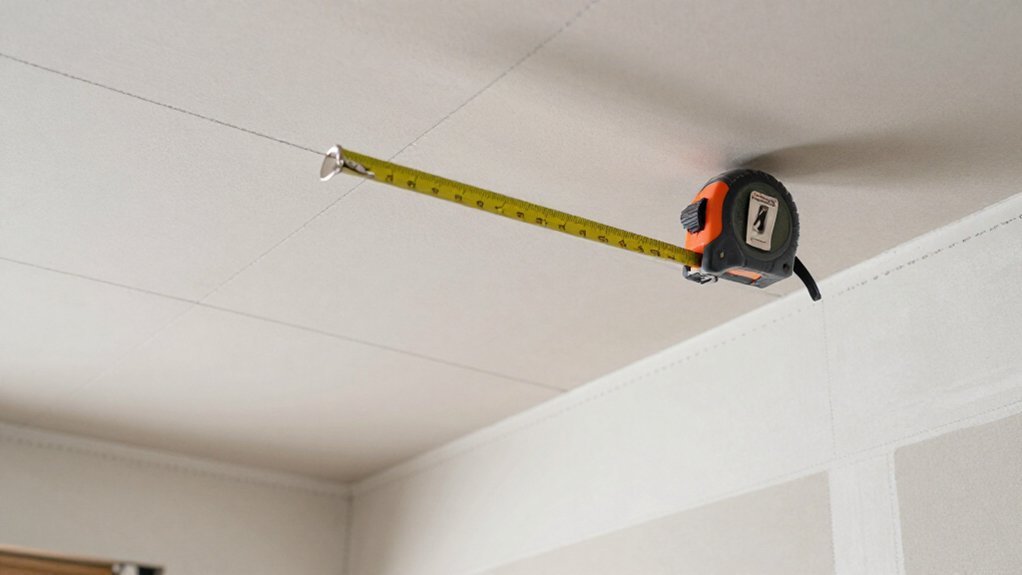
Where exactly should your ceiling tiles begin so you don’t end up with awkward slivers at the edges? You’ll determine border tile width by measuring your room’s length and width, then applying the half-width rule when exact measurements aren’t available: add 12 inches to any dimension that doesn’t land on exact feet, divide by 2, and you’ve got your border tile width for that dimension. Snap chalk lines along your walls to mark where border tiles align, ensuring these perimeter pieces go down first. Place your initial border tile in a corner with its wide flange exposed, ready for tongue-and-groove connection with adjacent tiles. Install border tiles so opposite edges carry equal widths, then fill the center field with full-size tiles for a balanced, professional appearance.
Recommended Products

Sound absorption and noise reduction
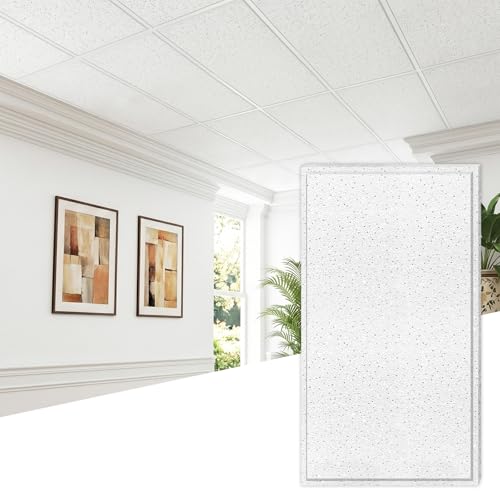
【Package Details】Includes 10 white mineral fiber ceiling tiles (24×48 in). The tiles are well packaged for perfect delivery and immediate installation. Please contact us for any damage caused by logistics or unavoidable issues.

EASY INSTALLATION. DUNE SECOND LOOK ceiling tiles with a directional texture and an angled tegular edge cut easily and minimize waste and time during installation; 2x4 ceiling tiles.
Evaluate and Repair Your Ceiling Surface
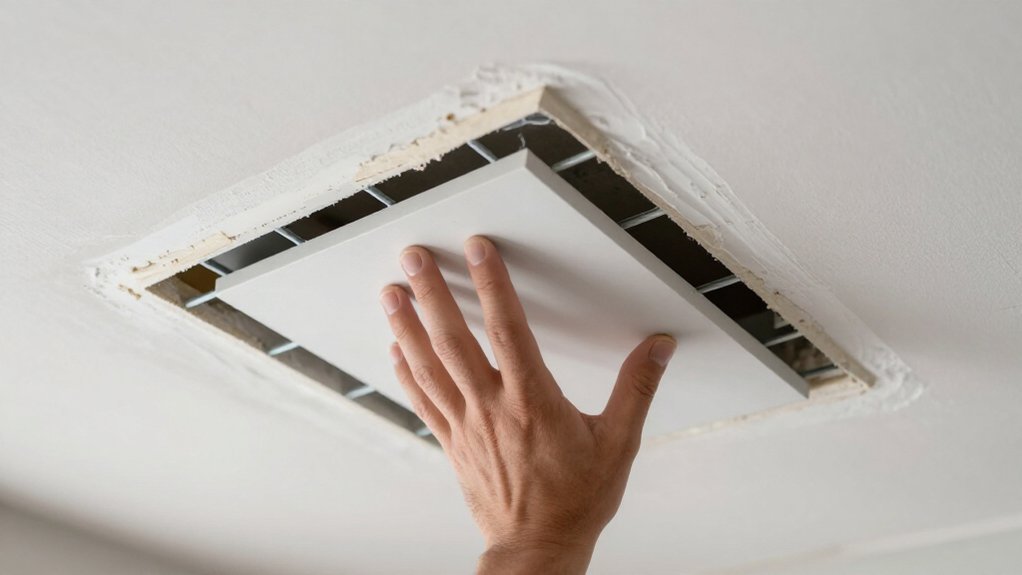
Why start with a shaky foundation when your ceiling tiles, whether they’re 12-by-12-inch mineral fiber panels with 70% recycled content or 24-by-48-inch fiberglass tiles rated for NRC 0.70 sound absorption, demand a surface that’s flat, clean, and structurally sound? You must evaluate your ceiling surface thoroughly before installation begins. Remove popcorn texture completely, patch damaged areas with joint compound, and sand uneven spots until smooth for optimal adhesion. Test painted surfaces by applying tape; if it lifts easily, repaint with a bonding primer first. Clean thoroughly to eliminate dust, oil, and contaminants that compromise tile grip. Address moisture issues and repair cracks now, since proper preparation determines whether adhesive tiles bond securely or fail prematurely, leaving you with sagging, mismatched panels that require costly rework.
Recommended Products

For use on acoustical ceiling tiles

Effortless Apply: Only need to measure and cut, peel off the backing, and press into place

Commercial Standard: Class A fire-rated, low-emission, waterproof, washable, paintable, flexible and durable. No sag, rot, rust and breakage
Acclimate Tiles and Install Furring Strips
You’ll start by acclimating your tiles for at least 24 hours after opening the boxes so they adjust to the room’s temperature and humidity, preventing warping or gaps later. For the furring strips, choose seasoned soft woods like pine, spruce, or fir, which offer the right balance of strength and workability, and locate your ceiling joists, typically spaced 16 or 24 inches on center, using a stud finder or nail test before attaching 1 x 3 strips at right angles to those joists. Secure each strip with 8-penny common nails, checking that everything stays level and aligned to your planned border width, adding shims where needed to compensate for any unevenness in the existing ceiling structure.
Recommended Products

Universal Compatibility: The hold-down clip ensures seamless compatibility with most T-bar grid systems and ceiling tiles that the wind blows

Premium Wood Fiber Construction: These ceiling tiles are crafted from high-quality wood fiber material that provides excellent acoustic properties and durability, making them ideal for residential and commercial applications where sound absorption and longevity are essential
Tile Acclimation Process
How soon can you begin transforming your ceiling? You must complete acclimation first. Open your tile boxes and spread the tiles loosely in the installation room for at least 24 hours before you start. Do not stack them tightly; paper-based tiles need air circulation to expand naturally and prevent warping or gaps that compromise your finished ceiling. While waiting, inspect your surface. Ensure it is flat, clean, and ready for adhesion, testing any painted backing to confirm it accepts adhesive properly. If the paint fails your adhesion test, repaint with a compatible primer to create a sound bonding surface. This preparation phase, though it requires patience, protects your investment and ensures your tiles perform as specified without defects.
Furring Strip Materials
What materials will create the reliable foundation your ceiling tiles demand? You’ll need 1 x 3 furring strips crafted from seasoned soft woods such as pine, spruce, or fir, which provide the dimensional stability required for long-term performance. These strips attach across joists, typically spaced 16 or 24 inches apart, at right angles to create the structural grid your ceiling tiles require. Before installation, locate joists using a nail test or stud finder, then snap chalk lines to guide placement and ensure border tile width aligns properly with your layout. Position each strip parallel and level, employing a long level and shims between joists where unevenness occurs. Fasten with 8-penny common nails at each joist, keeping strips straight to properly support tongue-and-groove border tiles.
Strip Spacing Guide
Before you lift a single tool, have you considered how temperature and humidity might sabotage your ceiling months from now? Open your tile boxes immediately and let those materials breathe in the installation room for a minimum of 24 hours; don’t stack them tight, because paper-based products expand, and you’ll prevent warping, gaps, and callbacks. Next, locate your joists, those horizontal structural members running every 16 or 24 inches on center, using a stud finder or the nail-test method. Once marked, install your furring strips, those thin wooden or metal leveling members, perpendicular across the joists at precise intervals matching your border tile width. Check every strip with a long level, and slip shims between the joists and furring strips where low spots threaten your flatness, because a level grid means a professional finish.
Mark Guidelines and Set Your First Corner Tile
Where exactly should you begin when your ceiling dimensions don’t fall into neat, even feet? You determine border tile width by measuring your room dimensions, and you’ll apply a half-width rule when exact feet don’t align so your border tiles fit evenly across the entire ceiling surface.
- Snap chalk lines along the walls to indicate border tile alignment, using the calculated border width from each wall as your precise guide.
- Place your first border tile in the corner with the wide stapling edge oriented to accept the tongue-and-groove fit of the next adjacent tile.
- Cut border tiles to fit corner dimensions by keeping the long side against the wall and positioning the cut on the short side, ensuring flange exposure for proper locking.
- Install border tiles first along all edges, then fill the center area with full-size tiles to maintain consistent alignment throughout.
Recommended Products

【7.5 AMP POWERFUL MOTOR WITH 7 VARIABLE SPEEDS】Powered by a 7.5 amp copper motor, this electric drywall sander delivers strong sanding performance for a wide range of surface prep tasks. With 7 variable speeds from 600 to 1800 RPM, it is easy to adjust for drywall, ceilings, floors, cement walls, paint removal, and plaster sanding.
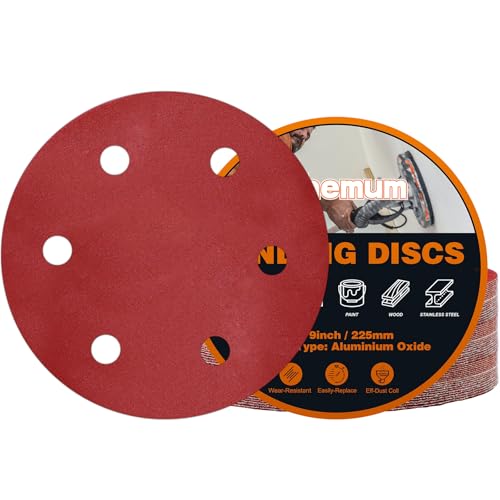
DISC SIZE: Each sanding disc measures 9 inches in diameter, making them ideal for use with standard 9 inch drywall sanders.

DISC SIZE: Each sanding disc measures 9 inches in diameter, making them ideal for use with standard 9 inch drywall sanders.
Staple Border Tiles Along Perimeter Walls
You’ll position each border tile so its flange, which is the raised edge that overlaps the adjacent tile’s tongue, faces outward toward the wall while maintaining consistent exposure for proper tongue-and-groove connection with the field tiles you’re about to install. Drive three staples through the tile’s perimeter edge directly into the furring strip below, spacing them approximately 4 to 6 inches apart, and add one additional staple at the corner edge where two border tiles meet to prevent lifting or separation over time. Keep your chalk lines, which you established earlier using the half-width rule for rooms measuring dimensions that don’t divide evenly into full 12-inch or 24-inch tile modules, clearly visible so every border piece stays aligned with the wall and maintains equal cut widths at both ends of each ceiling plane.
Recommended Products

Ideal for basements and home theaters

2x2 Ceiling Tiles: Our uDecor Arena 2x2 Acoustical Ceiling Tiles are designed for seamless integration into any space, offering excellent sound absorption. These mineral fiber tiles are perfect for creating a quiet, comfortable environment.

Professional fissured texture: Classic fissured pattern provides attractive acoustic performance and conceals minor surface imperfections in commercial ceiling installations
Tile Positioning Basics
How exactly do you guarantee your ceiling tile installation looks professional from edge to edge? You start by laying out border tiles along walls first, ensuring equal widths on both ends for symmetrical ceiling tiles that frame the room evenly.
- Measure room dimensions to determine border tile size, applying the half-width rule when widths aren’t exact multiples for balanced edges
- Run chalk lines along walls at distances equal to border tile width, creating precise guides you’ll follow across the entire ceiling
- Cut border tiles to fit corners, placing the long side by the short side and starting with corner tiles exposing proper flange for tongue-and-groove alignment
- Fill the center with full-size tiles after border placement, verifying the first border row stays level and matches chalk lines throughout
This positioning method delivers consistent, professional results.
Staple Spacing Technique
Once you’ve positioned your border tiles using chalk lines and the half-width rule, you’re ready to secure them with staples that create the foundation for your entire ceiling system. You’ll drive three staples into each border tile’s edge where it meets every furring strip, spacing them evenly to distribute tension across the 12-inch width and prevent warping that could compromise your tongue-and-groove interlock. Position each border tile so its wide stapling flange remains exposed; this flange, typically 1/2 inch thick, accepts the groove of adjacent field tiles for seamless integration. At walls running parallel to ceiling joists where full stud support is unavailable, staple your border tiles into scrap furring pieces cut to 24-inch lengths and secured between joists. For corners and limited access areas, maintain this staple spacing pattern with three staples per furring strip, then install border molding to conceal exposed edges and complete the perimeter.
Perimeter Alignment Tips
Where exactly should you begin when the border tiles you’re installing along perimeter walls will determine the entire ceiling’s structural integrity and visual symmetry? You’ll start by measuring your room dimensions, then apply the half-width rule if needed so your border tiles avoid narrow, unprofessional strips.
- Snap chalk lines parallel to each wall, marking exact alignment guides that keep border tiles evenly spaced and visually level.
- Cut border tiles to fit corner dimensions, positioning the long side by the short side for proper coverage.
- Install a corner tile first, exposing the border flange that receives the wide stapling edge.
- Secure border tiles with staples, ensuring the tongue-and-groove profile faces outward for seamless connection to full tiles.
After all perimeter border tiles are fastened, you’ll fill the remaining ceiling area with full-size tiles.
Fill the Ceiling Center With Full-Size Tiles
Because you’ve already secured the border tiles along the perimeter, you’re now ready to fill the ceiling center with full-size tiles, which typically measure 24 inches by 24 inches or 24 inches by 48 inches depending on your grid system, and this step will complete the main visual field of your ceiling installation. You’ll apply adhesive across the back perimeter and center of each full-size tile so it seats firmly without gaps. Press each tile into place with light to medium pressure, sliding it along the chalk lines for straight joints. Make minor adjustments to keep joints tight and uniform. Verify that all full-size tiles are level and flush with border tiles before proceeding to any finishing molding or trims.
Recommended Products

【Premium Waterproof PVC】The Sunnyglade ceiling tile constructed using superior PVC, this product offers superior resistance to moisture, oil, rust, warping, and discoloration, ensuring long-lasting performance. The 5mm panels in thickness also with superior fire and heat resistance, enhancing safety while reducing space noise

Upgrade Function:Engineered with polyester fiber material, it effectively reduces echo, reverberation, and ambient noise and non-reflective black surface eliminates light bounce and glare from screens and stages, these acoustic ceiling panels transform any space into a quieter, more focused environment

WATERPROOF PVC THAT WON'T SAG OR STAIN - Unlike traditional fiber ceiling tiles, durable PVC construction is waterproof and everyday wear. Perfect for kitchens, bathrooms, laundry rooms and other high-moisture areas.
Cut Tiles Around Pipes and Install Border Molding
You’ll now tackle the final, most intricate phase of your ceiling installation, cutting tiles to fit around obstacles such as pipes, posts, or ductwork while securing the remaining border tiles and installing the finishing molding that conceals edges and creates a clean, professional appearance. Cut the tiles face up with a sharp utility knife, contouring edges precisely to pipes or posts, then place each piece carefully to maintain border alignment. When cutting border tiles, remove only the side lacking the wide stapling edge, preserving the flange that engages the tongue-and-groove fit with adjacent tiles.
Cut tiles face up with a sharp utility knife, contouring edges precisely to pipes or posts while preserving the stapling flange for proper interlock.
- Measure pipe diameter, adding 1/4 inch for clearance, before tracing the contour onto the tile face
- Cut border tiles so the wide stapling flange remains intact for proper interlock
- Secure border tiles with small broad-headed nails where stapling access is limited
- Install border molding last to conceal fasteners and define the ceiling perimeter
Press border molding firmly into place, completing your ceiling’s polished, seamless appearance.
Recommended Products

Packaging Details: you will receive 60 pieces of black ceiling tiles, each measuring approximately 12 x 12 inches/ 30 x 30 cm, covering a total area of about 58 square feet; The 3D pattern and raised design make our ceiling panels more visually appealing

High-grade Ceiling Tiles :Fasarxiu waterproof ceiling tiles are made from virgin-grade PVC vinyl for superior fire and heat resistance that is not susceptible to health hazards resulting from water and moisture. It’s also lightweight,making cutting and installing the tiles less of a hassle and much easier for the do-it-yourselfer.

【Easy Installation】 STICKGOO Drop Ceiling Tiles are compatible with 15/16" T-bar grid system or glued over any flat substrates, also can use a utility knife or scissors to cut out the area for the light fixture
