



Most homeowners underestimate that a drop ceiling, also known as a suspended ceiling, can reduce room height by only 3 to 6 inches while hiding ductwork, wiring, and plumbing that would otherwise require costly relocation. You’ll need to decide between 2×2-foot or 2×4-foot grid systems, with the latter covering 8 square feet per tile and typically costing 15% to 25% less in materials, though 2×2 configurations offer more integrated lighting and air vent options from manufacturers like Armstrong and USG. Your choice of tile material matters substantially: mineral fiber tiles, composed of 70% to 80% recycled content and offering NRC (Noise Reduction Coefficient) ratings up to 0.70 for sound absorption, contrast with vinyl-faced, washable PVC tiles that resist moisture in basements but provide lower acoustic performance around 0.50 NRC. The grid system itself comes in standard 15/16-inch face width or premium 9/16-inch narrow profile, with hot-dipped galvanized steel construction rated for 5 to 7 pounds per linear foot of load capacity, and you’ll want white, black, or metallic chrome finishes depending on your aesthetic requirements. Before you commit to any product, you must understand that proper hanger wire spacing, typically 4 feet on center for main beams and within 6 inches of beam ends, determines whether your installation remains level for decades or sags within months.
Can You Install a Drop Ceiling Yourself? (Plus What You’ll Need)
Why wonder whether you can tackle this project when thousands of homeowners complete their own drop ceiling installations every year, saving approximately 50% in labor costs compared to professional installation? You’ll suspend a ceiling grid below your structural ceiling using main beams, cross tees, hanger wires spaced at 4-foot centers, and wall molding secured around the room’s perimeter. Most DIY-ers finish quickly, though unusual dimensions demand extra planning for fitting border panels. You’ll need a sharp utility knife, chalk line, cordless drill, tin snips, and clamps, with metal shears for specific products. Wear safety glasses and gloves, secure your ladder, clear your work area, and handle sharp grid components with care. The ceiling grid accepts tiles you slide in at an angle, then drop gently into place.
Recommended Products

Complete Set: We offer a complete set of Drop Ceiling Grid Systems include 6pcs main beams TT00, 16pcs cross tee TT10, 6pcs wall molding TT20, 14pcs Installation Kit TA00. Tip: The package does not include PVC panels. If you need, we recommend purchasing it with our Muzata PVC ceiling tiles TBP0
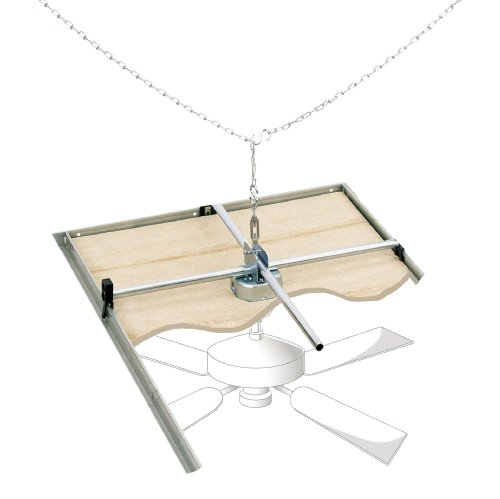
Saf-T-Box allows safe, simple installation of fans and fixtures, ideal for new construction and where attic is accessible

Complete Set: This all-in-one drop ceiling grid system covers 168 sq. ft. and comes with 7 × 12 ft main beams, 40 × 2 ft cross tees, 5 × 12 ft wall moldings trim, 50 lag screws, 50 drywall screws, 40 iron wires, and a lag screw driver.
Plan Your Drop Ceiling Layout and Gather Tools
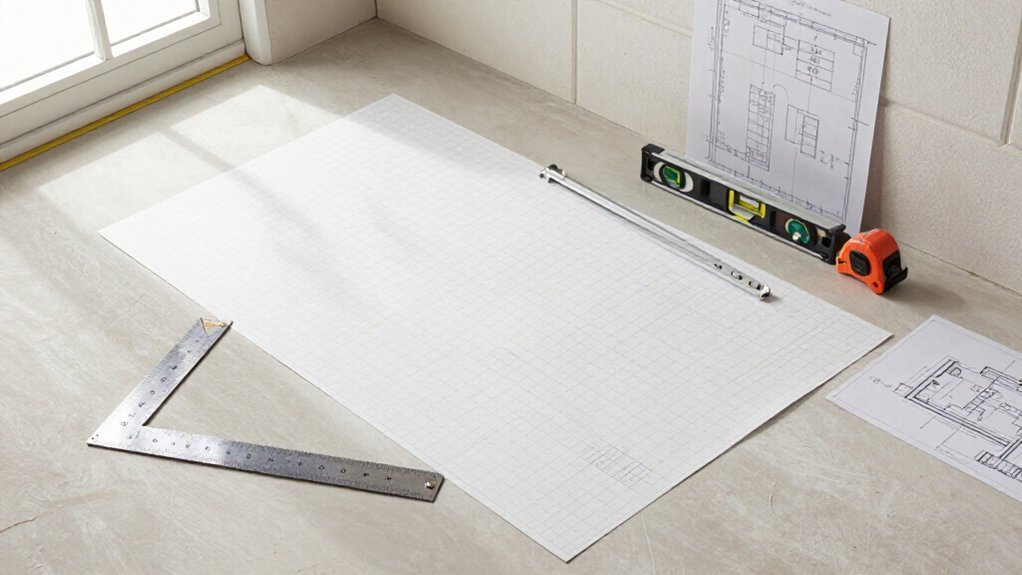
Where exactly should you begin when you’re staring up at an unfinished ceiling and need to transform it into a clean, functional drop ceiling system? You start with layout planning on graph paper, mapping your ceiling grid to scale so you account for light fixtures, heat registers, and the placement of border panels around the room’s perimeter. You’ll calculate border panel dimensions from your room’s exact measurements, dividing remainders equally for balanced edges. Next, you gather your tools: a sturdy ladder, sharp utility knife, screwdriver or drill, pliers, pry bar, measuring tape, safety goggles, and work gloves. Before installation, you’ll clear furniture, lay drop cloths, and manage dust so your workspace supports efficient grid assembly.
Start with layout planning on graph paper, mapping your ceiling grid to scale and accounting for every fixture before a single panel goes up.
Essential preparation steps include:
- Sketching the ceiling grid to scale on graph paper
- Marking fixture locations during layout planning
- Collecting all required tools before starting
- Calculating border panels from room dimensions
- Clearing and protecting your work area completely
Recommended Products

Superior Acoustic Performance: Our 2x2 drop ceiling tiles offer excellent sound absorption and noise reduction, creating a quieter environment. Ideal for use in suspended ceiling systems, these ceiling tiles 24x24 are perfect for offices and studios.

Waterproof and Easy to Clean:Drop ceiling tiles are made of good quality PVC vinyl with a waterproof and oil-resistant substrate. They can be cleaned with standard cleaners and wiped clean quickly. Durable, safe, and fully recyclable

【Premium Waterproof PVC】The Sunnyglade ceiling tile constructed using superior PVC, this product offers superior resistance to moisture, oil, rust, warping, and discoloration, ensuring long-lasting performance. The 5mm panels in thickness also with superior fire and heat resistance, enhancing safety while reducing space noise
Size Your Border Panels for a Symmetrical Look
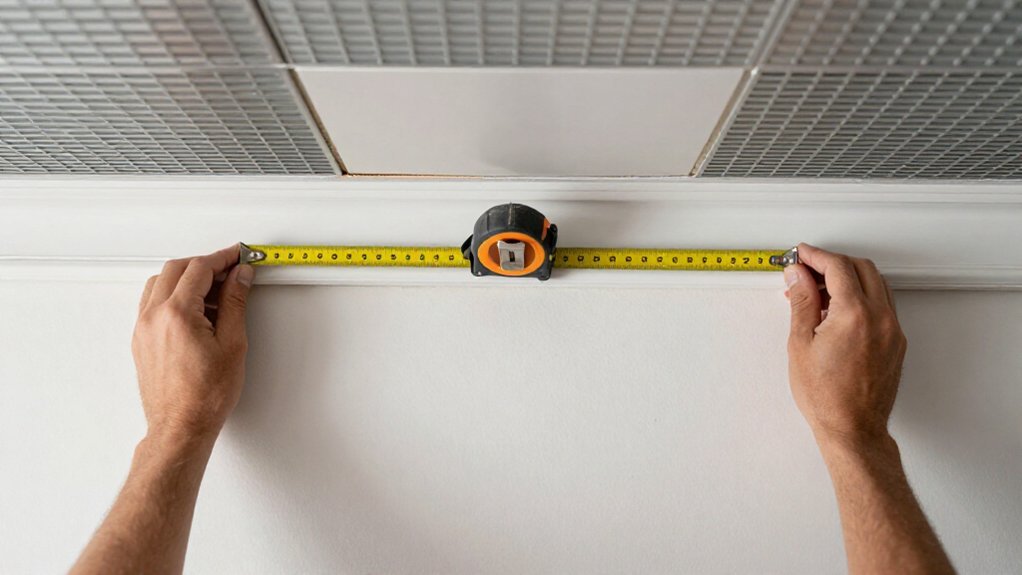
You’ll calculate your border panel measurements by dividing your room’s width by your panel length and splitting any remainder equally between the two opposite walls, then repeat this process for your room’s length divided by panel width to establish symmetrical border panels on the remaining walls. This symmetrical layout calculation ensures your perimeter panels frame the ceiling evenly, which prevents awkward fractional tile openings and maintains clean alignment with your wall molding and chalk lines. By verifying that your interior grid lands on full cross tee spacing, you’re creating a professional, balanced appearance that simplifies both installation and future tile replacement.
Recommended Products

High-grade Ceiling Tiles :Fasarxiu waterproof ceiling tiles are made from virgin-grade PVC vinyl for superior fire and heat resistance that is not susceptible to health hazards resulting from water and moisture. It’s also lightweight,making cutting and installing the tiles less of a hassle and much easier for the do-it-yourselfer.

【Commercial Standard】Class A fire-rated, low-emission, waterproof, washable, paintable, flexible and durable. No sag, rot, rust and breakage

High-grade Ceiling Tiles :Fasarxiu waterproof ceiling tiles are made from virgin-grade PVC vinyl for superior fire and heat resistance that is not susceptible to health hazards resulting from water and moisture. It’s also lightweight,making cutting and installing the tiles less of a hassle and much easier for the do-it-yourselfer.
Border Panel Measurements
How do you guarantee your drop ceiling doesn’t end up with lopsided, uneven edges that throw off the entire room‘s appearance? You size your border panels using precise room dimensions and single-panel specifications, which creates a symmetrical perimeter that frames your ceiling professionally.
First, you’ll calculate border panel length with this formula: divide room width by panel length, take the remainder, and split it in half for even border tiles along each wall. Next, you’ll determine border panel width by dividing room length by panel width, applying the remainder, and dividing by two for balanced pieces on opposite walls.
Here’s what proper border panel planning achieves:
- Equal border tile widths on parallel walls
- Full-sized interior panels centered in the grid layout
- Elimination of narrow, awkward edge pieces
- Professional, uniform appearance around the entire perimeter
- Seamless integration with your ceiling’s structural framework
After cutting, you’ll place these border panels along the room’s perimeter to frame your grid before installing interior sections.
Symmetrical Layout Calculation
Because a drop ceiling’s visual success hinges on balanced proportions, you’ll calculate your symmetrical layout before cutting a single panel, using your room’s exact dimensions and your chosen tile specifications, typically 2 feet by 2 feet or 2 feet by 4 feet, to determine border panel sizes that create equal margins on opposite walls. You’ll divide your room width by your panel length, take that remainder, and split it in half for your border panel length; repeat this process with room length and panel width for your border panel width. This ensures your border panels establish equal margins on opposite walls, which is essential for symmetry. Snap a chalk line around your perimeter to verify these border lines stay parallel and level across all walls before you install the suspension grid, because an uneven frame will compromise your entire ceiling’s appearance and function.
Install Drop Ceiling Wall Molding at the Right Height
Where exactly should you position your wall molding so the entire grid system stays level and secure from day one? You’ll mark your desired ceiling height on each wall with a chalk line after finalizing border panel dimensions, creating parallel, level reference lines around the entire perimeter. Grab a laser level to accelerate this guideline process, then fasten your ceiling moldings directly into wall studs or joists for maximum holding strength; if you’re dealing with concrete or stone surfaces, substitute standard molding with a main beam runner anchored by masonry fasteners.
Position wall molding at your marked ceiling height, fastened into studs or joists, to create a level, secure perimeter for your grid system.
Your wall molding must sit flush along the room’s top edge, delivering a rigid perimeter that anchors the grid system. Before proceeding, verify the molding height matches your planned drop dimension and confirm every wall shares an identical reference elevation. Trim and secure each section tightly, eliminating gaps that would throw cross tees and tiles out of alignment during later stages.
- Measure twice before cutting any molding pieces to length
- Check each wall’s chalk line with your laser level before attachment
- Drive fasteners every 16 inches into solid wall studs for rigidity
- Inspect all corners for square alignment as you work around the room
- Test-fit border panel sizes against installed molding before continuing
Recommended Products

𝗕𝘂𝘆𝟮𝗼𝗿𝗠𝗼𝗿𝗲, 𝗔𝘂𝘁𝗼𝗦𝗮𝘃𝗲𝟱%✅STURDY and RUSTPROOF: The ceiling hanger hooks are made of premium quality and rust-resistant wire spring steel for long term use without bending or rusting. Perfect for hanging items within 10lbs.
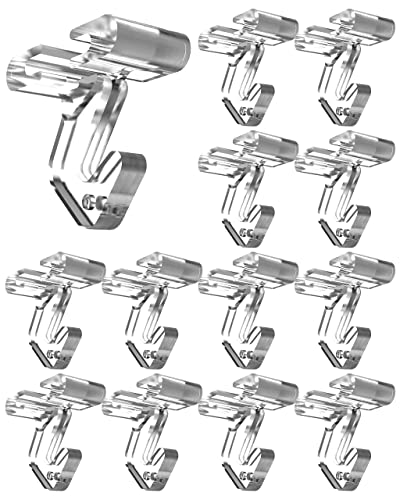
𝗕𝘂𝘆𝟮𝗼𝗿𝗠𝗼𝗿𝗲, 𝗔𝘂𝘁𝗼𝗦𝗮𝘃𝗲𝟱%✅STURDY MATERIAL : The drop ceiling hooks are made from polycarbonate thermoplastic, featuring enough strength with a crystal clear finish. Perfect for hanging items within 15lbs.

Adjustable Length: The length of the rope can be freely adjusted within 1 meter, hook end control length, no need to twist or trim, hanging objects within a few minutes, ceiling mounting prevent shaking/wind-induced drops
Hang Support Wires From Your Ceiling Joists
With your wall molding locked in place around the entire perimeter, you’re ready to establish the overhead framework that’ll carry the full weight of your drop ceiling grid and tiles. Snap a chalk line perpendicular to your ceiling joists to mark each main beam location, keeping a consistent 4-foot center distance that ensures uniform tile support across the entire level grid. Attach your hanger wires to the ceiling joists using sturdy wire fasteners, wrapping each wire around itself three times for a tight, code-compliant connection that won’t slip under load. Drive two nails 7/8 inch above the wall molding base, then stretch a leveling string between them to set the precise bending angle and confirm grid levelness. Space your hanger wires plumb and verify alignment before proceeding.
Recommended Products

【Package & Size Details】This pack includes 40 pieces of 6ft (72-inch) wall molding, designed to frame drop ceiling edges. It pairs with main beams and cross tees (sold separately) to complete 2x2 or 2x4 ceiling grid layouts, fitting standard ceiling panel dimensions for seamless edge finishing.

【Package Includes】10 pcs wall molding trim drop ceiling grid (72-inch length), perfect for your partial kit needs. For a complete ceiling grid kit, check out our other product variations
【Package Includes】50 pcs wall molding trim drop ceiling grid (72-inch length), perfect for your partial kit needs. For a complete ceiling grid kit, check out our other product variations
Hang Drop Ceiling Main Beams and Square the Grid
Thread each main beam into the hanger wires you’ve already secured, sliding the beam’s top flange through the wire loops so the bottom edge rests exactly at your leveling string height, which establishes the 2-inch vertical profile that most standard aluminum main beams require for proper grid elevation. You’ll space these main beams 4 feet apart, running perpendicular to your joists, and snap a chalk line to keep every beam arrow-straight from wall boundary to wall boundary.
Verify your grid is perfectly square by measuring diagonally between opposite corners; both measurements must match exactly. Adjust hanger wires as needed until the grid sits level and true.
- Position nails 7/8 inch above wall molding base
- Wrap hanger wire three times for secure fastening
- Check leveling string confirms proper grid height
- Measure diagonals to ensure square alignment
- Align main beams precisely at wall boundary edges
Recommended Products

Sturdy and durable: The drop ceiling hooks are made of high-strength aluminum alloy, designed to withstand the weight of heavy items and resist rust and corrosion.

COMPLETE INSTALLATION KIT: This all-in-one drop drop ceiling grid kit covers 200 sq. ft. and comes with 20 × 6 ft main beams, 52 × 2 ft cross tees, 20 × 6 ft wall moldings trim, 70pcs galvanized steel wire (14 gauge / 2 mm diameter), 70 Eye Lag Screws, 1 Eye Lag Driver, 70 drywall screws, If you have any problems during use, please contact us and we will solve it for you as soon as possible. Click Sold by "StructonWorld"--"Ask a question"

Wire T-bar hangers: 0.15 cm wire diameter, each hanger was designed to hold up to 10 pounds
Add Cross Tees to Complete Your Drop Ceiling Grid
Once your main beams are locked in place and your grid is squared, you’re ready to install the cross tees that’ll complete the framework for your ceiling tiles. Cross tees attach perpendicular to each main beam, forming the rectangular grid openings that’ll support your ceiling tiles in a standard 2-foot by 2-foot or 2-foot by 4-foot configuration.
Start by attaching border cross tees along the perimeter. You’ll connect the uncut ends to the main beam and place the cut ends against the wall molding, which ensures a clean, finished edge. Insert the first two uncut cross tees according to your border layout, verifying alignment with where your border panels will sit.
When joining cross tees within a main beam rectangular hole, extend the second tee beyond the first ones’ right side. Prepare all cross tees to form consistent grid openings with proper spacing matched to your tile size.
Recommended Products

Sound absorption and noise reduction
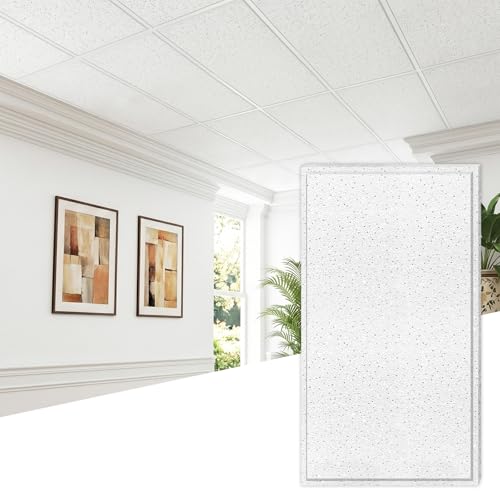
【Package Details】Includes 10 white mineral fiber ceiling tiles (24×48 in). The tiles are well packaged for perfect delivery and immediate installation. Please contact us for any damage caused by logistics or unavoidable issues.

EASY INSTALLATION. DUNE SECOND LOOK ceiling tiles with a directional texture and an angled tegular edge cut easily and minimize waste and time during installation; 2x4 ceiling tiles.
Cut Drop Ceiling Border Tiles to Fit
You’re going to measure each border panel individually with the wall molding already installed, since room perimeters rarely present perfectly uniform dimensions, and this accounting for irregularities ensures your cut tiles will seat flush against the perimeter with even, consistent gaps. When cutting tile edges, you’ll keep the tile face up and guide a sharp utility knife, which is the standard 9mm snap-blade tool found in most 3-pack retractable sets with ergonomic rubber grips, along the measured line for clean, straight edges that mate precisely with the grid system’s remaining border tees. Your finished border tiles must present grout-free seams, meaning no visible filler between adjacent edges, so verify each cut before installation and confirm that every trimmed piece maintains the manufacturer’s specified 15/16-inch grid exposure while fitting snugly within the 2-foot by 2-foot or 2-foot by 4-foot module pattern you’ve established.
Recommended Products

Waterproof; Our waterproof PVC vinyl is easy to clean and won't collect moisture from humidity

Waterproof; Our waterproof PVC vinyl is easy to clean and won't collect moisture from humidity

INSTALLATION: Easily lay into a standard 15/16" T-bar drop ceiling grid system.
Measuring Border Panels
How do you ensure your drop ceiling looks professionally installed rather than haphazardly assembled? You start by measuring border panels with precision, using your room dimensions to calculate exact specifications that create symmetrical margins along every wall.
First, determine border panel length by dividing room width by panel length, noting the remainder, then splitting that excess equally for balanced end borders. Next, calculate border panel width through the same method: divide room length by panel width, take the remainder, and halve it for even side borders. Your border layout must account for perimeter alignment with wall moldings and square corners throughout.
- Measure room width and length precisely before any calculations
- Divide remainders by two for equal, symmetrical margins
- Verify all corners form perfect 90-degree angles
- Double-check every measurement before cutting
- Plan grid placement so final tiles fit cleanly without irregular cuts
Measure twice, cut once, and you’ll minimize gaps while achieving that polished, professional appearance.
Cutting Tile Edges
Where should you begin when border tiles refuse to fit flush against uneven walls? Start by measuring each border panel’s length and width with precision, since even a quarter-inch error creates visible gaps. You’ll score the tile face-up with a sharp utility knife, then snap it cleanly, trimming from the back to prevent chipping the visible surface. Support tiles firmly during cutting to avoid costly breakage. For irregular rooms, cut perimeter pieces that align with wall molding while maintaining consistent, narrow gaps. You’ll also cut border tees to match your measured sizes before installing them, ensuring the grid framework supports every edge properly. After cutting, smooth rough edges with a file or fine sandpaper. This attention to detail delivers professional results that last decades.
Install the Ceiling Tiles
Now that the grid framework is securely in place, why not begin the rewarding process of setting your ceiling tiles, which typically measure 2 feet by 2 feet or 2 feet by 4 feet and are manufactured from mineral fiber (containing 70% to 80% recycled content), fiberglass, or PVC vinyl depending on your acoustic, moisture, and budget requirements? Begin your drop ceiling installation by sliding ceiling tiles at an angle through the grid openings, then gently lower them face-up into position. You’ll need border tiles for edges; cut these to fit using a utility knife, measuring wall-to-grid distances carefully. When working with fiberglass/mineral fiber tiles, keep cut edges facing upward to limit fiber exposure and dust. Align each tile level with neighbors, maintaining uniform gaps for a professional appearance. Verify adequate clearance around all fixtures.
Install ceiling tiles by angling them through grid openings, cutting border pieces to fit, and keeping cut edges face-up to minimize dust exposure.
- Angle tiles through grid openings before lowering
- Cut border tiles to fit wall perimeters precisely
- Keep fiberglass/mineral fiber tile edges face-up when cutting
- Maintain level alignment with adjacent tiles
- Confirm clearance for lights, vents, and sprinklers
Recommended Products

Adjustable Length: The length of the rope can be freely adjusted within 1 meter, hook end control length, no need to twist or trim, hanging objects within a few minutes, ceiling mounting prevent shaking/wind-induced drops

🏠PERFECT CEILING SET: The package includes 10 pairs of white heavy duty ceiling hooks and 20pcs ceiling clips, which is a wonderful and convenient combination for you to hang decorations at home, office, school, wedding, classrooms, birthday parties, and more.

🍀 COMPLETE HANGING SOLUTION Includes 15 complete sets, each with 1 ceiling clip and 1 hanging cord, providing a convenient solution for hanging signs, decorations, artwork, and lightweight displays. These drop ceiling hooks for hanging are perfect for classrooms, offices, retail stores, and commercial spaces.
Avoid Common Drop Ceiling Mistakes (Sagging, Gaps, Moisture)
Even if you’ve selected high-quality mineral fiber tiles with 70% to 80% recycled content or durable PVC vinyl panels in standard 2-foot by 2-foot or 2-foot by 4-foot dimensions, your drop ceiling will only perform as well as its installation allows, which is why you’ll want to sidestep the three most prevalent pitfalls: sagging from improperly spaced support wires, visible gaps from inaccurate border cuts, and moisture damage from environmental oversights. You prevent sagging by spacing support wires at proper 4-foot centers and wrapping them three times around fasteners. You eliminate gaps by measuring border panels precisely, trimming cross tees accurately, and cutting mineral fiber panels face up with a sharp utility knife before test-fitting. You avoid moisture problems by storing and installing panels within recommended temperature and humidity ranges, and never installing over radiant heat or damp areas. You also add permanent support for light fixtures per manufacturer guidelines.
Recommended Products

【Package Includes】10 pcs wall molding trim drop ceiling grid (72-inch length), perfect for your partial kit needs. For a complete ceiling grid kit, check out our other product variations
【Package Includes】10 pcs wall molding trim drop ceiling grid (72-inch length), perfect for your partial kit needs. For a complete ceiling grid kit, check out our other product variations

【Material and Appearance】Wall peel and stick molding trim is made of flexible TPE material, which are reliable. It can be used and not easy to fade after installation. Note: not paintable
