
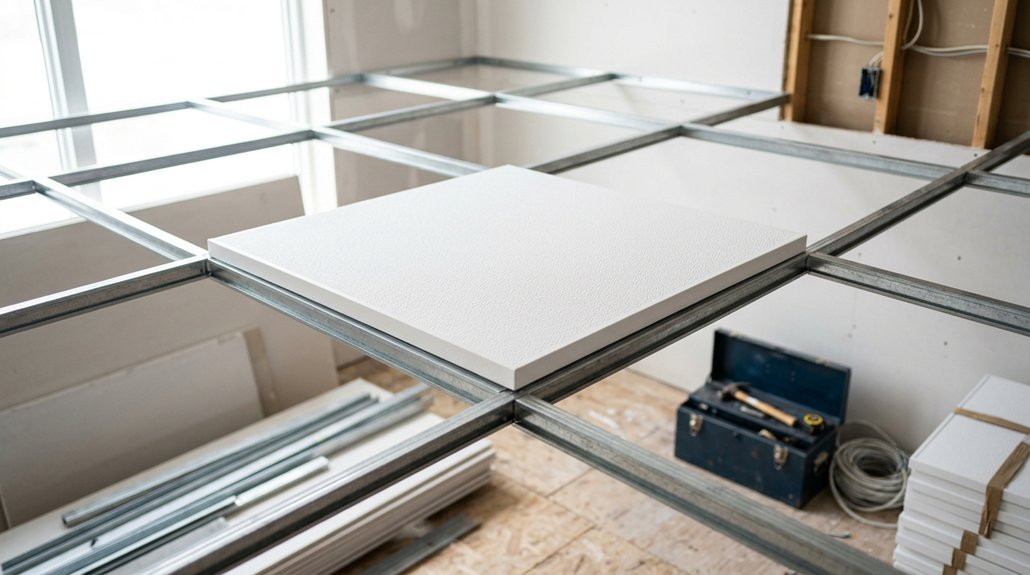


You need a drop ceiling that delivers acoustic control, fire resistance rated up to Class A per ASTM E84, and easy access to mechanical systems, but choosing between mineral fiber tiles with 70-85% recycled content, PVC-laminated options offering 90% humidity resistance, or metal panels spanning 24×48 inches with 0.032-inch aluminum thickness is only your first decision. The installation process demands precision: hanger wires spaced 48 inches on center, main beams leveled to within 1/8 inch over 10 feet, and perimeter cuts calculated from field-measured dimensions, not nominal sizes. Whether you’re soundproofing a basement with NRC 0.70-rated tiles or installing washdown-capable panels in a commercial kitchen, the seven-step method ensures structural integrity and clean sightlines. The difference between a professional finish and a sagging, misaligned grid lies in details most guides gloss over.
Check Room Conditions and Gather Drop Ceiling Tools
Before you commit to a drop ceiling installation, you’ll want to confirm your room conditions are suitable and assemble every tool required for efficient, professional-grade results. You’ll verify that temperature and humidity levels fall within manufacturer specifications, typically 60 to 80 degrees Fahrenheit and 35% to 65% relative humidity, so adhesives cure properly and metal components don’t expand or contract unpredictably. You’ll inspect plenum conditions, including existing ductwork, wiring, and sprinkler systems, while mapping joist layout to determine anchor points for your drywall grid or standard grid system. You’ll gather essential drop ceiling tools: a sharp utility knife with snap-off blades for clean tile cuts, a chalk line for marking straight reference lines, plus tin snips, a cordless drill with bit sets, clamps, and a hammer. You’ll clear debris, finish surface prep, and confirm tile dimensions, edge details, and component availability before proceeding.
Recommended Products

1 case of 12 Packs, 12 Count Total

REDUCE SCRAP AND INSTALLATION TIME. Cortega lay in ceiling tiles with a non-directional texture and a square edge cut easily and minimize waste and time during installation; 2x4 ceiling tiles; 1-year warranty; free shipping

2x2 Ceiling Tiles: Our uDecor Arena 2x2 Acoustical Ceiling Tiles are designed for seamless integration into any space, offering excellent sound absorption. These mineral fiber tiles are perfect for creating a quiet, comfortable environment.
Mark Layout Lines for Grid Height and Fixture Clearance
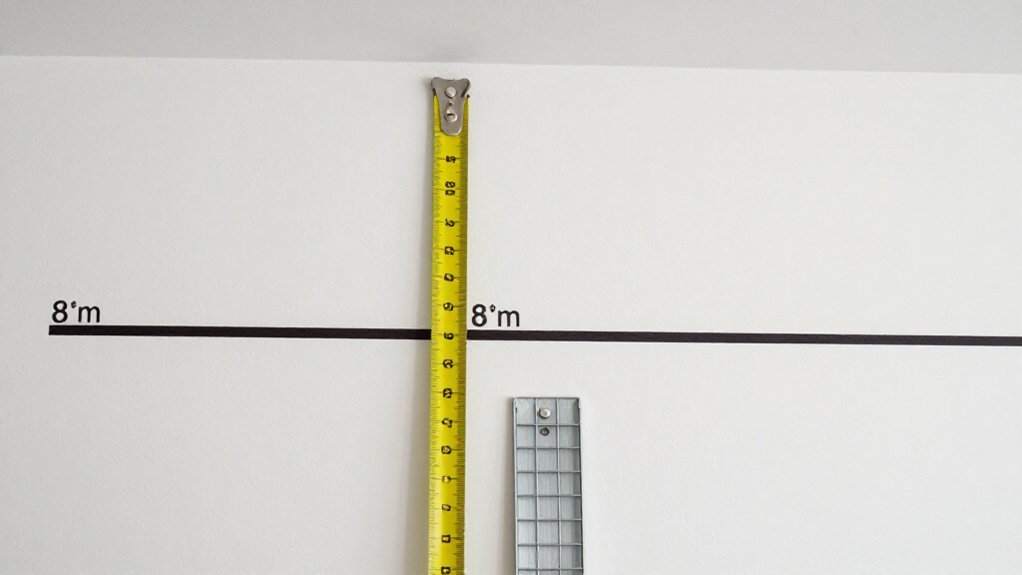
With your room conditions verified and tools assembled, you’re ready to establish the visual foundation that governs every subsequent installation decision. Measure each wall length precisely, then snap layout lines 4–6 inches down from the top to set your ceiling grid height, ensuring adequate fixture clearance for lights, ducts, or sprinklers that integrate into the suspension system. For large obstructions, position the line at 6 inches to accommodate bulky fixtures without compromising drop ceiling tiles. Use a chalk line or straightedge to create continuous, level layout lines around the entire perimeter, which will guide main runners and cross tees in a uniform plane. Cut wall angles to match your wall lengths, then secure them along these lines with 1-inch screws driven into studs. Verify wall angles remain level and straight, inserting shims where bows occur, and caulk gaps after final alignment.
Recommended Products

Premium Ceiling Panels: Our uDecor DuraClean 2ft x 4ft Vinyl Drop Ceiling Tile offers premium quality ceiling panels that are class "A" Fire Rated, FDA and USDA compliant ensuring safety and peace of mind for homeowners and businesses alike. The smooth, washable vinyl (PVC) ceiling panel surface is ideal for food prep areas, manufacturing facilities, and basements needing 2x2 ceiling tiles or ceiling decor solutions.
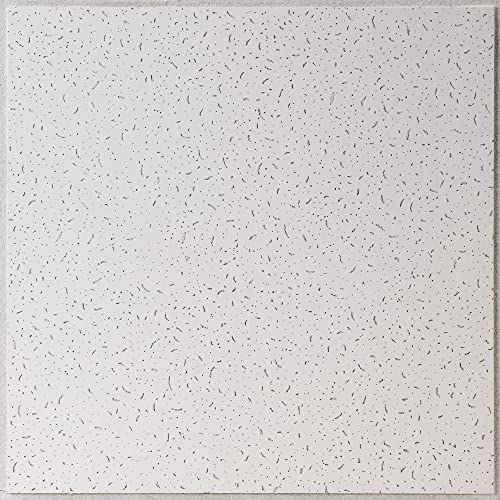
Unique Texture: These ceiling panels provide a distinct texture compared to traditional mineral fiber ceiling tile, elevating ceiling decor in any setting with decorative ceiling tiles 2x2.

High-grade Ceiling Tiles :Fasarxiu waterproof ceiling tiles are made from virgin-grade PVC vinyl for superior fire and heat resistance that is not susceptible to health hazards resulting from water and moisture. It’s also lightweight,making cutting and installing the tiles less of a hassle and much easier for the do-it-yourselfer.
Cut and Install Wall Molding With Proper Corner Techniques
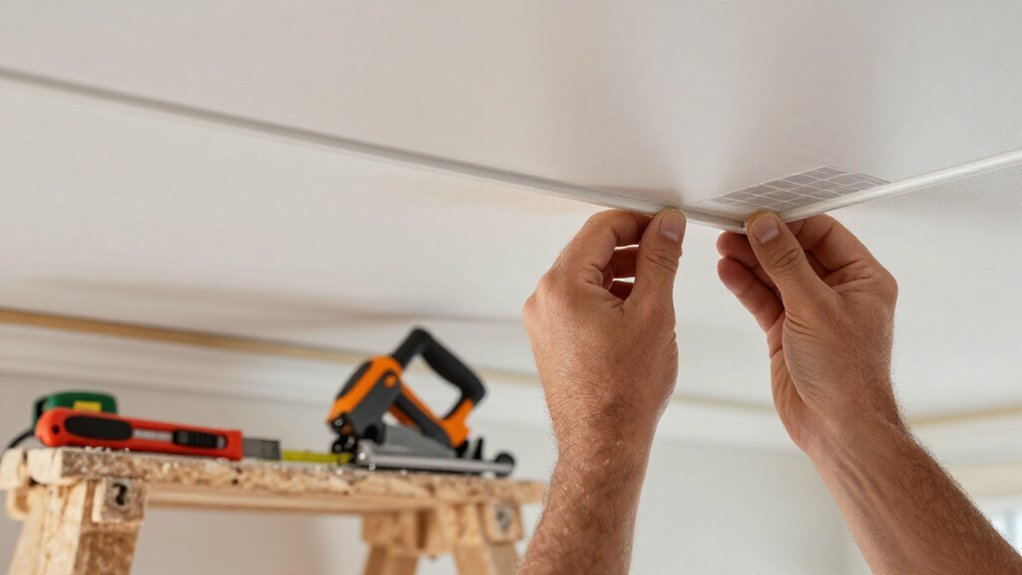
How do you guarantee your drop ceiling’s perimeter looks crisp and professional from every angle? You start by cutting wall angles to match each wall length with tin snips, extending corners 1/8 inch longer for out-juts so your molding maintains a continuous line. For mitered corner techniques, you’ll cut the bottom-most wall angle at a 45-degree angle, which ensures clean joins where two sections meet. When walls exceed a single angle length, butt together wall angles end-to-end, then secure them into wall studs along your drawn line using 1-inch screws. You must use a level to verify wall angles stay straight, and if a wall angle bows, insert a wooden shim between it and the wall. After grid system installation, fill any gaps between shims and the wall with caulk, then recheck alignment before proceeding with your drop ceiling installation, because precise wall angles now prevent ceiling tiles from fitting poorly later.
Recommended Products
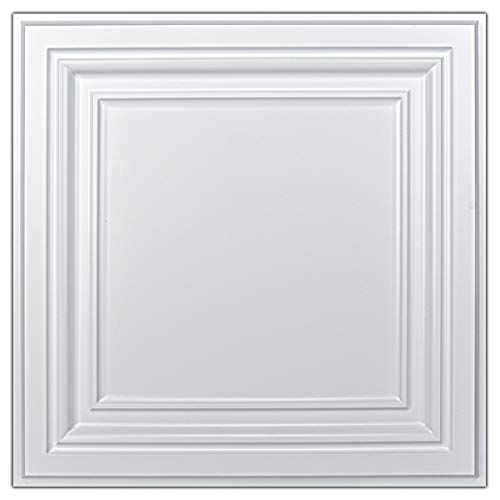
1 case of 12 Packs, 12 Count Total

Commercial standard - Class A fire-rated,low-emission, waterproof, washable, flexible and durable. No sag, rot, rust and breakage

High-grade Ceiling Tiles :Fasarxiu waterproof ceiling tiles are made from virgin-grade PVC vinyl for superior fire and heat resistance that is not susceptible to health hazards resulting from water and moisture. It’s also lightweight,making cutting and installing the tiles less of a hassle and much easier for the do-it-yourselfer.
Attach Hanger Wires to Ceiling Joists
Where do you start when it’s time to actually hang your grid? You’ll attach hanger wires to ceiling joists, which forms the backbone of your suspended grid and lets you install drop ceiling systems with professional results.
- Mark your chalk lines on the ceiling joists to align with the main grid layout, spacing wires every 4 feet for standard 2×4 or 2×2 tile patterns.
- Screw eyelets into the ceiling joists along these chalk lines, then thread each hanger wire through and twist the ends securely.
- Cut every wire length precisely so the main beams hang at your desired finished height, accounting for tile and main runner dimensions.
- Perform a level check across multiple points, adjusting each hanger wire until the suspended grid sits perfectly true before proceeding.
Recommended Products

【Premium Waterproof PVC】The Sunnyglade ceiling tile constructed using superior PVC, this product offers superior resistance to moisture, oil, rust, warping, and discoloration, ensuring long-lasting performance. The 5mm panels in thickness also with superior fire and heat resistance, enhancing safety while reducing space noise
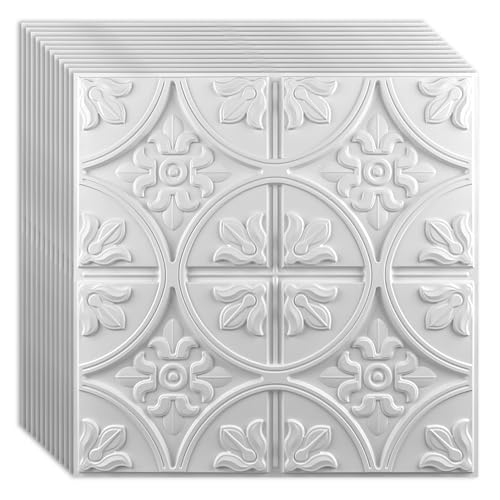
INSTALLATION: Effortlessly fit into a standard 15/16" T-bar ceiling grid or adhere to any flat surface.

Pack Size: Pack of 12 ceiling tiles with size 2ft x 4ft, covering 96 sq.ft. 3D pattern with raised design makes our ceiling panels more eye-catching.
Suspend Main Beams and Level the Primary Grid
You’ll attach the main beams using wire methods that ensure stability, threading 16-gauge hanger wires through the runner slots and twisting them securely so the mains hang perpendicular to your joists with consistent 4-foot spacing. Once suspended, you’ll level the primary grid with a spirit or laser level, adjusting wire heights or adding shims until the runners sit perfectly horizontal across the entire room. These precise attachment and leveling techniques create the foundation for a professional ceiling system that supports standard 2-foot by 4-foot or 2-foot by 2-foot tiles without sagging or misalignment.
Recommended Products

Safe and Light: The package includes 30 Pack Cross Tees. Our galvanized steel drop ceiling keels are less prone to collapse and fire hazards, ensuring the safety of your family
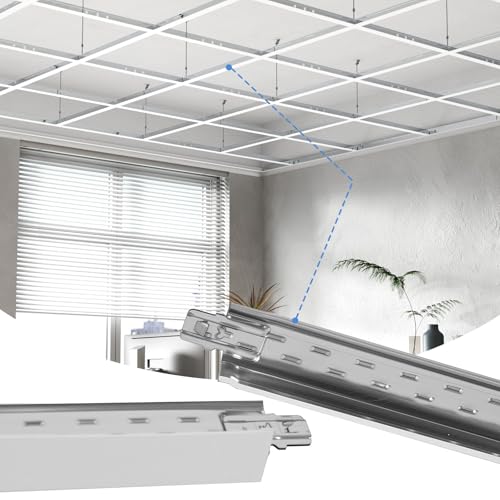
【Package Includes】10 pcs cross tee drop ceiling grid (24-inch length), perfect for your partial kit needs. For a complete ceiling grid kit, check out our other product variations

【Package Includes】10 pcs main beams drop ceiling grid (144-inch length), perfect for your partial kit needs. For a complete ceiling grid kit, check out our other product variations
Wire Attachment Methods
Why risk a sagging ceiling when proper wire attachment determines everything that follows? Your support grid depends on precise suspension techniques that secure main runners at consistent heights throughout the room.
- Stretch chalk lines every 4 feet to guide wire placement and maintain square alignment for your grid level.
- Install eyelet anchors into joists at 8–10 foot intervals, threading 16-gauge wires through eyelets and bending ends downward to lock tension.
- Connect main runners with end clips for longer spans, then suspend them from wall angles via wires to preserve level positioning.
- Verify flatness with a spirit level across multiple points, adjusting wire tension before secondary runner installation.
These wire attachment methods create the stable foundation your ceiling system requires.
Beam Leveling Techniques
How do you guarantee a ceiling grid that won’t warp or settle unevenly over years of use? You start by stretching tie strings across the room every 4 feet, which creates alignment guides for your main runners before you attach any hanger wires. You feed 16-gauge hanger wires through eyelets spaced along the joists every third joist, bending the ends downward to lock the main runners firmly in place, and you install these main beams perpendicular to the joists with spans of 12 feet or 6 feet depending on your load requirements. You check your wall angles first with a spirit level, shimming any bowed sections with wooden blocks so they serve as true references. Once suspended, you verify the entire level grid across multiple points, adjusting wires or runners until everything reads plumb, then you proceed with cross tees to complete the primary framework.
Add Cross Tees and Install Ceiling Tiles
You’ll install cross tees perpendicular to the main beams at precise 2-foot intervals, which creates the secondary grid structure that determines whether your ceiling will use standard 24″ × 24″ tiles, measuring exactly 2 feet on each side, or the larger 24″ × 48″ tiles that span two grid openings, so you should verify your tile dimensions before mounting any hardware. Once your cross tees are anchored and level, you’ll need to master tile cutting techniques for the perimeter, where a sharp utility knife scores the mineral fiber or fiberglass composite material, typically comprising 70-90% recycled content, allowing clean breaks along your marked lines for tight fits against walls, light fixtures, and HVAC vents. Finally, you will press each tile upward into its grid opening with even pressure until all four edges seat securely on the runner flanges, checking that the finished surface remains perfectly level across the entire 8-, 10-, or 12-foot span of your room.
Cross Tee Placement
Where exactly do those cross tees belong in your grid system? You’ll attach cross tees perpendicular to main beams, creating standard 2-foot by 2-foot or 2-foot by 4-foot tile openings that define your complete grid layout. Install secondary runners perpendicular to mains at 2-foot intervals, which establishes consistent tile centers every 4 feet and supports your cross tees throughout the ceiling installation. Before adding cross tees, secure 16-gauge wire through joist eyelets and fasten main runners to wall angles, ensuring you’ve built a level grid that won’t sag under tile weight. Use chalk lines or strings across the room to align cross tees and maintain straight grid lines along wall edges, checking frequently with a laser level. Once your cross tees are locked into place and perfectly horizontal, you’re ready to lift tiles into position.
- Attach cross tees perpendicular to main beams at marked intervals
- Install secondary runners at 2-foot intervals for additional support
- Align everything using chalk lines, strings, and your laser level
- Verify your level grid before proceeding with tile placement
Tile Cutting Techniques
What techniques guarantee your ceiling tiles fit perfectly within the grid you’ve built? You’ll start by installing cross tees, placing these secondary runners perpendicular to your mains at 2-foot intervals so your grid layout supports either 2 ft × 4 ft tiles or the more versatile 2 ft × 2 ft option. When you need to cut tile for perimeter spaces, grab a sharp utility knife and draw a pencil line 0.95 cm from the edge, then slice halfway through, removing that flange piece to create the necessary 0.95 cm flange on any cut edge. This edge cutting technique, which involves making a second cut to strip away excess material, ensures your tiles achieve a flush fit against the wall moldings. You’ll lift and angle each tile through the grid, straightening it to rest its flanges on the runners. Avoid power tools entirely; your utility knife minimizes dust while delivering clean, precise cuts that maintain professional results.
Final Tile Alignment
How do you transform a skeletal grid into a finished ceiling that looks professionally installed? You’ll complete your grid system by adding cross tees perpendicular to the main runners, then spacing secondary runners at 2-foot intervals to create stable tile openings that support standard 2×2 or 2×4 panels. Perform a level check on wall angles, adjusting with shims where bowing threatens ceiling tiles alignment. Install full tiles by angling them through the grid, lifting onto runners, and verifying they’re level before final placement. For perimeter edges, measure and cut edge cut tiles with a utility knife, accounting for 0.95 cm flange depth so they rest flush on runners without sagging. Complete the perimeter with border trim pieces, securing any gaps to achieve seamless, professional results.
- Add cross tees perpendicular to mains, spacing secondary runners at 2-foot intervals for stable tile openings.
- Perform a level check on walls, using shims to correct bowing that affects ceiling tiles alignment.
- Install tiles by angling through the grid, lifting onto runners, and verifying level before final placement.
- Cut edge cut tiles with 0.95 cm flange depth for flush runner contact, finishing gaps with border trim.
Cut Border Tiles and Complete Final Inspection
Why settle for rough edges when you can achieve a polished, professional perimeter? You’ll measure each partial grid square along your wall lines, then cut border tiles with a utility knife or snips, ensuring clean cut edges for seamless perimeter installation. Border trimming demands precision: account for any planned border patterns or trims to maintain consistent aesthetics around the ceiling. You’ll place these trimmed border tiles into the suspension grid first, establishing finished edges before filling interior tiles. For recessed can lights or low-profile LED fixtures, select tiles with adequate flat area; grid-suspension brackets support proper openings. During final inspection, verify all tiles sit with level alignment, borders follow wall lines precisely, and no gaps or misaligned edges remain along your grid system.
Recommended Products
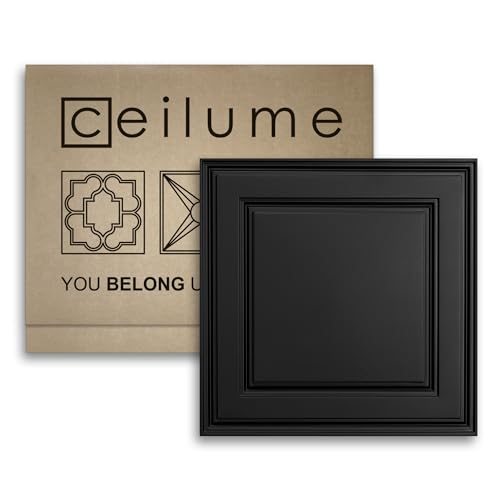
WATERPROOF & FIRE-RATED: Class A fire-rated, waterproof PVC construction resists moisture, mold, and mildew — ideal for kitchens, bathrooms, and basements

High-grade Ceiling Tiles :Fasarxiu waterproof ceiling tiles are made from virgin-grade PVC vinyl for superior fire and heat resistance that is not susceptible to health hazards resulting from water and moisture. It’s also lightweight,making cutting and installing the tiles less of a hassle and much easier for the do-it-yourselfer.

Sample is a random 12"x12" portion of a full panel and does not have the lay in installation capability of a full panel
